How to Zip and Unzip Files in Windows 11
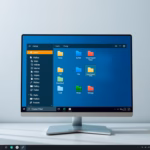
Zipping and unzipping files in Windows 11 happens directly within File Explorer, meaning you don’t need to install any extra programs.
Zipping, or compressing files, makes them smaller. This is useful for sending files to others faster or freeing up space on your hard drive. Unzipping, or extracting files, opens these compressed packages so you can use your original files again.
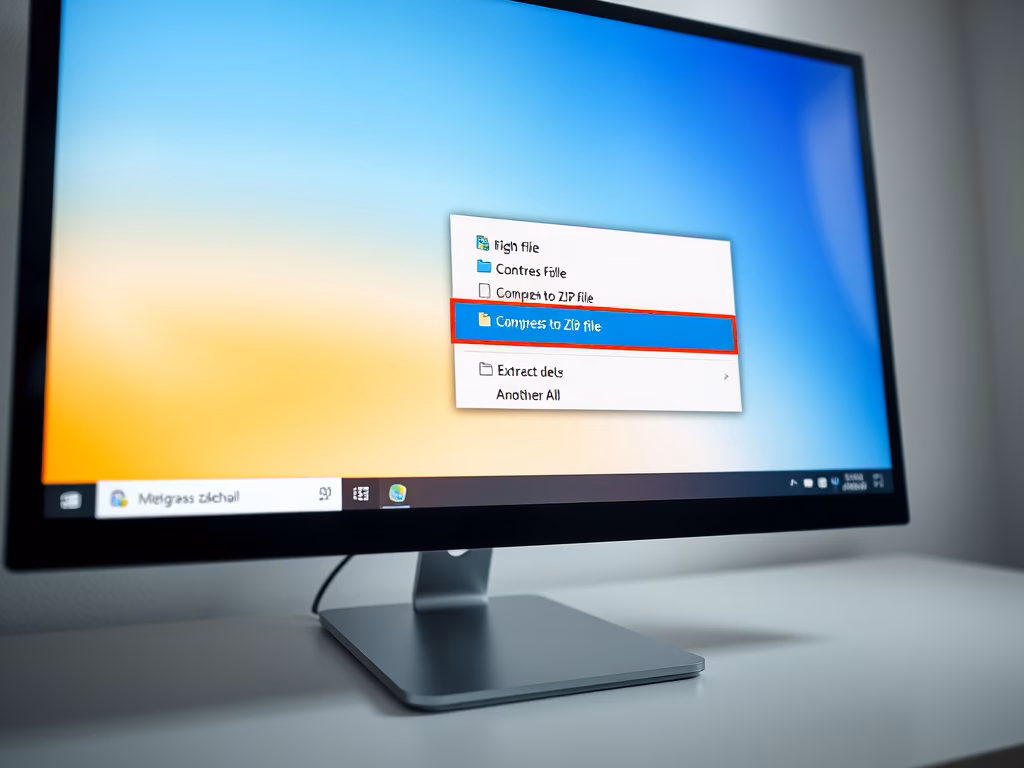
Windows 11 includes a built-in tool to do this easily. You can take several files or a whole folder and create a single compressed .zip archive. Just select what you want, right-click, and pick “Compress to .zip file” to get started.
To zip files in Windows 11, right-click the file or folder and select “Compress to .zip file.” To unzip, right-click the .zip file and select “Extract All.
What is zipping and unzipping?
Zipping files in Windows 11 creates a special, smaller package for your documents. This ZIP file makes sending many files at once or saving computer space more manageable. Unzipping reverses the zipping process, opening the ZIP package so you can use your files normally again. This zipping and unzipping method offers a way to organize your digital stuff.
Unzipping a ZIP file extracts the original files stored inside. This process allows you to access and use documents, pictures, or programs that were previously compressed into a smaller ZIP archive. For example, Windows 11’s built-in tool can unzip files directly from File Explorer, making them ready for immediate use without needing extra software.
Why zip files?
- Make large files smaller for easy sharing (like through email).
- Keep many files together in one folder.
- Save space on your computer.
How to Zip (Compress) Files or Folders in 🪟 Windows 11
- Find the file or folder you want to zip on your computer.
- Right-click the file or folder.
- From the menu, click Compress to ZIP file (you may see “Send to” > “Compressed (zipped) folder”).
- A new zipped folder will appear in the same place with the same name.
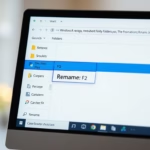
- You can rename the zipped folder by right-clicking it and choosing Rename.
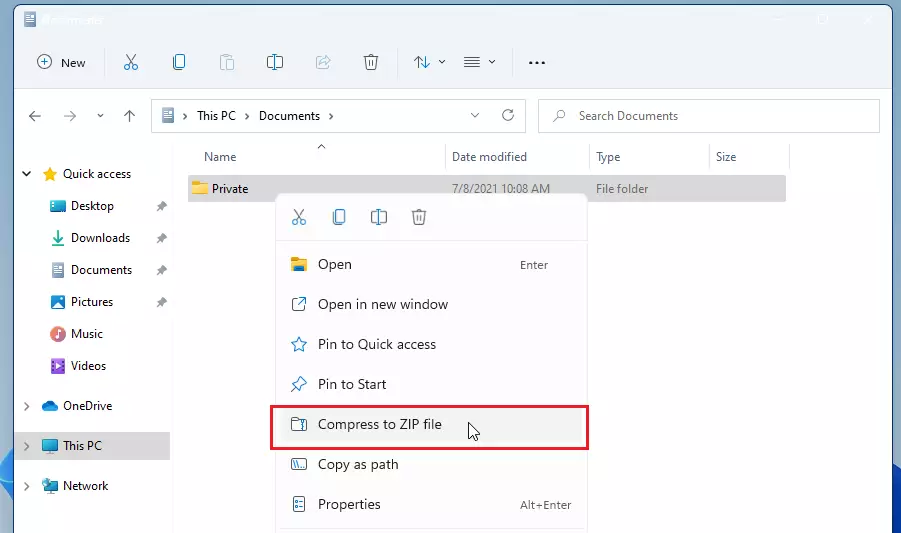
To zip files or folders in Windows 11, start by finding what you want to compress. Right-click on the file or folder. From the menu that appears, select ‘Compress to ZIP file,’ or you might see ‘Send to’ followed by ‘Compressed (zipped) folder.’ Windows then quickly creates a new, smaller ZIP file right there.

Windows 11 compresses files or folders, making them smaller for easier sharing. To zip a file in Windows 11, find the file, right-click it, and select ‘Compress to ZIP file’ from the menu. Windows 11 then creates a new zipped folder containing the original file.
How to Unzip (Extract) Files or Folders in 🪟 Windows 11
Locate the zipped (compressed) folder you want to open.
To extract only some files:
- Double-click the zipped folder to open it.
- Drag and drop the files or folders you want to another folder on your PC.
To extract all files:
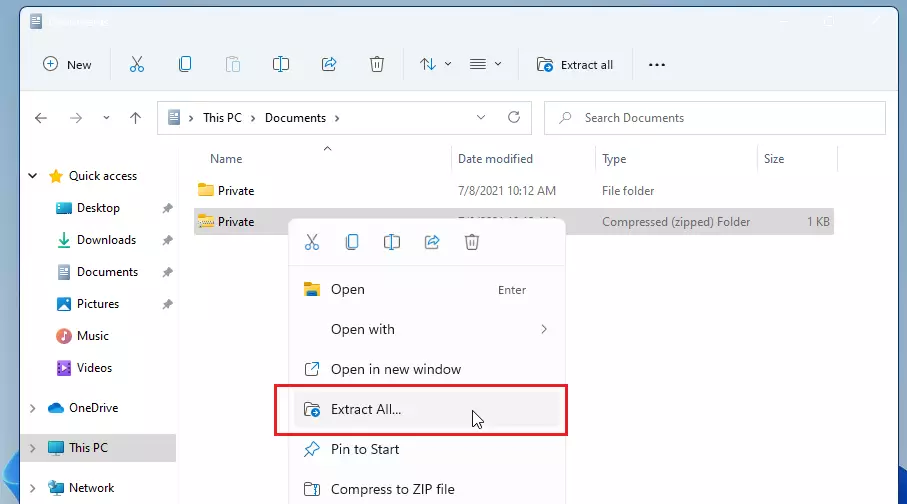
- Right-click the zipped folder.
- Select Extract All.
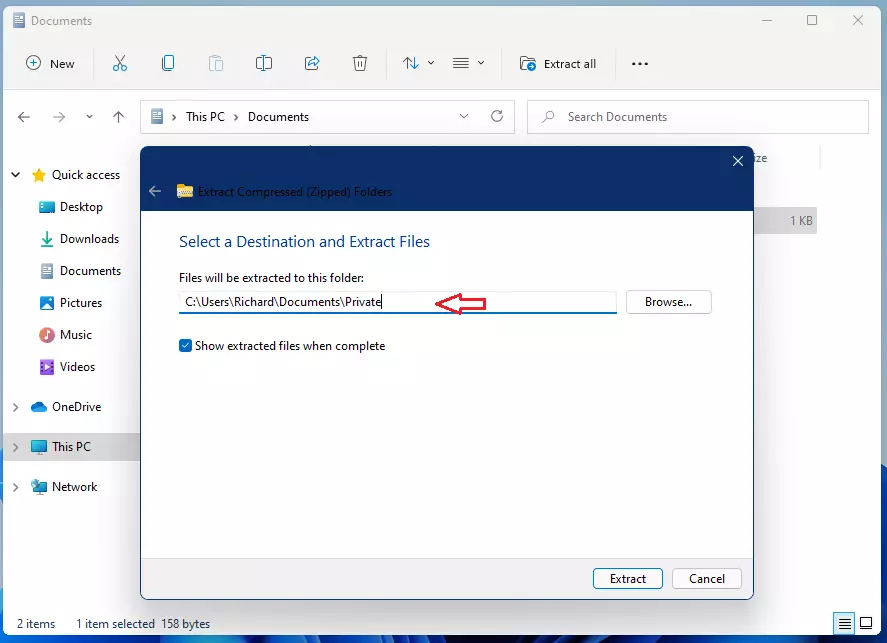
- Choose where you want the files to be saved (or use the default location).
- Click Extract.
Summary
- Zipping files makes them smaller and easier to share or store.
- Unzipping lets you open compressed files and use them like normal files.
- Windows 11 makes zipping and unzipping simple with just a few clicks.
- Learning this helps you keep your files organized and saves space.
Zipping files in Windows 11 makes them smaller, which is great for saving space and sending files. Unzipping lets you open compressed files to use them normally. Windows 11 makes both zipping and unzipping accessible with just a few clicks. Knowing how to zip and unzip files helps keep your computer organized.
Can 🪟 Windows 11 unzip ZIP files?
Once downloaded, you’ll need to ‘unzip’ the file to access your documents. Windows has a built-in tool to extract files from a ZIP – no additional software is required.
Why can't I unzip my ZIP file?
Right-click the ZIP file and select ‘Properties.’ Look for an ‘Unblock’ checkbox at the bottom of the Properties window. If that doesn’t help, try moving the ZIP file to a different folder that isn’t synced by a cloud service like OneDrive or Dropbox. Then, attempt to extract the file again.
Was this guide helpful?

About the Author
Richard
Tech Writer, IT Professional
Richard, a writer for Geek Rewind, is a tech enthusiast who loves breaking down complex IT topics into simple, easy-to-understand ideas. With years of hands-on experience in system administration and enterprise IT operations, he’s developed a knack for offering practical tips and solutions. Richard aims to make technology more accessible and actionable. He's deeply committed to the Geek Rewind community, always ready to answer questions and engage in discussions.

No comments yet — be the first to share your thoughts!