
This guide will help you easily turn on or off the Microsoft Defender Firewall on your Windows 11 PC.
What is Microsoft Defender Firewall?
Microsoft Defender Firewall is a security tool that helps keep hackers and harmful software away from your computer by blocking unwanted connections from the internet or other networks.
It works differently depending on the type of network you’re connected to:
- Domain network: Usually used in workplaces or schools where there is a central system to check who can connect.
- Private network: Your home or trusted networks where you know the people and devices.
- Public network: Places like coffee shops, airports, or hotels where security is tighter to protect you.
It’s a good idea to keep the firewall turned on to protect your computer, even if you have other security software.
Important:
- You need to be signed in as an administrator on your PC to change firewall settings.
- Turning off the firewall can make your PC less safe. Only do this if you have a good reason.
How to Turn Microsoft Defender Firewall On or Off Using Settings
This is the easiest way for most users.
- Click the Start button (Windows icon) and select Settings.
- Go to Privacy & security on the left menu.
- Click on Windows Security.
- Click Firewall & network protection.
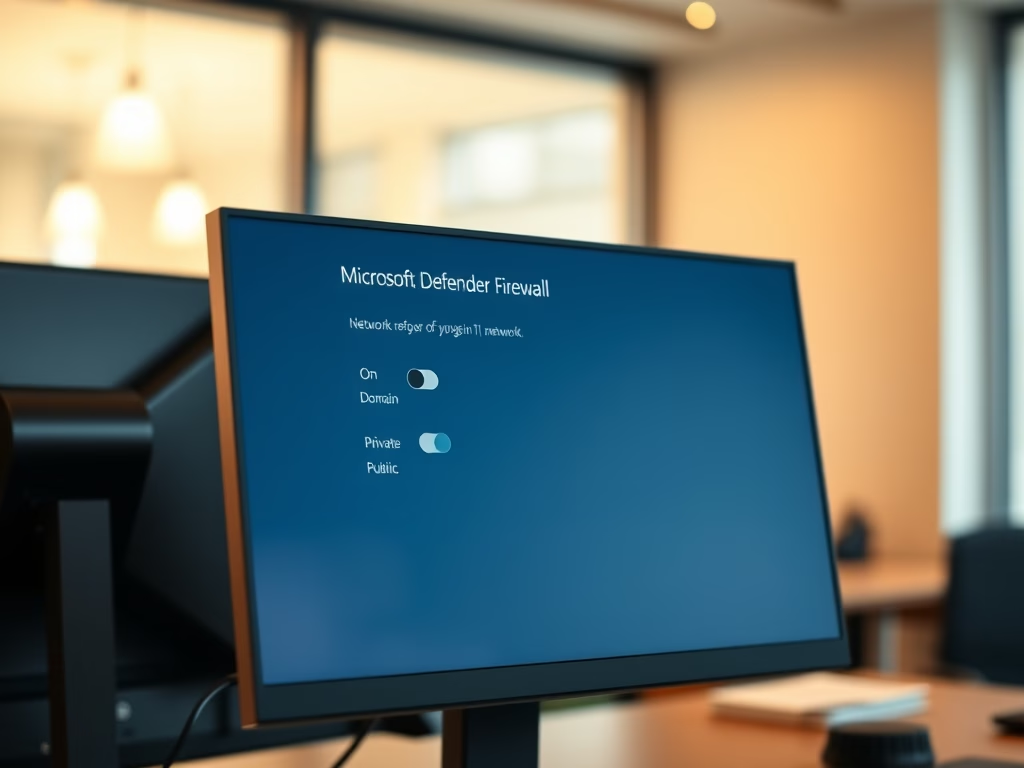
- You will see three network types: Domain network, Private network, and Public network.
- Click the network you are connected to (for example, Private network).
- Toggle the switch under Microsoft Defender Firewall to turn it On or Off.
How to Turn Microsoft Defender Firewall On or Off Using Local Group Policy Editor
Note: This method is only available if you have Windows 11 Pro, Enterprise, or Education editions.
- Press Windows + R keys on your keyboard to open the Run box.
- Type
gpedit.mscand press Enter to open the Local Group Policy Editor. - In the left menu, go to:
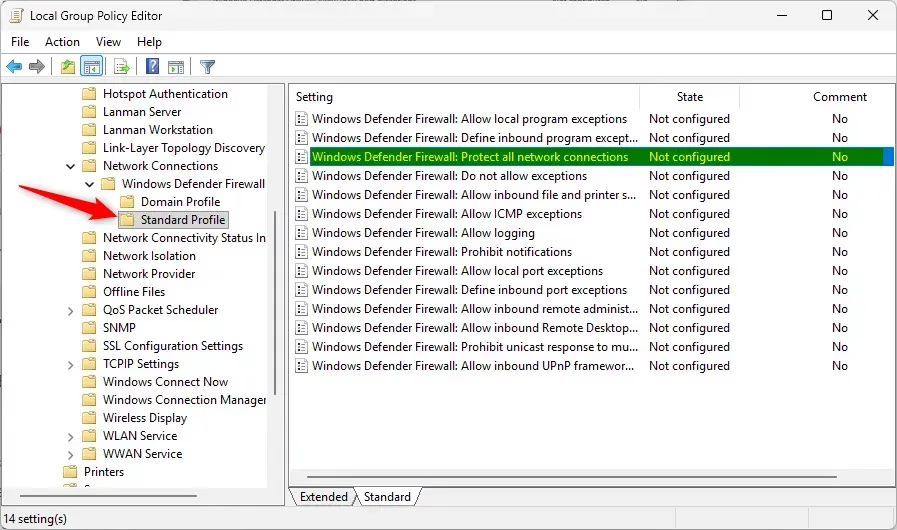
Computer Configuration > Administrative Templates > Network > Network Connections > Windows Defender Firewall > Standard Profile
- In the right pane, double-click Windows Defender Firewall: Protect all network connections.
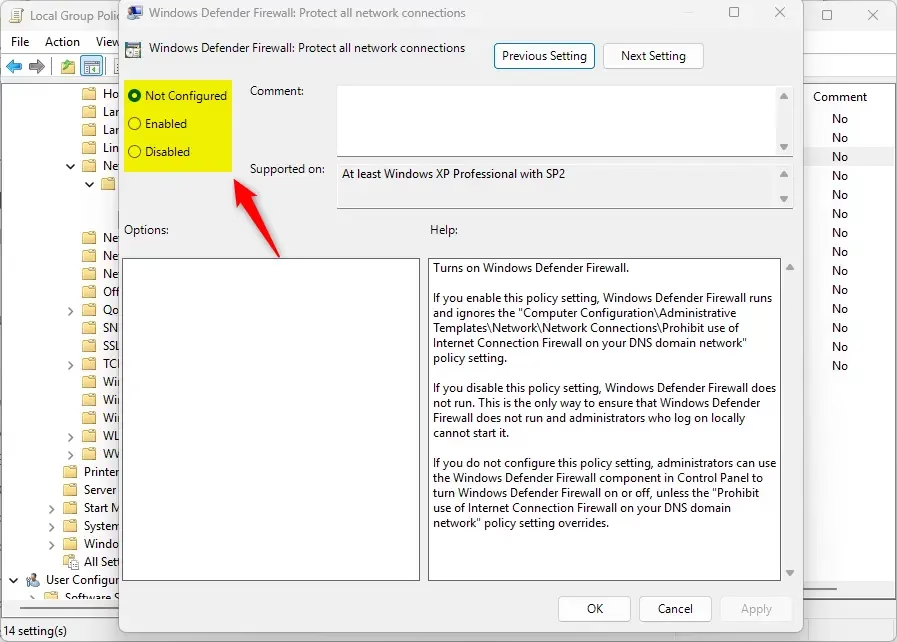
- Choose one of the following options:
- Enabled – Firewall will always be turned on and cannot be turned off.
- Disabled – Firewall will always be off and cannot be turned on.
- Not Configured – You can turn the firewall on or off as you like.
- Click Apply and then OK.
- Close the Local Group Policy Editor.
How to Turn Microsoft Defender Firewall On or Off Using Registry Editor
Warning: Editing the registry can cause problems if done wrong. Please follow these steps carefully and consider backing up your registry first.
- Press Windows + R keys to open the Run box.
- Type
regeditand press Enter to open the Registry Editor. - Navigate to the following key:
HKEY_LOCAL_MACHINE\SOFTWARE\Policies\Microsoft\WindowsFirewall\StandardProfile - Look for the value named
EnableFirewall. If it doesn’t exist, you can create it:- Right-click in the right pane, select New > DWORD (32-bit) Value.
- Name it
EnableFirewall.
- Double-click
EnableFirewalland set the value data to:1to turn the firewall ON.0to turn the firewall OFF.- Delete the value or set it to
-(remove the entry) to allow user choice.
- Click OK and close the Registry Editor.
- Restart your computer for the changes to take effect.
Quick Tips
- Keep your firewall on when using public Wi-Fi to stay safe.
- If you are at home or on a trusted network, you may choose to turn it off temporarily, but it’s best to keep it on.
- If your workplace controls your firewall settings, follow their instructions or ask your IT department.
- Always run firewall changes as an administrator.
Learn More
If you want to dive deeper, Microsoft has official guides:
Summary
- Microsoft Defender Firewall helps protect your PC from unwanted access and threats.
- There are different firewall settings for Domain, Private, and Public networks.
- You can manage the firewall easily through Settings, or with more control using Group Policy or Registry Editor if you’re comfortable.
- Always be careful when changing system settings and make sure you have admin rights.

Leave a Reply Cancel reply