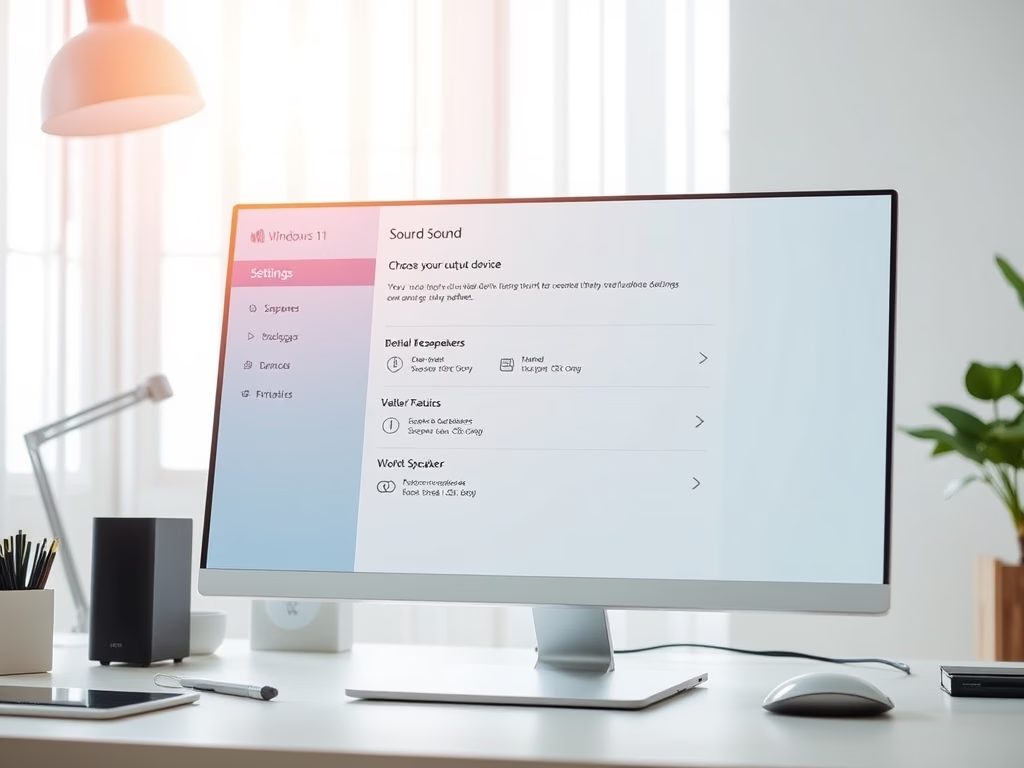
This article explains how to select or set the default speakers or headphones in Windows 11.
If you frequently use multiple speakers or headphones on Windows, you may find yourself needing to switch between different audio output devices. While it’s simple to set a default speaker for the entire system, some applications allow you to select your preferred speakers, which can override the system’s default settings.
If you connect multiple speakers or headphones to your computer, you may need to switch between them for different applications.
Select default speakers in Windows 11
There are several methods to set Windows 11 as the default speaker. You can easily choose the system-wide speakers for all applications using Windows system settings.
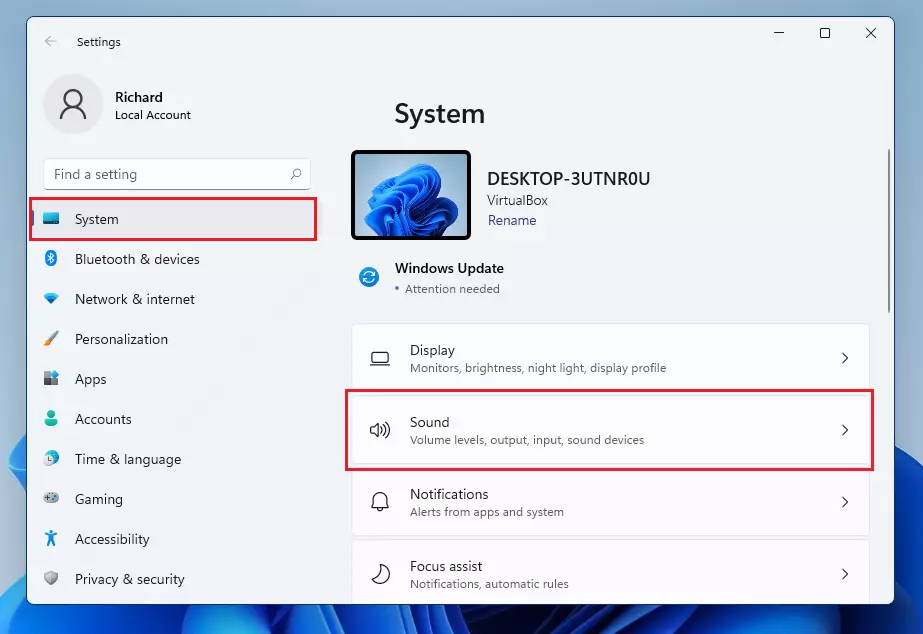
Windows 11 has a centralized location for the majority of its settings. Everything can be done, from system configurations to creating new users and updating Windows from its System Settings pane.
To get to System Settings, you can use the Windows key + i shortcut or click on Start ==> Settings, as shown in the image below:

Alternatively, you can use the search box on the taskbar to search for Settings. Then select to open it.
In Windows Settings, click System, and select Sound on the right pane of your screen, as shown in the image below.
On the Sound settings pane, under Output, where you see “Choose your output device,” choose the output device you want to make the default to play Sound.
In the highlighted image below, you can select Speakers or a Headset as your output device. Windows will also use the selected device to play Sound.
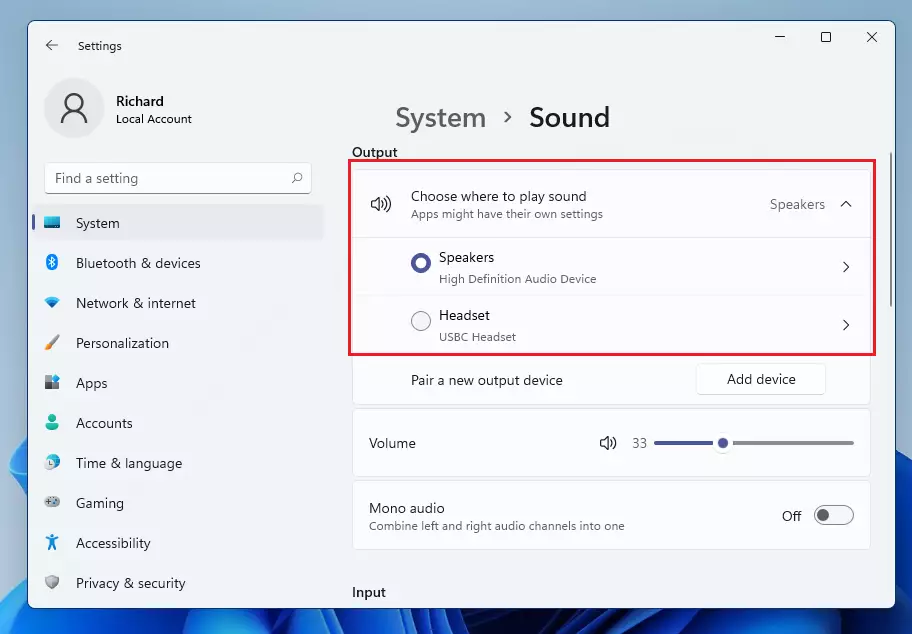
The changes you make above will apply to all apps. However, certain apps may be customized to override this setting and choose a different output device.
How to switch output devices in Windows 11
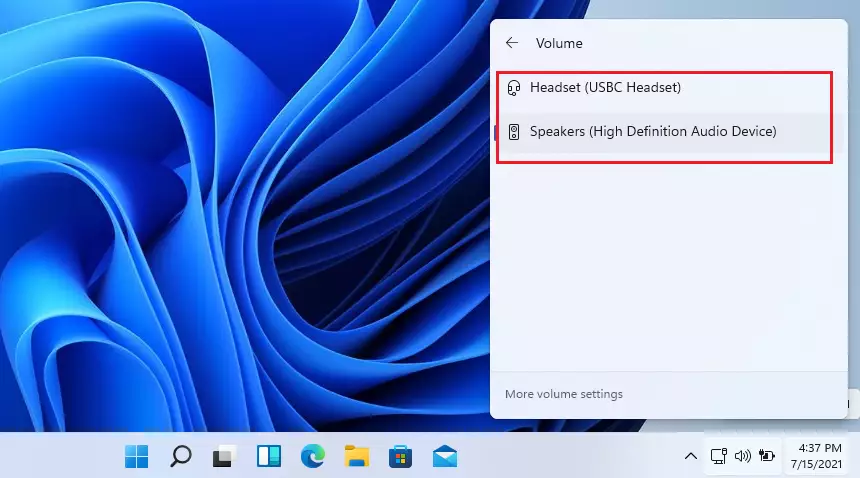
Another way to quickly switch Windows output devices is via the taskbar. Click the speaker’s icon in the taskbar to choose between sound devices rapidly.
Then click the right arrow highlighted in the image below to show all sound devices.
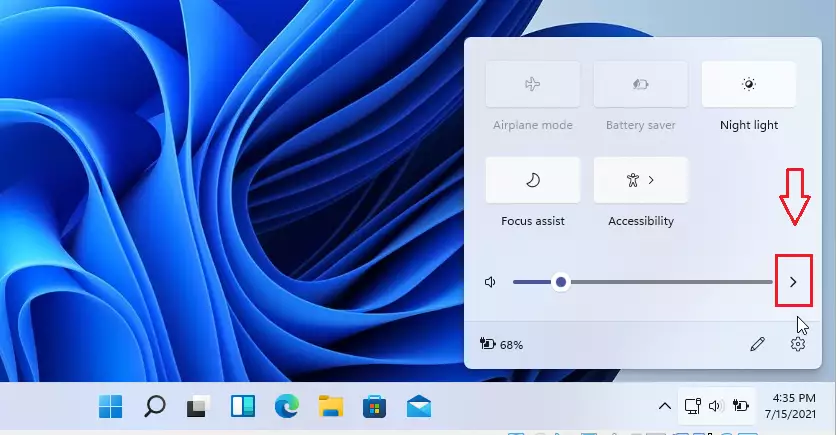
From there, you can select the device you want to use for Sound. To quickly switch back to Windows’ default sound device, reverse the steps above and select that.
If you don’t see the connected playback device on the list, Windows may not recognize it.
Conclusion:
- Setting the default speakers in Windows 11 ensures reliable sound output from your preferred devices.
- Easily switch between multiple audio devices using System Settings or the taskbar for flexibility.
- Customizing sound output on a per-app basis provides greater control for users with specific audio needs.
- Following these steps can enhance your overall experience when using your computer for entertainment, work, or gaming.
- Stay aware of audio settings to make the most of your audio devices and avoid disruptions.


Leave a Reply Cancel reply