
This article explains how to set up Apache with PHP and PHP-FPM to improve performance on Ubuntu 24.04.
PHP-FPM (FastCGI Process Manager) is an advanced PHP FastCGI implementation that helps handle web traffic and optimize PHP performance. It acts as a process manager for PHP, managing pools of PHP workers that can serve incoming requests.
PHP-FPM is excellent at handling requests simultaneously, thanks to its ability to manage multiple PHP processes.
Overall, using PHP-FPM with Apache can improve performance resource management and increase the reliability of PHP applications.
Install PHP
Most setups today will run Apache with PHP. This is enough in most cases. However, if you want to speed up PHP scripts, installing PHP-FPM can help you do that.
Assuming Apache is already installed, run the command below to install PHP. At the time of this writing, PHP 8.3 is the current version of Ubuntu 24.04.
sudo apt update
sudo apt install php8.3 php-mbstring php-pear
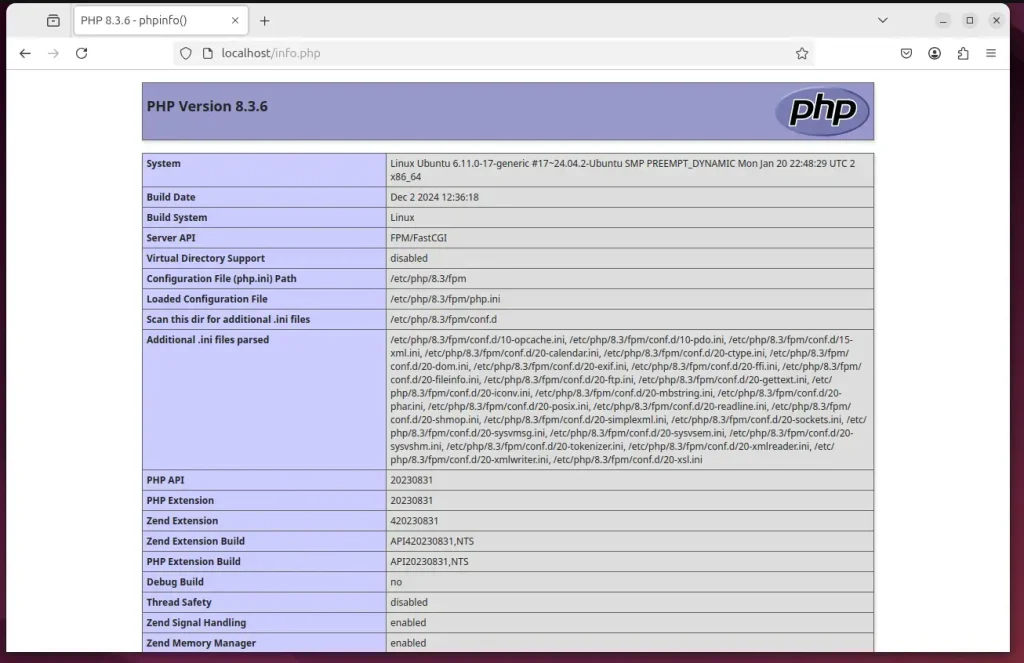
Once PHP is installed, you can check its details by running the command below.
php -i | head
That should output something similar to the lines below.
phpinfo()
PHP Version => 8.3.6

System => Linux Ubuntu 6.11.0-17-generic #17~24.04.2-Ubuntu SMP PREEMPT_DYNAMIC Mon Jan 20 22:48:29 UTC 2 x86_64
Build Date => Dec  2 2024 12:36:18
Build System => Linux
Server API => Command Line Interface
Virtual Directory Support => disabled
Configuration File (php.ini) Path => /etc/php/8.3/cli
Loaded Configuration File => /etc/php/8.3/cli/php.ini
Install and enable PHP-FPM
With Apache and PHP installed, run the command below to install PHP-FPM.
sudo apt install php8.3-fpm
Next, enable the PHP-FPM module.
sudo a2enmod proxy_fcgi setenvif
sudo a2enconf php8.3-fpm
Restart Apache and PHP-FPM.
sudo systemctl restart php8.3-fpm apache2
Use PHP-FPM with Apache
At this point, PHP-FPM is ready to be used with Apache.
First, open the PHP-FPM config file.
sudo nano /etc/php/8.3/fpm/pool.d/www.conf
Then, comment out one of the listen directives. Use the listen directive with [127.0.0.1:9000].
; Note: This value is mandatory.

;listen = /run/php/php8.3-fpm.sock
listen = 127.0.0.1:9000
Save and exit the file. Restart Apache PHP-FPM after updating the file.
Add the highlighted portion to your virtual host to use PHP-FPM with Apache in your virtual host.
<VirtualHost *:80>
  ServerName example.com
  ServerAdmin [email protected]
  DocumentRoot /var/www/example.com

  <Directory /var/www/example.com/>
       Options FollowSymlinks
       AllowOverride All
       Require all granted
  </Directory>

  <FilesMatch "\.php$">
       SetHandler "proxy:fcgi://127.0.0.1:9000/"
  </FilesMatch>

       ErrorLog ${APACHE_LOG_DIR}/error.log
       CustomLog ${APACHE_LOG_DIR}/access.log combined
</VirtualHost>
Validate PHP-FPM with Apache support.
That should do it!
Conclusion:
By integrating PHP-FPM with Apache on Ubuntu 24.04, you can enhance the performance and reliability of your PHP applications. Here are the key takeaways:
- Improved Performance: PHP-FPM allows simultaneous handling of multiple requests, leading to faster response times.
- Efficient Resource Management: It manages PHP worker pools, optimizing server resource utilization.
- Enhanced Reliability: With the ability to manage multiple PHP processes, applications become more robust and less prone to failures.
- Easy Installation: The installation and configuration process is straightforward, allowing for quick setup.
- Future-Proofing: Keeping PHP and its components updated ensures your server remains secure and efficient.
Implementing PHP-FPM with Apache is a smart choice for anyone looking to boost the performance of their web applications.
Leave a Reply