
This article explains how to restore files and folders from File History if the original is lost or damaged.
File History regularly backs up your files in your home folders. However, File History will not back up your apps and system settings. These can be reinstalled and reconfigured anytime.
But your important documents, when lost or damaged, can be almost impossible to replace, and that’s why File History is designed only to back up your important files.
To read more about how to set up a backup process with File History, you can read the post below:
How to Backup and Restore in Windows 11
You can use the steps below when File History runs on your machine and you want to restore a missing or damaged file. File History allows you to browse your backed-up data, flip through different versions of your files and folders, and compare them with your current versions.
When you find a better version of the File you want to restore, select Restore to get it back to its original location. We’ll show you how to do that below.
How to restore missing or damaged files on File History
As mentioned above, File History lets you quickly restore missing or damaged files to their original location. Below is how it’s done.
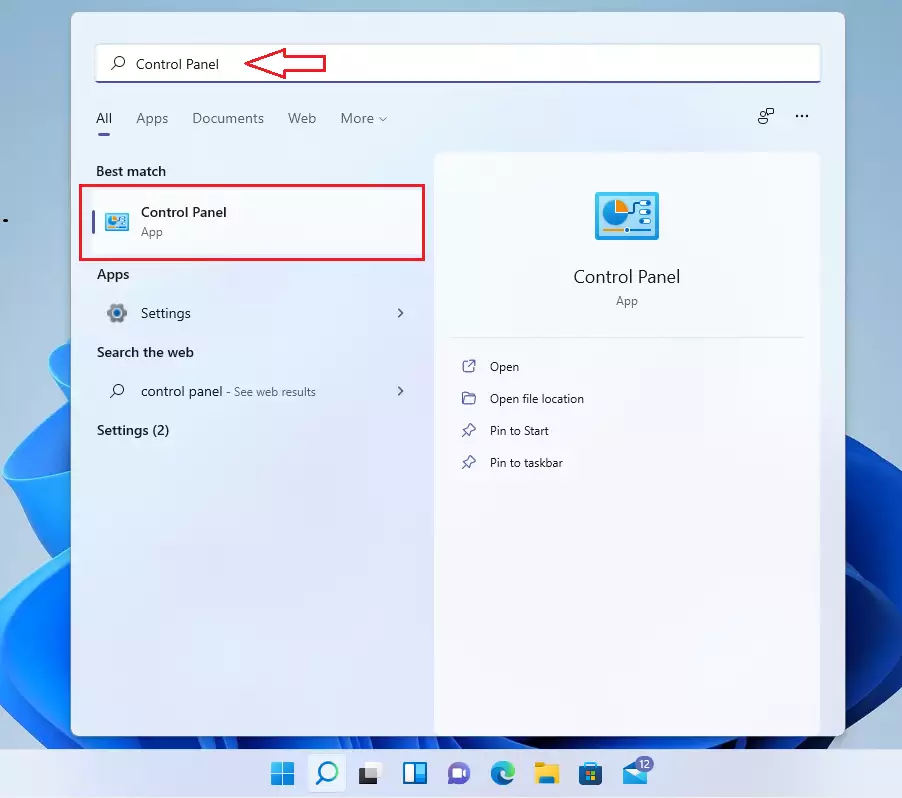
Click on the Start menu, then search for and open the Control Panel app, as shown below.
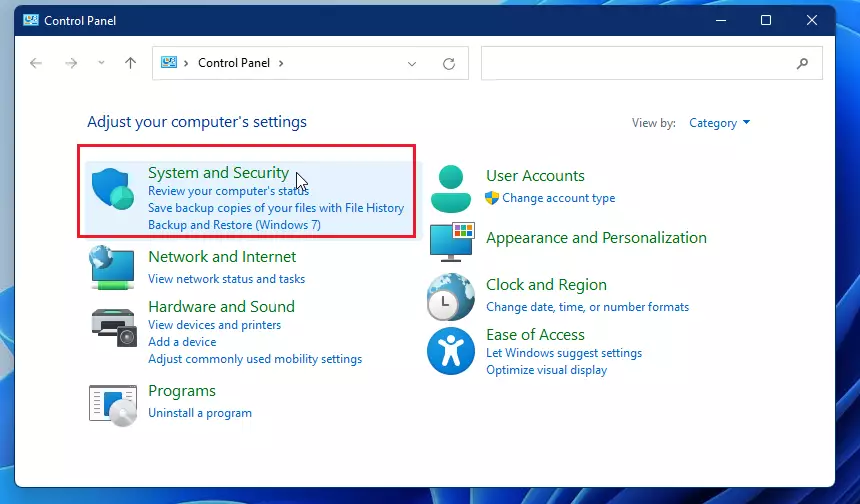
When the Control Panel app opens, click System and Security, the category group.
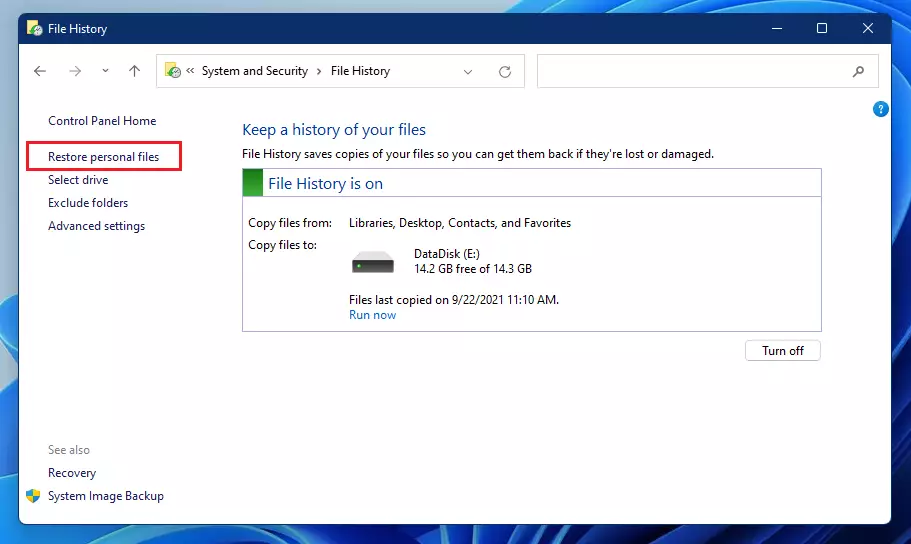
Next, click File History, as shown below, to open the File History panel.
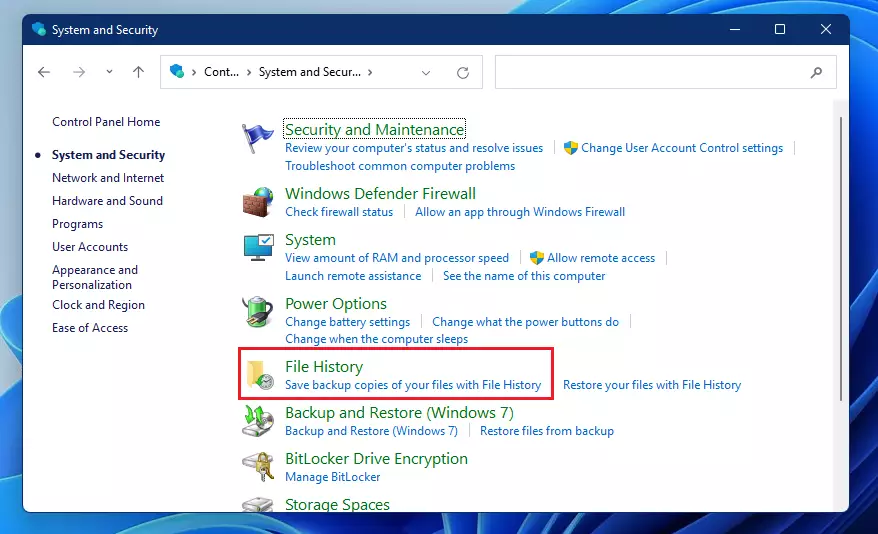
Click the Restore personal files link on the File History panel, as highlighted below.
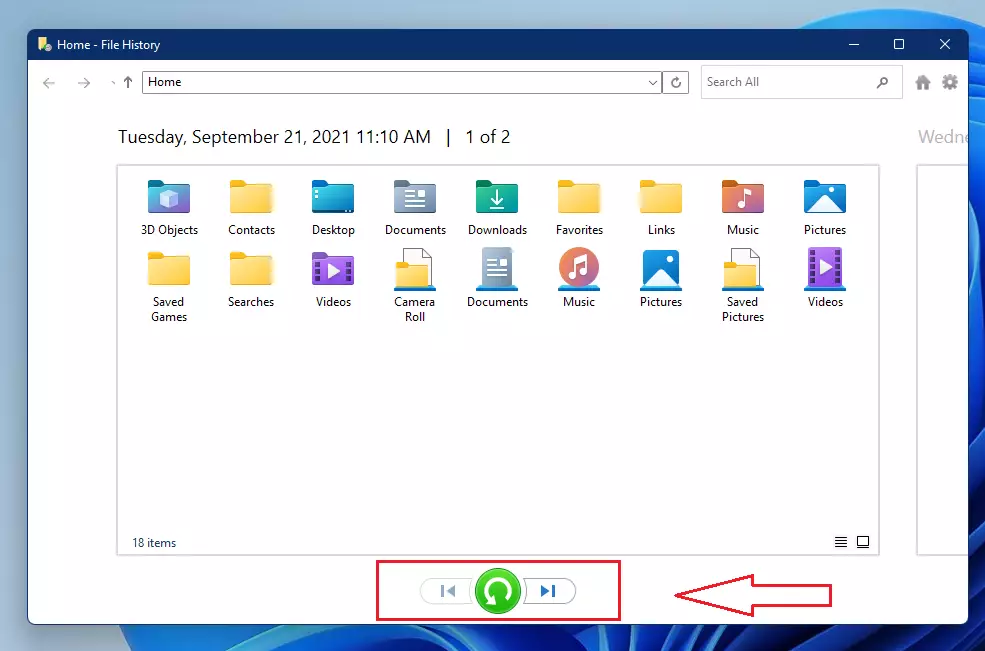
Click on the Previous (CTRL + Left Arrow) button or Next (CTRL + Right Arrow) button at the bottom to navigate the different versions of your backed-up files and folders until you find the date you want to restore a version from.
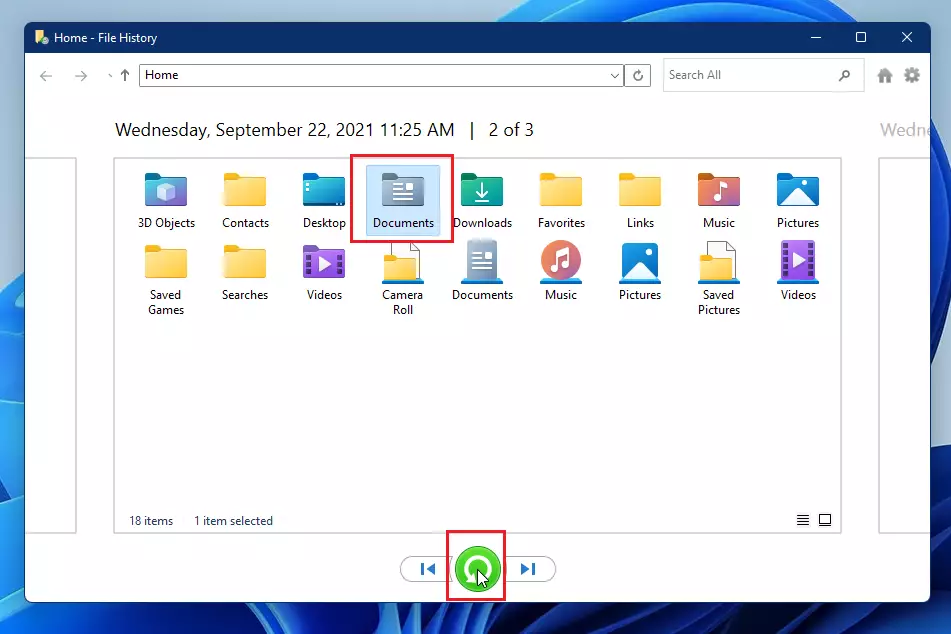
Select the file or folder you want to restore, then click the restore button as shown below.
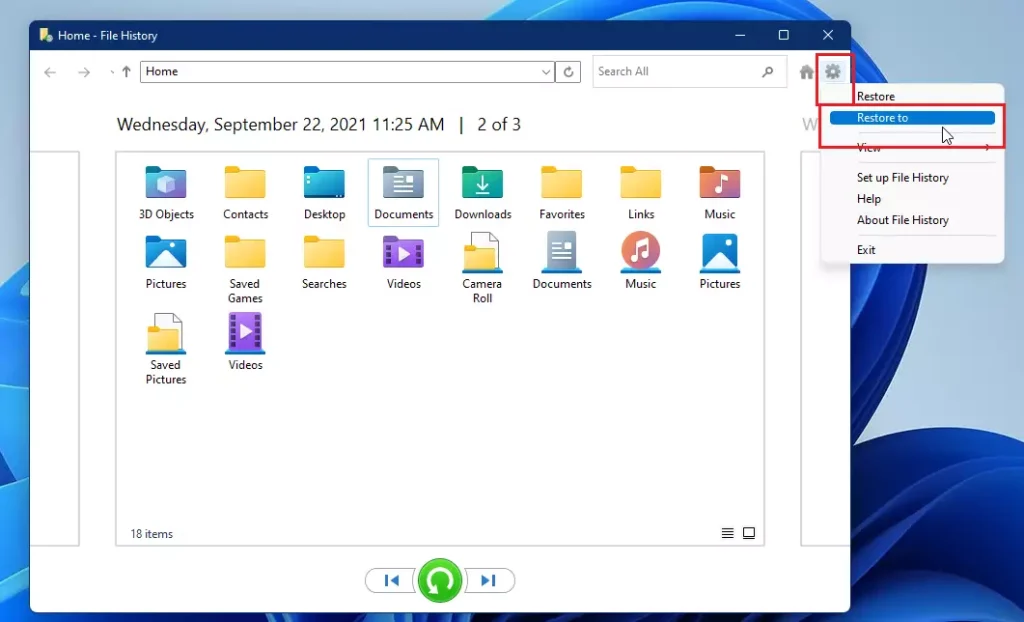
File History will restore its original location by default, overwriting anything there. However, as shown below, you can use the control option to restore to another location.
You’ll have a different option available to use when restoring.
- Folder: To restore an entire folder, open it so you’re viewing its contents.
- Files: To restore multiple files, open and select each File to make sure they’re the correct files to restore.
- One File: To restore an earlier version of a file, open that File from inside the File History window.
You’ll be prompted once you restore a file or folder, and the destination already has the duplicate content.
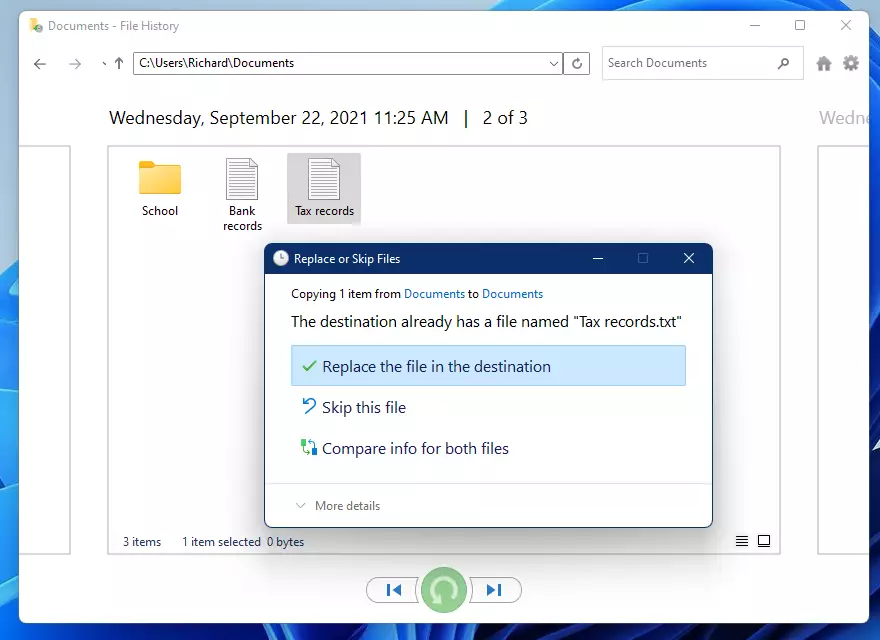
These are your options:
- Replace the File in the Destination Folder – Select this option only if you know the older File is better than the current one. This will overwrite the current File in that location with the backed-up version.
- Skip This File – Select this if you don’t want to restore the File or folder.
- Compare Info for Both Files – This option lets you compare the files’ sizes and dates before choosing which one to keep.
Select the restore option, then exit File History.
That’s it!
Conclusion:
In summary, restoring files and folders with File History is a straightforward process that can save you from the headache of losing important data. Here are the key points to remember:
- File History regularly backs up files in your home folders, ensuring important documents are safe.
- The restoration process allows you to browse different versions of your files to find the most suitable one.
- You can restore files to their original location or select a different location.
- Options are provided when restoring files, allowing you to compare versions and make informed decisions.
- Utilizing File History is essential in protecting your important data and making file recovery easy.
By following these steps, you can effectively safeguard your data and minimize file loss or damage risks.


Leave a Reply