
This article explains how to reinstall the Microsoft Print to PDF printer easily in Windows 11.
Over the years, Windows has included a virtual printer that enables users to print any page as a PDF-compatible document. This feature is particularly useful for those who do not have access to physical printers. With this functionality, you can easily save any document in PDF format by selecting the PDF printer when you print.
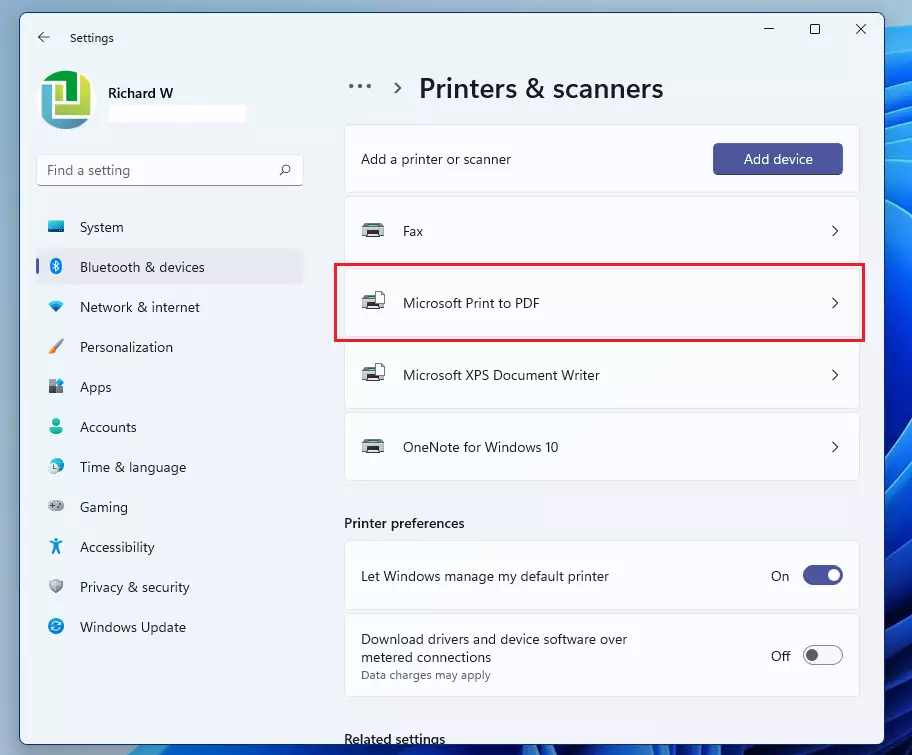
If you accidentally delete the Microsoft Print to PDF printer, restoring it may not be as simple as reinstalling it from the printer settings page.
For new users, navigating the Windows 11 System settings pane can be intimidating. However, we will guide you on how to quickly reinstall the missing PDF printer without accessing the main settings pane.
Install the Microsoft Print to PDF printer in Windows 11
As mentioned above, simply re-adding the missing PDF printer from the printer settings pane might not work as expected. You’ll have to run the commands below to reinstall the missing printer.
First, open the Command Prompt as an administrator. To do that, click Start, then search for and open the “Command Prompt” app as an administrator.

When the app opens, run the commands below to uninstall or turn off the PDF printer feature. We’ll want to run this command to turn off the printer so it can be reinstalled fully.
But first, stop the print spooler.
net stop spooler
dism /Online /Disable-Feature /FeatureName:"Printing-PrintToPDFServices-Features" /NoRestart
After running the commands above, run the next command below to reinstall or enable the Microsoft Print to PDF printer.
dism /Online /Enable-Feature /FeatureName:"Printing-PrintToPDFServices-Features" /NoRestart
net start spooler
The command above will reinstall and enable the PDF printer. After enabling the printer, start the print spooler, which should get the printer back.
If it doesn’t work right away, restart your computer, then try again.
That should do it!
Conclusion:
- Reinstalling the Microsoft Print to PDF printer in Windows 11 is straightforward with the right steps.
- Using the Command Prompt for installation ensures that any issues are resolved properly.
- If the printer does not appear immediately after installation, a quick system restart may resolve the problem.
- This feature is essential for users who rely on PDF documents for their work or studies.
- Always remember to manage the print spooler service when reinstalling virtual printers.

Leave a Reply to sreenivasa gupta Cancel reply