
This article explains how to rebuild the Windows Search Index in Windows 11.
Windows Search Index is enabled by default. It allows faster results when searching for files and other content from defined locations.
Windows Index will automatically rebuild when you add additional locations to be included in its index and provide results for additional content. The index will be rebuilt and updated for changes to include the new locations. Content stored at those locations will then be included in Windows Search results.
The index will also rebuild when you switch from Classic to Enhanced mode or vice versa. Once the index database is updated, the correct results should appear when you search.
If you run into situations where you’re not getting the correct results or some locations are not being included, you may have to force the search index to update to pick up new changes that are being included.
The steps below show you how.
How to force Windows Search to rebuild its index
As mentioned above, you can force Windows Search to rebuild its index to fix issues. If Windows Search isn’t returning the correct results or not all locations are included, you may be able to rebuild the index to include new changes.
Below is how to do that.
Windows 11 has a centralized location for the majority of its settings. Everything can be done, from system configurations to creating new users and updating Windows from its System Settings pane.
To get to System Settings, you can use the Windows key + I shortcut or click on Start ==> Settings, as shown in the image below:

Alternatively, you can use the search box on the taskbar and search for Settings. Then select to open it.
In Windows Settings, click Privacy & Security, and select the Search Windows tile on the right pane, as shown in the image below.

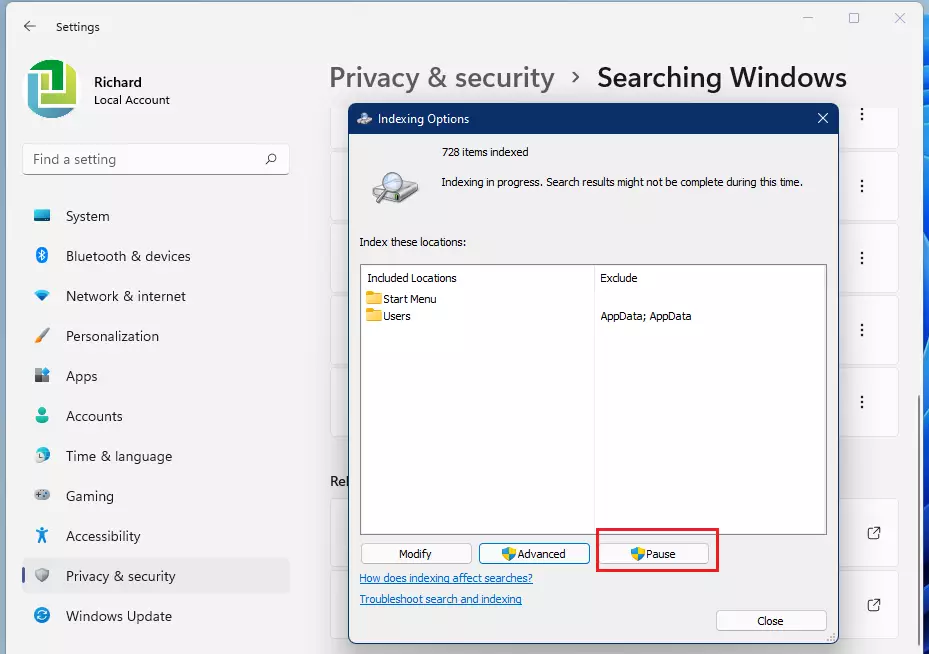
Select the Advanced indexing option on the Searching Windows settings pane under Related settings.

Select the Advanced button on the Indexing Options window, as highlighted below.

Click the Rebuild button on the Advanced Options window to force Windows to rebuild its search index.

Confirm to begin the rebuilding process.

Depending on the index’s size and your computer’s speed, this might take a while. If needed, you can click on Pause to stop rebuilding the index.
Once the rebuild is complete, you can close the windows.
That should do it!
Conclusion:
- Rebuilding the Windows Search Index can resolve issues with searching and ensure all locations are included.
- The process is straightforward and can be performed via the System Settings.
- After completing the rebuild, expect improved search results as new changes are indexed.
- Regularly updating your search index can enhance overall system performance and user experience.
- If problems persist after rebuilding, consider checking other settings or locations that may be affecting search results.


Leave a Reply Cancel reply