
This article explains how to whitelist or limit WordPress admin access based on an IP address when using the Nginx HTTP server.
WordPress is a popular open-source content management system (CMS) allowing users to create and manage websites easily.
Configuring IP allowlisting for the admin page (wp-admin area) is an important security measure to protect your WordPress site from unauthorized access. By specifying a list of trusted IP addresses that are permitted to access the admin area, you can significantly reduce the risk of brute force attacks and other hacking attempts.
If someone tries to access your admin page from an IP address that isn’t on the allowed list, they will be unable to reach the login page, which adds an extra layer of security to your site.
WordPress IP Whitelist
This tutorial uses an Ubuntu host with an Nginx HTTP server running WordPress. We will not demonstrate how to install Nginx or set up WordPress.
If you have a functioning WordPress site on Nginx, follow the steps below to restrict access to the WordPress admin dashboard by IP addresses..
For this tutorial, our WordPress VirtualHost file is at /etc/nginx/sites-available/default
Run the commands below to open the VirtualHost file.
sudo nano /etc/nginx/sites-available/default
Then, copy the text below and paste it into the server block as indicated:
    error_page  403  http://example.com.com/blocked.html;
    location = /wp-login.php {
            allow   192.168.1.1;
            allow   172.16.1.1;
            deny    all;
    include snippets/fastcgi-php.conf;
    fastcgi_pass unix:/run/php/php7.4-fpm.sock;
    }
The code above specifies the allowed IP addresses for access to the admin dashboard.
We’re also using PHP7.4-FPM with WordPress.
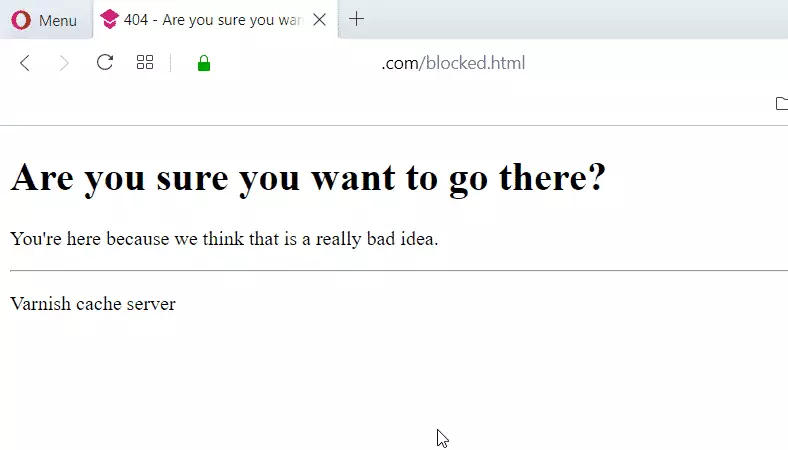
Our error_page is a custom page that has a brief HTML syntax. An example page is below:
sudo nano /var/www/html/blocked.html
<?xml version="1.0" encoding="utf-8"?>
<!DOCTYPE html PUBLIC "-//W3C//DTD XHTML 1.0 Strict//EN"
 "http://www.w3.org/TR/xhtml1/DTD/xhtml1-strict.dtd">
<html>
  <head>
    <title>404 - Are you sure you want to go there?</title>
  </head>
  <body>
    <h1>Are you sure you want to go there?</h1>
    <p>You're here because we think that is a really bad idea.</p>
    <hr>
    <p>Varnish cache server</p>
  </body>
</html>
Please copy the code block above and paste it into the appropriate section of your WordPress server.
server {
    listen 80;
    listen [::]:80;
    root /var/www/html;
    index  index.php index.html index.htm;
    server_name  example.com www.example.com;


    location / {
        try_files $uri $uri/ /index.php?$args;
     }

    error_page 403 http://example.com.com/blocked.html;
    location = /wp-login.php {
     allow 192.168.1.1;
     allow 172.16.1.1;
     deny all;
     include snippets/fastcgi-php.conf;
     fastcgi_pass unix:/run/php/php7.4-fpm.sock;
     }

    location ~ \.php$ {
         include snippets/fastcgi-php.conf;
         fastcgi_pass unix:/var/run/php/php7.4-fpm.sock;
         fastcgi_param SCRIPT_FILENAME $document_root$fastcgi_script_name;
         include fastcgi_params;
    }
}
Save the file and exit.
Restart Nginx.
sudo systemctl reload nginx
Now go and test. The next time an IP that is not approved tries to log on to the admin portal then will get a message shown in the blocked.html file above.
That’s it!
Conclusion:
This post showed you how to restrict the WordPress admin portal to only approved IP addresses. If you find any error, please report it in the comment form below.
You may also like the post below:


Leave a Reply