
This article describes the steps to install Magnolia CMS on Ubuntu Linux.
Magnolia is an open-source content management framework based on Java. It allows anyone to build and maintain websites for any purpose. Developed by Magnolia International Ltd, it supports multi-language, multi-site on an enterprise scale.
Installing Magnolia CMS on Ubuntu Linux can be beneficial for those who are looking for an open-source content management framework that can be used to build and maintain websites of any kind. Magnolia CMS is a Java-based CMS that is highly scalable and supports multi-language, multi-site on an enterprise scale.
By installing Magnolia CMS on Ubuntu Linux, users can use its powerful admin dashboard to create and manage their content on every device. Additionally, Ubuntu Linux is a popular and reliable operating system with a large and active community of users and developers, which makes it an ideal platform for hosting Magnolia CMS.
Add A Third-Party PPA to Ubuntu
The easiest way to install Oracle Java JDK 8 on Ubuntu is via a third-party PPA. To add that PPA, run the commands below
sudo add-apt-repository ppa:webupd8team/java
After running the commands above, you should see a prompt to accept the PPA key onto Ubuntu. Accept and continue
Continue below to install Java 8.
Download Oracle Java 8 Installer
Now that the PPA repository has been added to Ubuntu, run the commands below to download Oracle Java 8 installer. The installer should install the latest Java JDK 8 on your Ubuntu machines.
sudo apt update
sudo apt install oracle-java8-installer
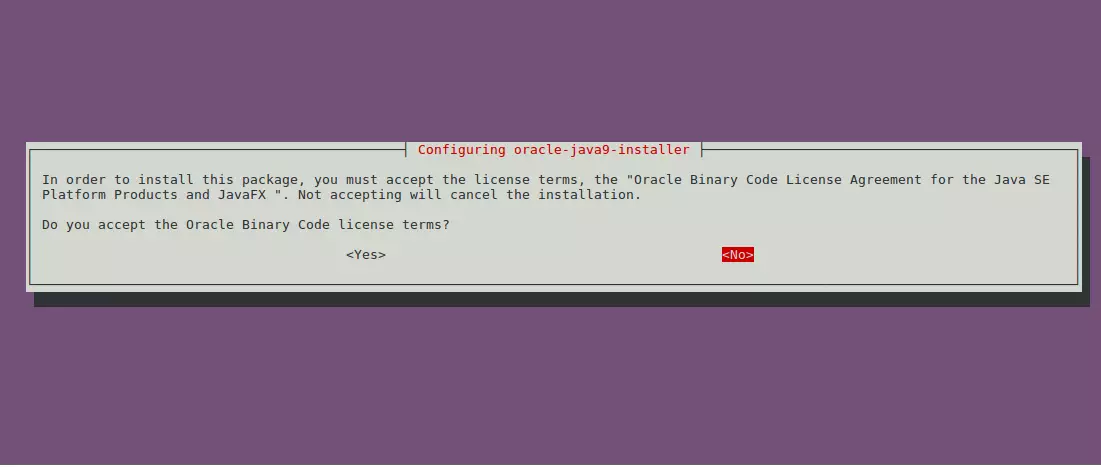
You’ll be prompted to access the software’s license terms when you run the commands above. Accept and continue.
Configure Oracle JDK8 as Default
Set Oracle JDK8 as default; install the oracle-java8-set-default package to do that. This will automatically set the JAVA env variable.
sudo apt install oracle-java8-set-default
The command above will automatically set Java 8 as the default. And that should complete your installation; you can check your Java version by running the following command.
javac -version
Download and install Magnolia
Now that Java is installed run the commands below to download Magnolia content, then extract it to the /opt directory.
cd /tmp && wget https://netix.dl.sourceforge.net/project/magnolia/magnolia/Magnolia%20CE%205.6.5/magnolia-community-demo-bundle-5.6.5-tomcat-bundle.zipUnzip the downloaded content.
unzip magnolia-community-demo-bundle-5.6.5-tomcat-bundle.zip
Move the content to the /opt directory and install.
sudo mv magnolia-5.6.5 /opt/magnolia
Then, run the commands below to begin the installation.
cd /opt/magnolia
sudo ./apache-tomcat-8.5.5/bin/magnolia_control.sh start --ignore-open-files-limit
After this, you should be able to access the site content by going to the server hostname or IP address followed by port 8080.
ex. http://localhost:8080
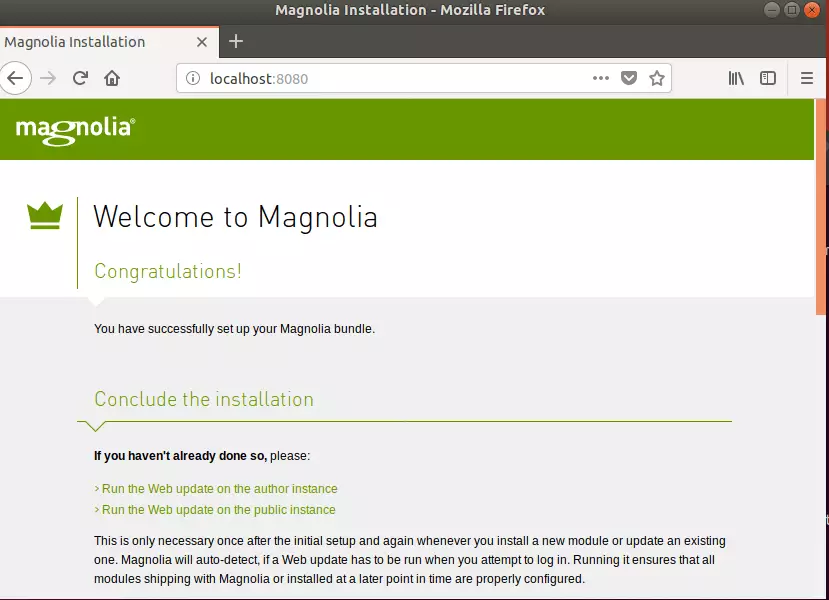
This is the page you should see. On this page, click the links below that read.
- Run the Web update on the author instance
- State on the public instances
Those links will take you to the installation pages.
This is only necessary once after the initial setup and again whenever you install a new module or update an existing one. Magnolia will auto-detect if a Web update has to be run when you attempt to log in. Running it ensures that all modules shipping with Magnolia or installed at a later point in time are correctly configured.
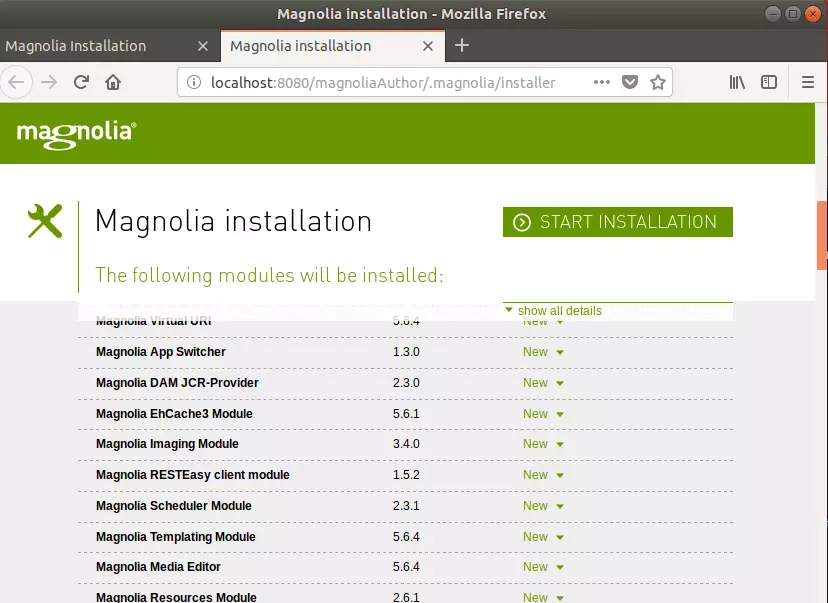
Click START INSTALLATION to begin the installation for each page.
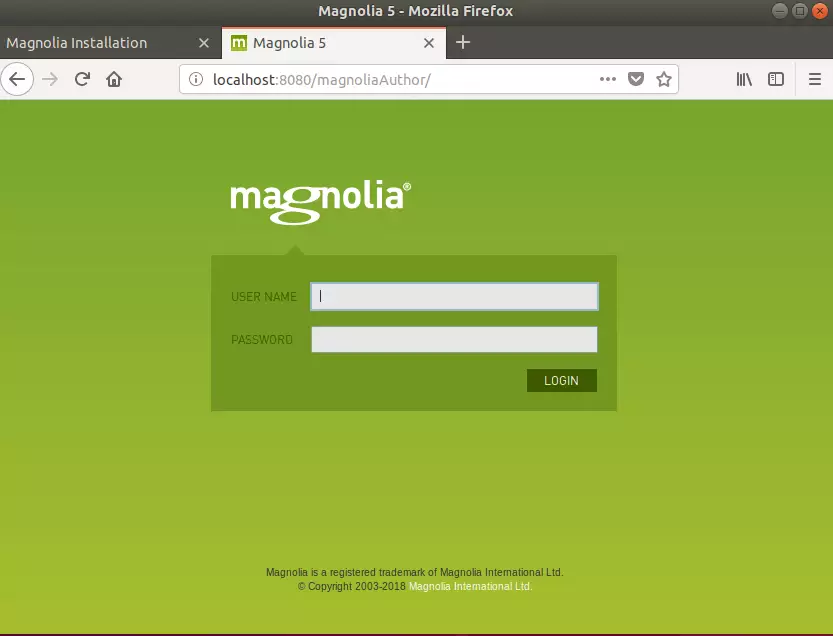
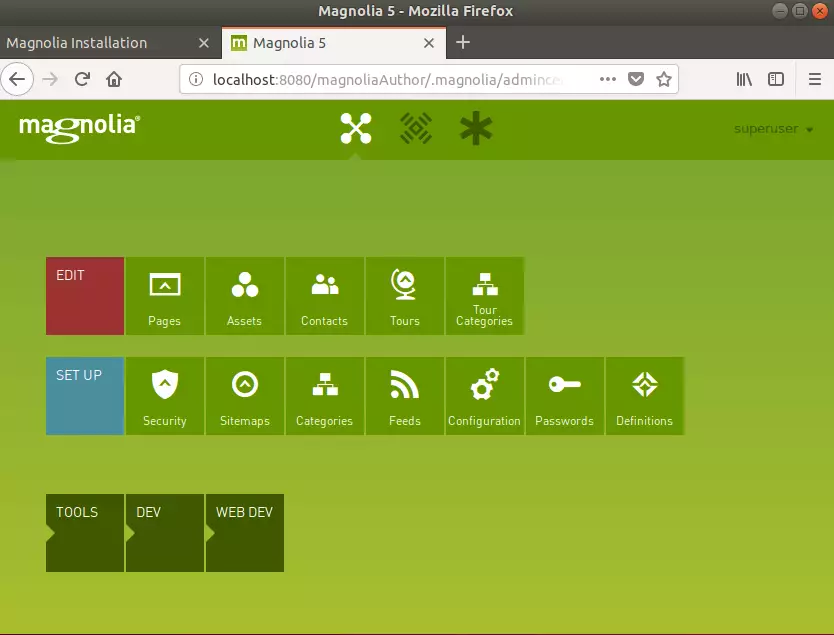
After clicking the Start, Up Magnolia link, start using the app. Log in to the author instance using the credentials below.
Username: superuser
Password: superuser
Enjoy!
To access the public site, use the following:
http://localhost:8080/magnoliaPublic
You may also like the post below:
Leave a Reply