
This brief tutorial shows students and new users how to install the XCP-ng virtualization server and XCP-ng management client.
XCP-ng is an open-source Hypervisor based on XenServer that started as a result of massive cooperation between individuals and companies to deliver the best Hypervisor platform for free.
With XCP-ng, you can control your VMs on your bare metal servers in your environments, grow your cloud without limits, perform live migration amongst VMs without interruptions, and comes with a mighty web-based Xen Orchestra to manage your hosts.
If you want to run your cloud on your servers in your environments without unnecessary cost, you might want to look at the XCP-ng platform.
To get started with installing XCP-ng on Ubuntu, follow the steps below:
Install XCP-ng
First, grab the latest ISO image of XCP-ng from the link below.
After downloading the ISO image, create a bootable USB disk or CD/DVD by running the commands below from a Linux machine.
dd if=xcp-ng-8.2.0.iso of=/dev/sdX bs=8M oflag=direct
Or Use a Rufus to create a bootable disk on Windows machines.
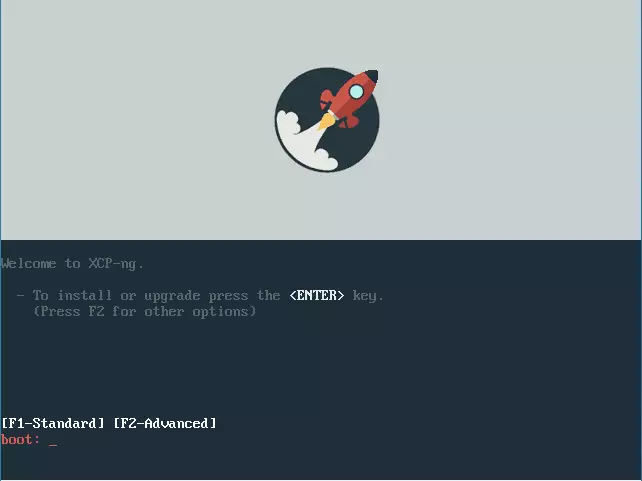
After creating the bootable disk, please insert it into your host server and boot from it.
You should see a Welcome to XCP-ng screen. Press the Enter key to begin the installation wizard. For more options, press F2.
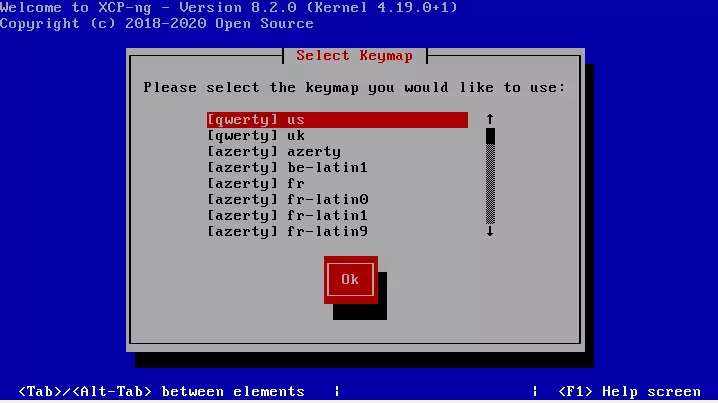
Next, select the keymap you would like to use. The default is [qwerty] us.
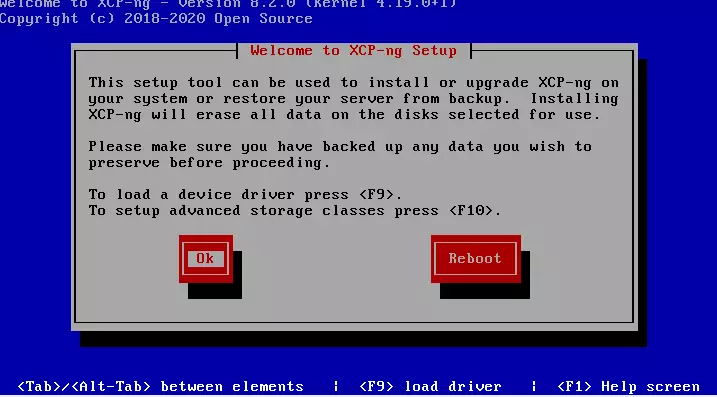
Next, click Ok to use the setup tool to install XCP-ng on your system. To load additional drivers, press F9.
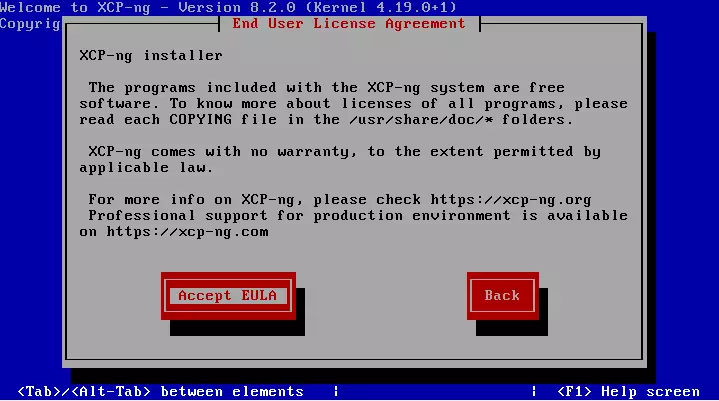
After that, accept the End User License Agreement to continue with the installation.
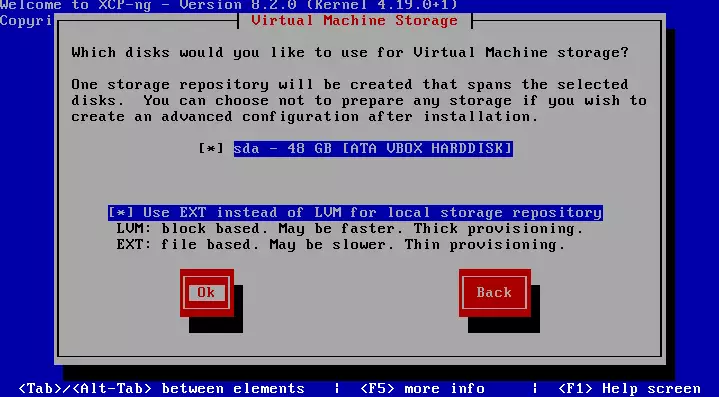
Next, select the virtual machine storage to use for storage. Our tutorial only installed a single disk, so it defaulted to that.
If you want to use EXT instead of LVM for local storage, choose that and click Ok.
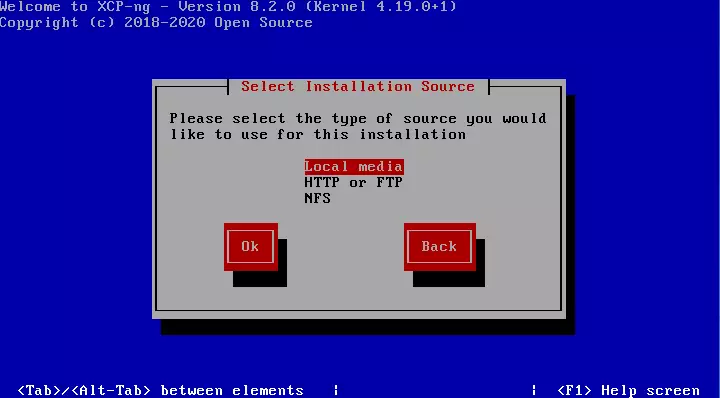
Then select the installation source. Since we’re installing from a local USB or CD, select local media and click Ok.
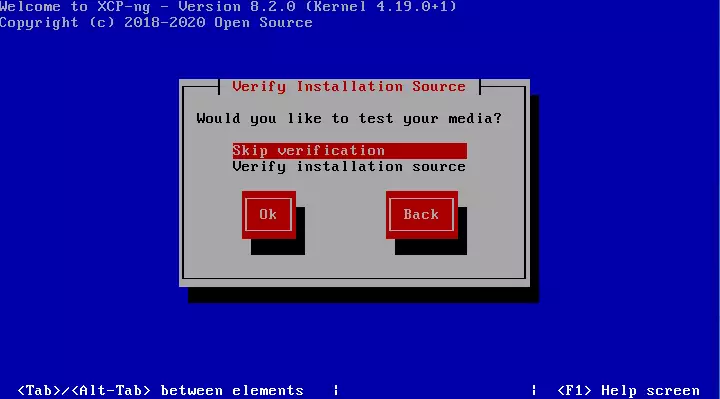
Next, you can choose to verify the installation media or skip it. Verification makes sure that the content on the disk is not corrupted.
After that, create a password for the root account. This is the administrator account that will be used to manage the server.

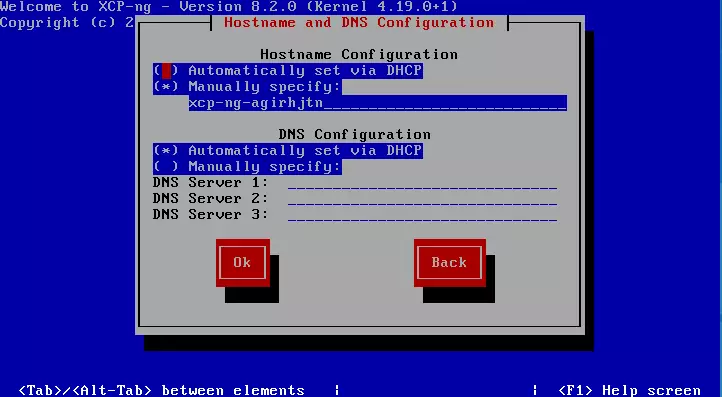
Next, choose how the server networking should be configured. In most cases, you may set a static IP configuration. However, in our case, we will be using automatic configuration (DHCP).
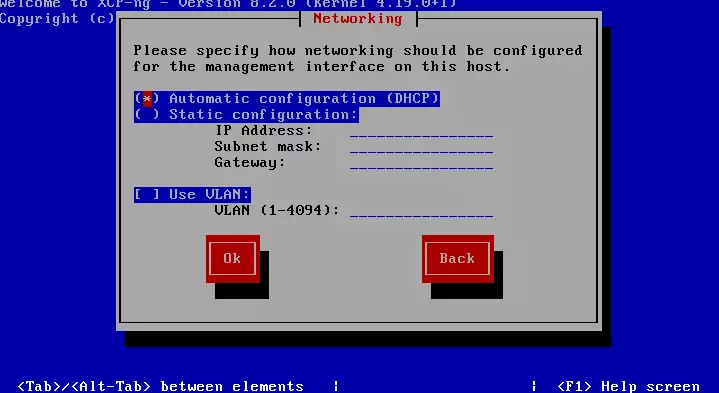
We’ll also be using automatic DNS configuration. In a production environment, these would be static DNS servers.
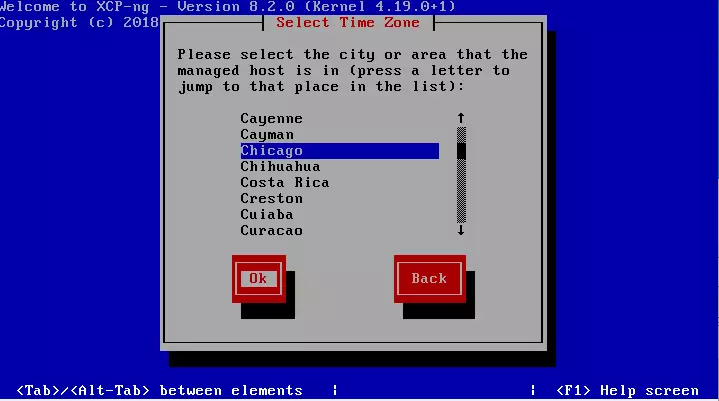
When you’re done, choose the local time zone of the server.

Then select the city the server will be stationed.
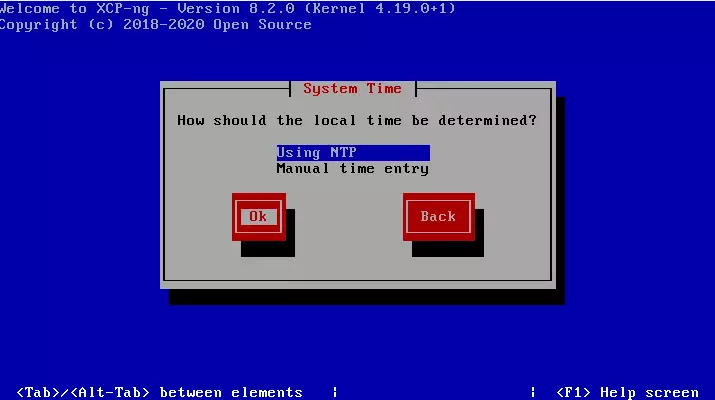
Next, use NTP to determine the server’s local time and continue.
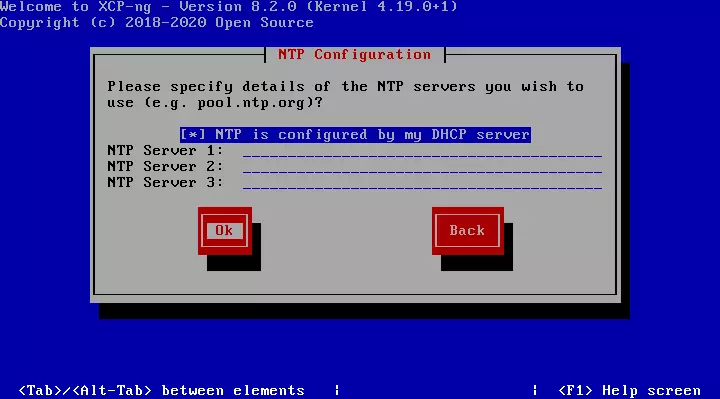
Because we’re using automatic IP configurations, choose the have a DHCP server automatically assigned to the NTP servers. In production environments, these will statically be entered.
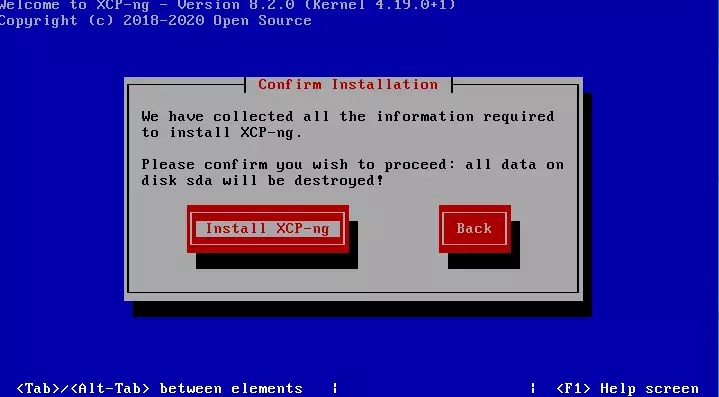
Next, click Install XCP-ng to begin the installation. This will erase all data on the disk you’re installing on.
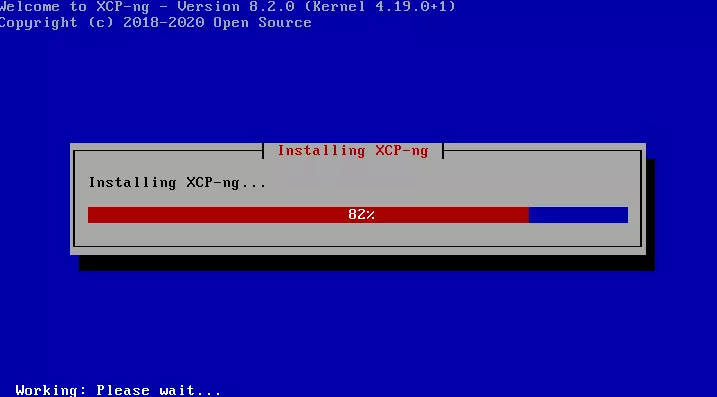
Wait for the installation to complete.
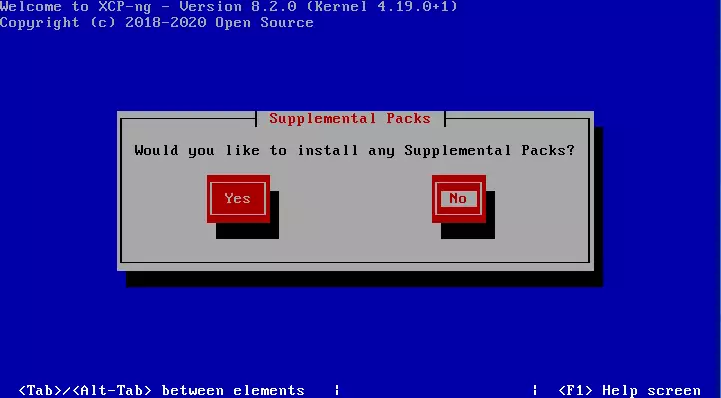
When prompted if you want to install any additional packs, choose No. Many have complained that this might hang the installation.
You can also install these packages after the software is installed and working.
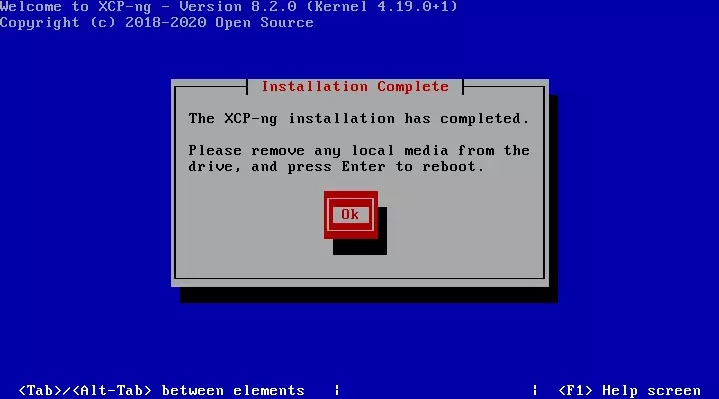
After that, the installation should be complete. Remove any disk in the computer and press Enter to reboot.
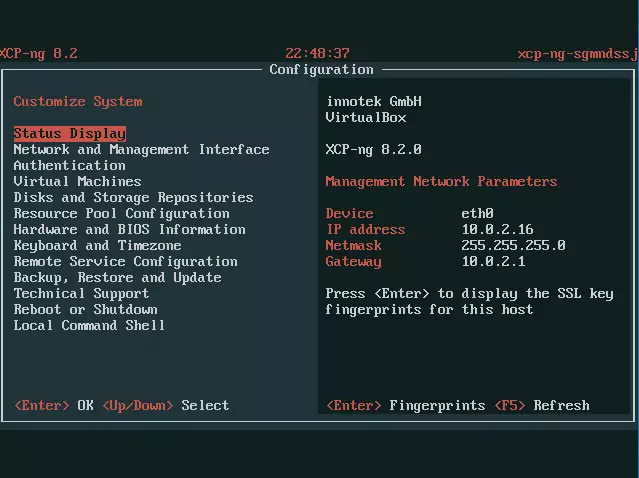
Login with the root password created above and start configuring your environment.
That should do it.
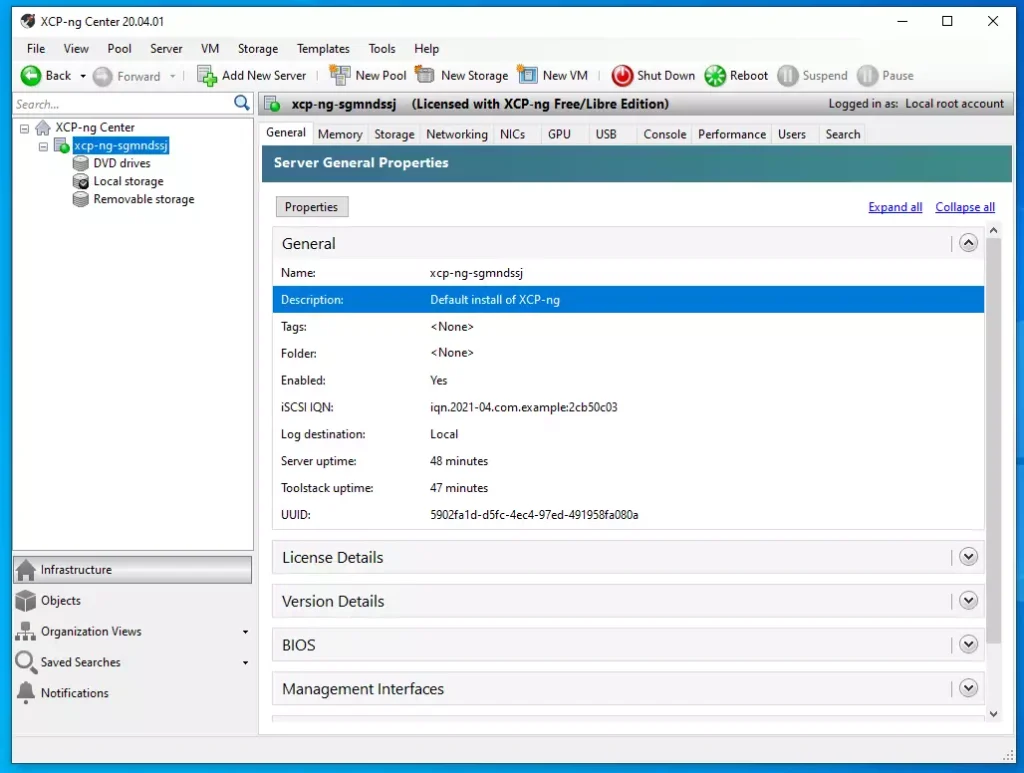
Install XCP-ng Center
To manage the server via a graphical client, you’ll need to install it. The official graphical client for XCP-ng is Xen Orchestra, which gets support from a team of several developers.
XCP-ng Center is maintained by community members in their free time and hosted by the XCP-ng project.
Download the latest release from the link below and install it on your Windows machine.
Releases · xcp-ng/xenadmin · GitHub
Enjoy!
That should do it.
Conclusion:
- XCP-ng is a powerful open-source virtualization platform based on XenServer, enabling efficient management of virtual machines.
- The installation process on bare metal servers is straightforward, requiring only a few steps to get started.
- Users have the flexibility to choose between different storage options and network configurations during installation.
- After installation, managing your virtual environment is simplified with the use of graphical clients like Xen Orchestra and XCP-ng Center.
- XCP-ng offers a cost-effective solution for building and managing cloud infrastructure without sacrificing features or performance.
- Community support and ongoing development ensure that XCP-ng remains a reliable choice for virtualization needs.


Leave a Reply