How to Install Usermin on Ubuntu 24.04
You install Usermin on Ubuntu 24.04 to give non-root users a simple web interface for managing their server accounts.
Usermin is a web-based control panel allowing individual users to manage their email, files, and shell access without needing full administrator rights. It’s distinct from the more powerful Webmin, which targets system administrators.
With Usermin, you can quickly change passwords, manage mailboxes, and access files from your browser. This guide covers the straightforward installation on Ubuntu 24.04.
Install Usermin on Ubuntu 24.04 by first installing required packages with `sudo apt install python3 apt-show-versions shared-mime-info unzip libapt-pkg-perl libauthen-pam-perl libio-pty-perl libnet-ssleay-perl`. Then, download and install Usermin using `curl -L -O https://www.webmin.com/download/deb/usermin-current.deb` followed by `sudo dpkg -i usermin-current.deb`.
Install required packages
Before you can install Usermin on Ubuntu 24.04, you need to get a few essential packages ready.
Run the command below to install them.
sudo apt install python3 apt-show-versions shared-mime-info unzip libapt-pkg-perl libauthen-pam-perl libio-pty-perl libnet-ssleay-perl
Once those are in place, it’s time to download the Usermin installer package.
Download and install Usermin
Now that your system is prepared, you can download and install Usermin on Ubuntu 24.04.
Run the command below to download the latest version of Usermin.
curl -L -O https://www.webmin.com/download/deb/usermin-current.deb
You may have to install curl [sudo apt install curl] if you don’t already have it.
Once downloaded, install Usermin by running the command below.
sudo dpkg -i usermin-current.deb
After installing, open the Usermin configuration file. You can do this by running the command below.
sudo nano /etc/usermin/miniserv.conf
Inside this file, add a new line specifying the IP addresses you want to allow access from, and another line to deny root login. You can see an example of this below.
# add a new line at the end to allow IP addresses
allow=127.0.0.1 192.168.0.0/24

# prohibit login as root account
denyusers=root
Once you’ve made these changes, save and exit the file.
Restart Usermin by running the command below.
sudo systemctl restart usermin
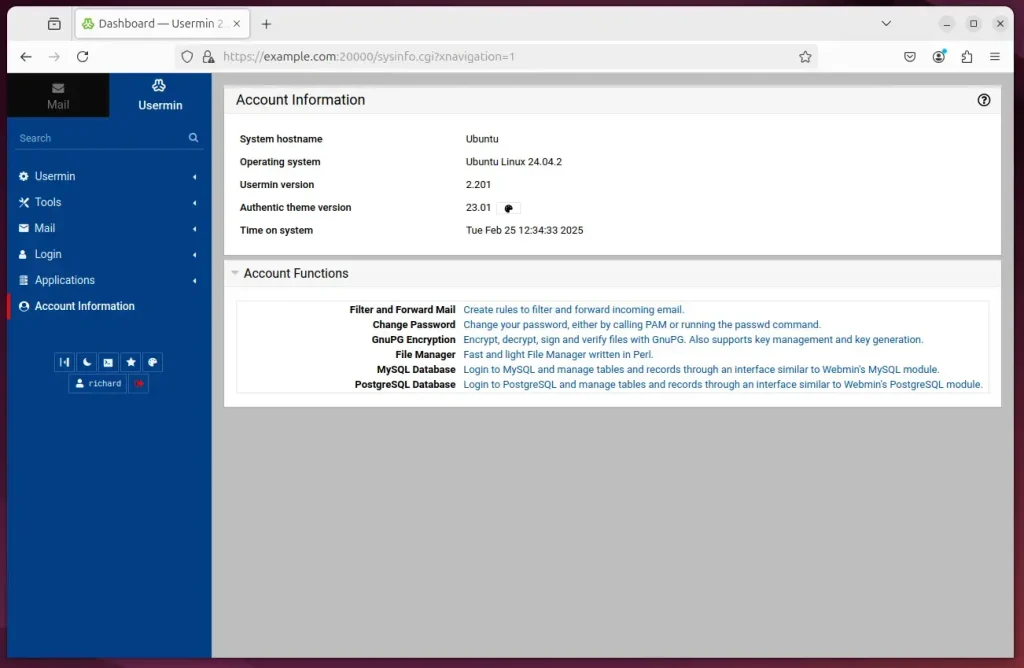
You should then be able to access the server hostname or IP address, followed by port 20000 from clients’ IPs, which is allowed.
http://example.com:20000
Users who are admins or can run the sudo command can log in on the login page.
Start managing your server.
That should do it!
Conclusion:
- Usermin provides an efficient way for end-users to manage their mail and services without full server access.
- The installation process involves installing necessary packages and configuring Usermin settings.
- Ensure that specific IP addresses are allowed and that root access is denied to enhance security.
- Access Usermin through the server’s hostname or IP followed by port 20000.
- With Usermin, users can easily manage their accounts, change passwords, and utilize services like email.
What is the difference between Webmin and Usermin?
Usermin uses resources similarly to Webmin, but they’re separate. Usermin isn’t a module of Webmin; it’s its own server. It drops privileges and performs actions as the logged-in user, which can be safer for certain situations.
What is Usermin used for?
Usermin is a handy web-based tool that lets regular users manage things like their email, change passwords, and set up mail filters without needing to use complex commands.
Does Webmin work on Ubuntu?
You’ll see the service is active, running, and enabled.
What exactly is Webmin used for?
What is Webmin? Using it, it is possible to configure operating system internals, such as users, disk quotas, services or configuration files, as well as modify, and control open-source apps, such as BIND DNS Server, Apache HTTP Server, PHP, MySQL, and many more.
Was this guide helpful?

About the Author
Richard
Tech Writer, IT Professional
Richard, a writer for Geek Rewind, is a tech enthusiast who loves breaking down complex IT topics into simple, easy-to-understand ideas. With years of hands-on experience in system administration and enterprise IT operations, he’s developed a knack for offering practical tips and solutions. Richard aims to make technology more accessible and actionable. He's deeply committed to the Geek Rewind community, always ready to answer questions and engage in discussions.


No comments yet — be the first to share your thoughts!