This post shows students and new users how to install and use Skype on Ubuntu Linux. Skype, owned by Microsoft, is a very popular communication app worldwide. With Skype, one can make free online audio and video calls anywhere in the world to other users via mobile or landline.
Skype is also cross-platform, meaning it can be installed on Windows, Linux, and macOS. You can call others on Skype for free using audio or video anywhere.
Skype for Linux was recently updated, and this new version adds some new features, including an enhanced user interface, cloud-based group chat experience, PulseAudio support and file transfer improvements across multiple devices, and many other fixes.
Also, for students and new users learning Linux, Ubuntu Linux is the easiest place to start learning. Ubuntu is the modern, open-source Linux operating system for desktops, servers, and other devices.
To start installing Skype on Ubuntu Linux, follow the steps below.
Skype is not an open-source software and doesn’t have its packages in Ubuntu default repositories. You can’t simply run the apt-get command to install Skype.
There are two popular ways to install Skype in Ubuntu, and both work great. Choose either of the methods below to get Skype on Ubuntu.
How to download and install Skype on Ubuntu
The easiest and most popular method to install Skype on Ubuntu is downloading and installing it .deb file.
Open your terminal and download the latest Skype .deb package using the following wget command:
But before that, run the commands below to install some recommended packages.
sudo apt update
sudo apt install apt-transport-https wget
After that, run the commands below to download the latest version of Skype.
wget https://go.skype.com/skypeforlinux-64.deb
Once the download is complete, install Skype by running the command below as root or account with administrative privileges.
sudo apt install ./skypeforlinux-64.deb
The commands above are to install Skype on your system and add the official Skype repository to install newer versions when you run system updates automatically.
To view the repository file, run the commands below:
cat /etc/apt/sources.list.d/skype-stable.list
It should display a similar line as shown below:
deb [arch=amd64] https://repo.skype.com/deb stable main
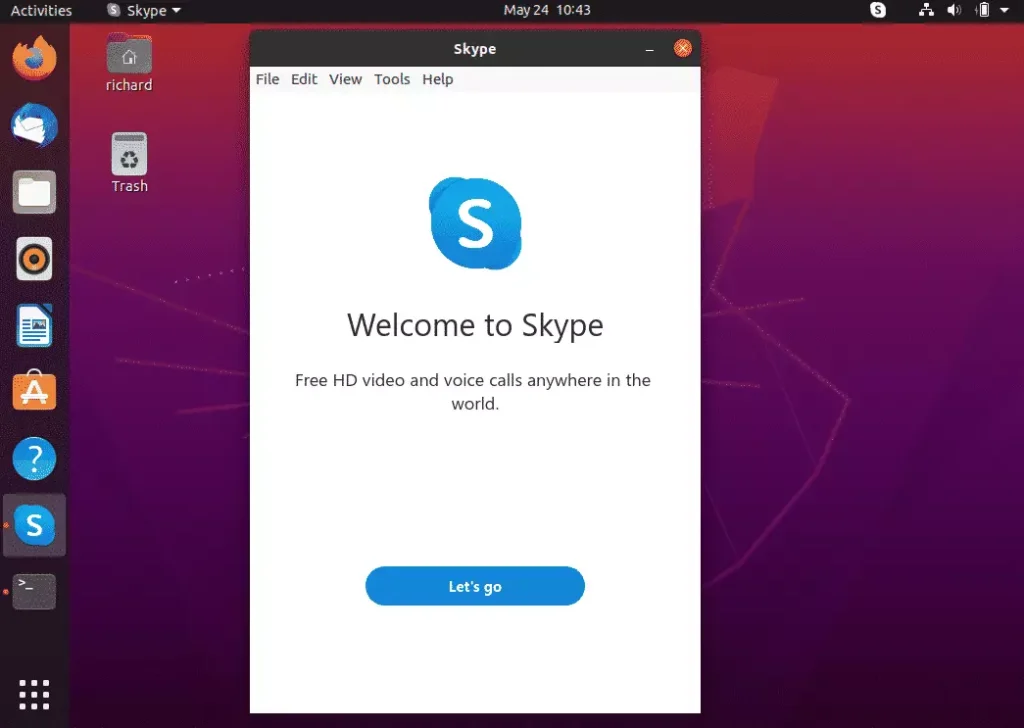
Once Skype is installed, go to the Activities --> Dashboard and search for Skype. Then select and launch.
How to install Skype via Snap on Ubuntu
Suppose the option above didn’t work for you. You can also install Skype via Snap package management. Snaps are applications packaged with dependencies to run on all popular Linux distributions from a single build.
To install Skype via snap, open your terminal (Ctrl+Alt+T) and run the following command:
sudo apt install snapd
sudo snap install skype --classic
That should do it!
Conclusion:
- Skype provides a robust platform for communication with audio and video calls across the globe.
- Installing Skype on Ubuntu is straightforward, with two primary methods: using a .deb file or Snap package.
- Users should ensure they have the necessary packages installed before initiating the Skype installation process.
- For anyone new to Linux, Ubuntu serves as an excellent starting point for exploring and using software applications like Skype.
- Regular updates ensure that users have access to the latest features and improvements in Skype.
- Enjoy seamless communication with your friends and family, no matter where they are!


Leave a Reply