
This describes the steps to install and set up printers in Ubuntu Linux.
Today, setting up a printer in Ubuntu Linux is as simple as plugging it into your computer’s USB port or simply connecting it via Wi-Fi to your home wireless network.
Ubuntu and Linux, as a whole, have come a long way. For example, now Ubuntu can recognize many printer brands with their drivers installed and ready to use.
When a printer is connected and set up correctly, you can easily print directly from Ubuntu to that printer.
Ubuntu has also made installing network printers easier by putting the installation wizard on the same windows. Previously, installing a network printer was a separate page.
How to install local or network printer in Ubuntu Linux
As described above, setting up a printer in Ubuntu Linux is as simple as plugging it into your computer’s USB port or connecting it via Wi-Fi to your home wireless network.
Below is how one can connect a printer to Ubuntu.
First, ensure the printer is turned on when you connect the USB cable to the Ubuntu desktop.
When the printer is connected, Ubuntu will automatically attempt to install the printer using the best drivers. You may be asked to authenticate when a suitable drive is found by typing your password to install it.
A message will appear when the system is finished installing the printer. Select Print Test Page to print a test page or Options to make additional changes in the printer setup.
If the above doesn’t work, follow the steps below to install the printer manually.
Ubuntu Linux has a centralized location for the majority of its settings. From system configurations to creating new users and updating, all can be done from the System Settings panel.
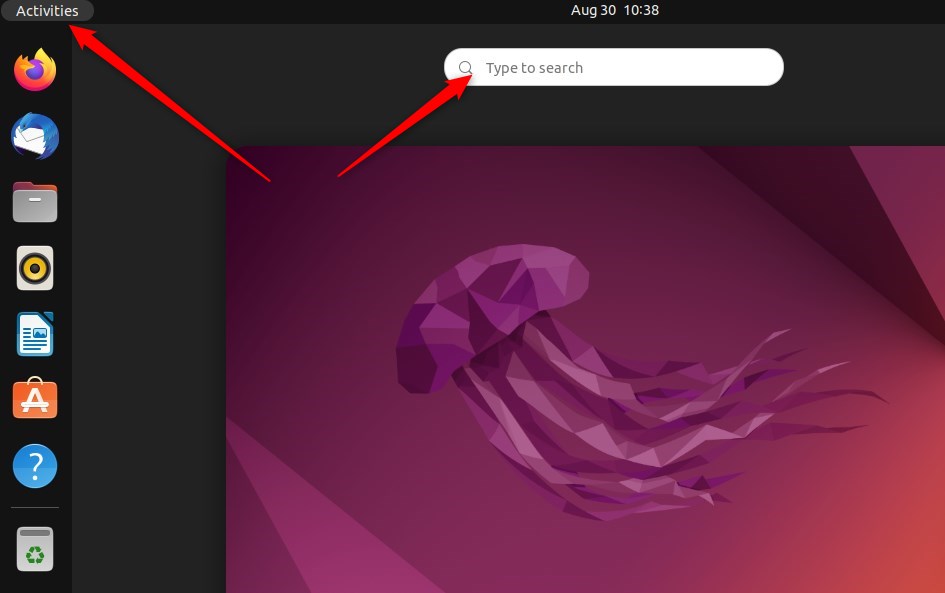
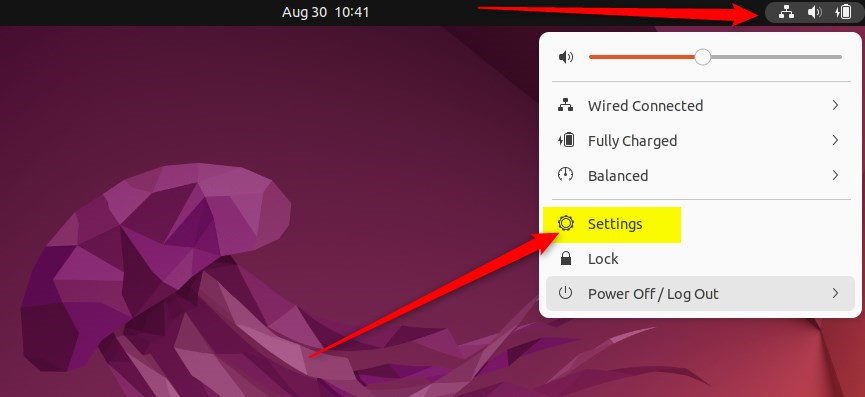
Alternatively, click on the System menu at the top-right corner of the top bar on your desktop.
On the System menu, select Settings, as highlighted below.
Click on the Printers tile in the Settings app to open the panel.
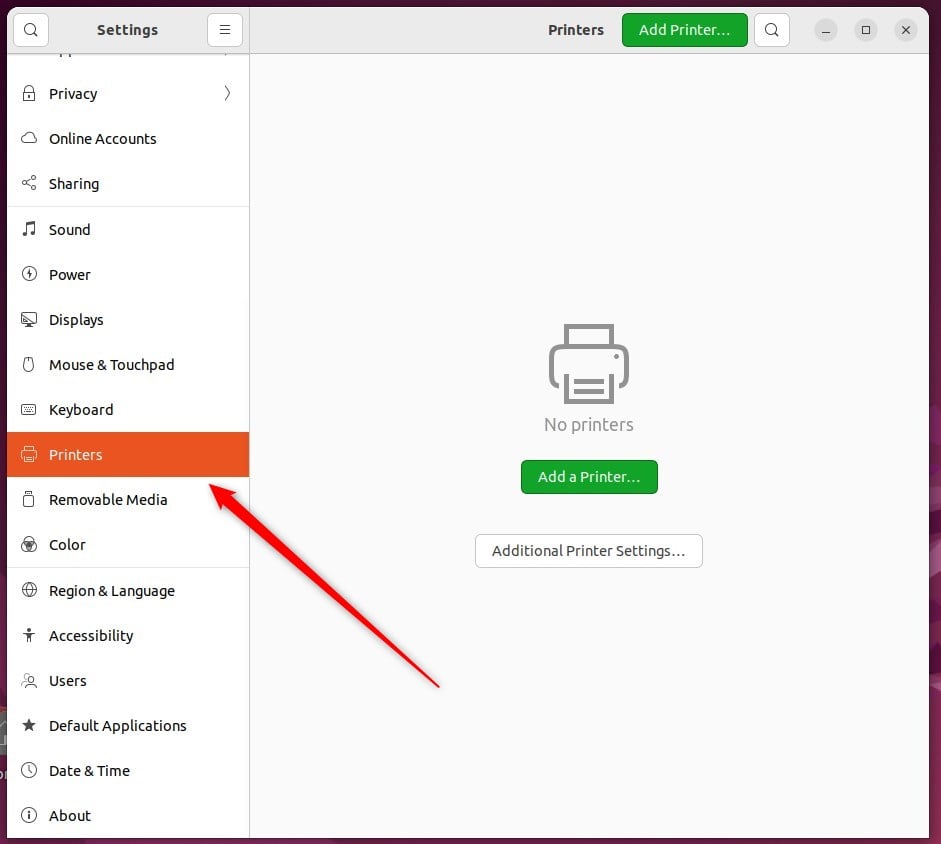
On the System -> Printer settings pane, click on the Add a Printer button to begin adding printers to Ubuntu Linux.
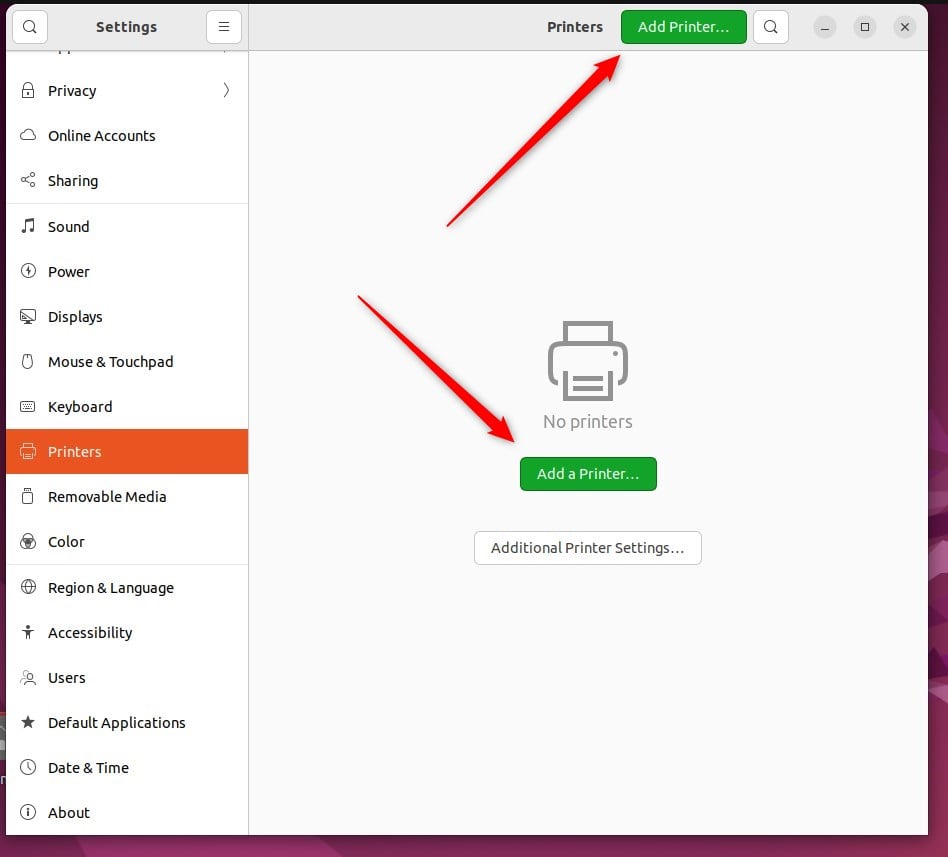
If your printer were connected to Ubuntu Linux via USB, it would be discovered when the printer scan is initiated.
In the pop-up window, select your new printer and press Add.
If you cannot install your printer, you may have to install the printer drivers from the manufacturer’s website or update Ubuntu Linux.
Read the post below to learn how to install additional printer drivers in Ubuntu Linux.
How to install additional printer drivers in Ubuntu Linux
Conclusion:
- Setting up a printer in Ubuntu Linux is now effortless, whether it’s a local or network printer.
- Ubuntu’s improved recognition of printer brands with pre-installed drivers simplifies the installation process.
- The centralized System Settings panel and the “Add a Printer” button streamline the manual installation of printers.
- Troubleshooting options, such as installing additional printer drivers from the manufacturer’s website, are available if needed.
Frequently Asked Questions
How do I set up a printer in Ubuntu Linux?
What should I do if my printer is not recognized by Ubuntu?
Can I install a network printer on Ubuntu?
How do I print a test page in Ubuntu after setting up my printer?
Where can I find additional printer drivers for Ubuntu?
Leave a Reply