This brief tutorial shows students and new users how to install and set up Postal Mail Server on Ubuntu 18.04 | 16.04.
For those who don’t know, Postal Mail Server is a complete and full-featured mail server for websites and servers that provides similar services like Sendgrid, Mailgun, and Postmark that you can run on your server in your environment.
Postal provides an HTTP API that allows you to integrate it with your services and send emails from your sites and web apps, with strong spam and virus checking.
For more about Postal Mail Server, please check its homepage.
To get started with installing and configuring Postal Mail Server, follow the steps below:
Install MariaDB Database Server
Postal Mail Server needs a database server to store its content. To get a truly open-source database server, install the MariaDB server.
To do that, run the commands below.
sudo apt update
sudo apt install mariadb-server libmysqlclient-dev
After installing MariaDB, the commands below can stop, start, and enable the service to start when the server boots.
sudo systemctl stop mariadb.service
sudo systemctl start mariadb.service
sudo systemctl enable mariadb.service
When done, run the commands below to secure the MariaDB server by creating a root password and disallowing remote root access.
sudo mysql_secure_installation
When prompted, answer the questions below by following the guide.
- Enter current password for root (enter for none): Just press the Enter
- Set root password? [Y/n]: Y
- New password: Enter password
- Re-enter new password: Repeat password
- Remove anonymous users? [Y/n]: Y
- Disallow root login remotely? [Y/n]: Y
- Remove test database and access to it? [Y/n]: Y
- Reload privilege tables now? [Y/n]: Y
Restart MariaDB server
To test if MariaDB is installed, run the commands below:
sudo systemctl status mariadb
That should display MariaDB’s service status.
● mariadb.service - MariaDB 10.1.44 database server
Loaded: loaded (/lib/systemd/system/mariadb.service; enabled; vendor preset: enabled)
Active: active (running) since Wed 2020-04-08 17:08:17 CDT; 1min 54s ago
Docs: man:mysqld(8)
https://mariadb.com/kb/en/library/systemd/
Main PID: 22363 (mysqld)
Status: "Taking your SQL requests now…"
Tasks: 27 (limit: 4666)
CGroup: /system.slice/mariadb.service
└─22363 /usr/sbin/mysqld
Apr 08 17:08:17 ubuntu1804 /etc/mysql/debian-start[22396]: mysql
Create Postal Mail Server Database
Now that you’ve installed the MariaDB server run the commands below to create a blank database for Postal Mail Server.
To do that, run the commands below to log on to MariaDB. When prompted for a password, type the root password you created above.
sudo mysql -u root -p
Then create a database called postal
CREATE DATABASE postal CHARSET utf8mb4 COLLATE utf8mb4_unicode_ci;
Next, create a database user called postaluser with a new password
CREATE USER 'postaluser'@'localhost' IDENTIFIED BY 'new_password_here';
After that, grant the user full access to the postaluser database.
GRANT ALL ON postal.* TO 'postaluser'@'localhost' WITH GRANT OPTION;
Finally, save your changes and exit.
FLUSH PRIVILEGES;
EXIT;
Install Ruby and RabbitMQ
After the above, install Ruby, Erlang, and RabbitMQ packages on Ubuntu. These are required packages and are not available via Ubuntu default repositories.
To install the latest version of Ruby, you might need to do it from a third-party PPA. Below is how to add the PPA and install Ruby.
sudo apt-get install software-properties-common
sudo apt-add-repository ppa:brightbox/ruby-ng
After that, run the commands below to update Ubuntu packages and install Ruby version 2.3.
sudo apt update
sudo apt install ruby2.3 ruby2.3-dev build-essential
Now that you have installed Ruby continue below to get RabbitMQ installed. A requirement to run RabbitMQ is to have Erlang.
First, install Erlang. You can do that by adding its repository key to Ubuntu.
wget -O- https://packages.erlang-solutions.com/ubuntu/erlang_solutions.asc | sudo apt-key add -
Then run the commands below to add the repository
echo "deb https://packages.erlang-solutions.com/ubuntu bionic contrib" | sudo tee /etc/apt/sources.list.d/erlang.list
After that, run the commands below to install Erlang.
sudo apt-get update
sudo apt-get install erlang
When you’re done installing Erlang, continue below to install RabbitMQ.
To install RabbitMQ, first, add its repository to Ubuntu. You can do that by running the commands below.
sudo sh -c 'echo "deb https://dl.bintray.com/rabbitmq/debian $(lsb_release -sc) main" >> /etc/apt/sources.list.d/rabbitmq.list'
Next, run the commands below to add the repository’s key to the list above.
wget -O- https://dl.bintray.com/rabbitmq/Keys/rabbitmq-release-signing-key.asc | sudo apt-key add -
wget -O- https://www.rabbitmq.com/rabbitmq-release-signing-key.asc | sudo apt-key add -
After adding the RabbitMQ repository and key, run the commands below to install the RabbitMQ package.
sudo apt update
sudo apt install rabbitmq-server
After installing, the commands below can stop, start, and enable RabbitMQ to start up when the server boots.
sudo systemctl enable rabbitmq-server
sudo systemctl start rabbitmq-server
sudo systemctl stop rabbitmq-server
RabbitMQ also provides a web management console that is easy to use. To enable it, run the commands below.
sudo rabbitmq-plugins enable rabbitmq_management
After that, open your browser and browse to the server name or IP address followed by port # 15672
Example: http://example.com:15672
You should see the RabbitMQ web management console to log on. The default username and password are guests.
Username & Password: guest
Log in and begin configuring your server
Next, create a Postal Mail Server RabbitMQ VirtualBox, user, and password. To do that, run the commands below.
sudo rabbitmqctl add_vhost /postal
sudo rabbitmqctl add_user postal type_password_here
sudo rabbitmqctl set_permissions -p /postal postal ".*" ".*" ".*"
Install Nodejs
To properly run the Postal Mail Server, you’ll want to install Nodejs. That can easily be installed using the commands below:
sudo apt install curl
curl -sL https://deb.nodesource.com/setup_10.x | sudo bash
sudo apt-get install nodejs
Install Postal Mail Server
Now that your server has everything needed to run Postal Mail Server continue below to get it installed and configured.
First, create a service account for Postal Mail Server
sudo useradd -r -m -d /opt/postal -s /bin/bash postal
Next, allow Ruby to listen to web calls by running the commands below:
sudo setcap 'cap_net_bind_service=+ep' /usr/bin/ruby2.3
Next, install the required packages.
sudo gem install bundler
sudo gem install procodile
sudo gem install nokogiri -v '1.7.2'
Next, create a Postal Mail Server directory, download the latest version, extract it into the directory, and then give Postal user access.
sudo mkdir -p /opt/postal/app
sudo wget https://postal.atech.media/packages/stable/latest.tgz
sudo tar xvf latest.tgz -C /opt/postal/app
sudo chown -R postal:postal /opt/postal
sudo ln -s /opt/postal/app/bin/postal /usr/bin/postal
Next, install dependencies and initialize Postal configurations.
sudo postal bundle /opt/postal/vendor/bundle
sudo postal initialize-config
After that, open the Postal default configurations file
sudo nano /opt/postal/config/postal.yml
Then make the highlighted changes and save.
web:
# The host that the management interface will be available on
host: postal.example.com
# The protocol that requests to the management interface should happen on
protocol: https
fast_server:
# This can be enabled to enable click & open tracking on emails. It is disabled by
# default as it requires a separate static IP address on your server.
enabled: false
bind_address:
general:
# This can be changed to allow messages to be sent from multiple IP addresses
use_ip_pools: false
main_db:
# Specify the connection details for your MySQL database
host: 127.0.0.1
username: postaluser
password: portal_database_password
database: postal
message_db:
# Specify the connection details for your MySQL server that will be house the
# message databases for mail servers.
host: 127.0.0.1
username: postaluser
password: postal_database_password
prefix: postal
rabbitmq:
# Specify the connection details for your RabbitMQ server.
host: 127.0.0.1
username: postal
password: postal_rabbitmq_password
vhost: /postal
dns:
After making the changes above, save the file. Then, run the commands below to initialize Postal services and create an account for its web portal.
sudo postal initialize
sudo postal make-user
You will be given an account detail similar to the one below:
Postal User Creator
Enter the information required to create a new Postal user.
This tool is usually only used to create your initial admin user.
E-Mail Address : admin@example.com
First Name : super
Last Name : Admin
Initial Password: :
User has been created with e-mail address admin@example.com
Finally, stop, start, and check the Postal service status.
sudo -u postal postal start
sudo -u postal postal status
Procodile Version 1.0.26
Application Root /opt/postal/app
Supervisor PID 26738
Started 2020-04-08 17:48:24 -0500
|| web
|| Quantity 1
|| Command bundle exec puma -C config/puma.rb
|| Respawning 5 every 3600 seconds
|| Restart mode usr1
|| Log path none specified
|| Address/Port none
|| => web.1 Running 17:48 pid:26744 respawns:0 port:- tag:-
The Postal is installed and ready. However, you will need a web server to browse via its portal. For this tutorial, we’re going to install Nginx.
Install Nginx
You must install a web server to manage Postal Mail Server via its web portal. Run the commands below to install Nginx.
sudo apt install nginx
Then copy the Postal Nginx config to use as its VirtualHost.
sudo cp /opt/postal/app/resource/nginx.cfg /etc/nginx/sites-available/default
Then create a self-signed SSL certificate to use with the portal.
sudo mkdir /etc/nginx/ssl/
sudo openssl req -x509 -newkey rsa:4096 -keyout /etc/nginx/ssl/postal.key -out /etc/nginx/ssl/postal.cert -days 365 -nodes
Answer the prompts as shown below:
Generating a RSA private key
……………………………++++
…………++++
writing new private key to '/etc/nginx/ssl/postal.key'
You are about to be asked to enter information that will be incorporated
into your certificate request.
What you are about to enter is what is called a Distinguished Name or a DN.
There are quite a few fields but you can leave some blank
For some fields there will be a default value,
If you enter '.', the field will be left blank.
Country Name (2 letter code) [AU]:US
State or Province Name (full name) [Some-State]:MN
Locality Name (eg, city) []:Brooklyn
Organization Name (eg, company) [Internet Widgits Pty Ltd]:
Organizational Unit Name (eg, section) []:
Common Name (e.g. server FQDN or YOUR name) []:postal.example.com
Email Address []:
Next, open the Nginx configuration file and edit the server name to postal.example.com
sudo nano /etc/nginx/sites-available/default
Edit the server name and save:
server {
listen [::]:80;
listen 0.0.0.0:80;
server_name postal.example.com;
return 301 https://$host$request_uri;
}
Restart Nginx
sudo systemctl reload nginx
After that, browse to the server name and log in.
https://postal.example.com
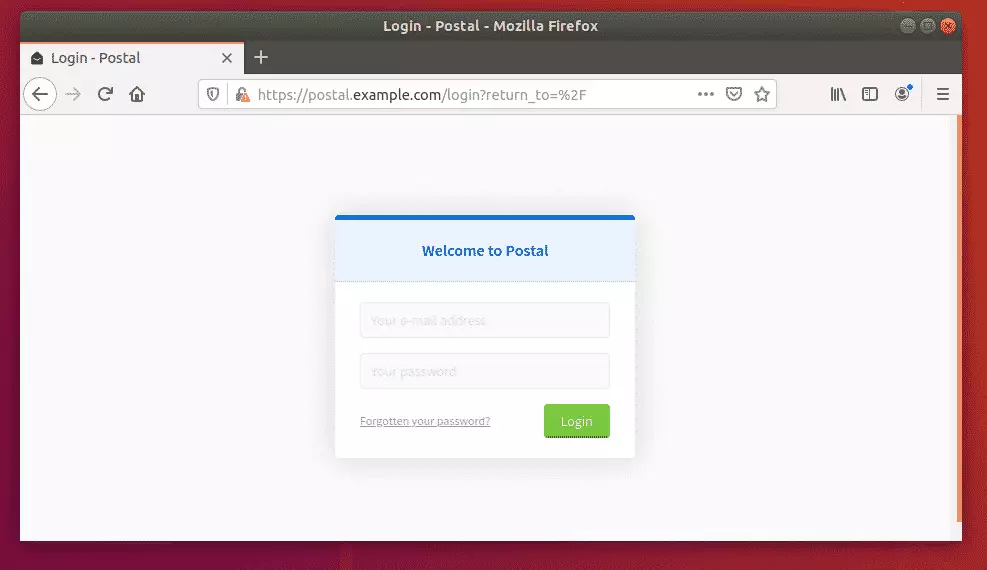
Log in and set up your environment.
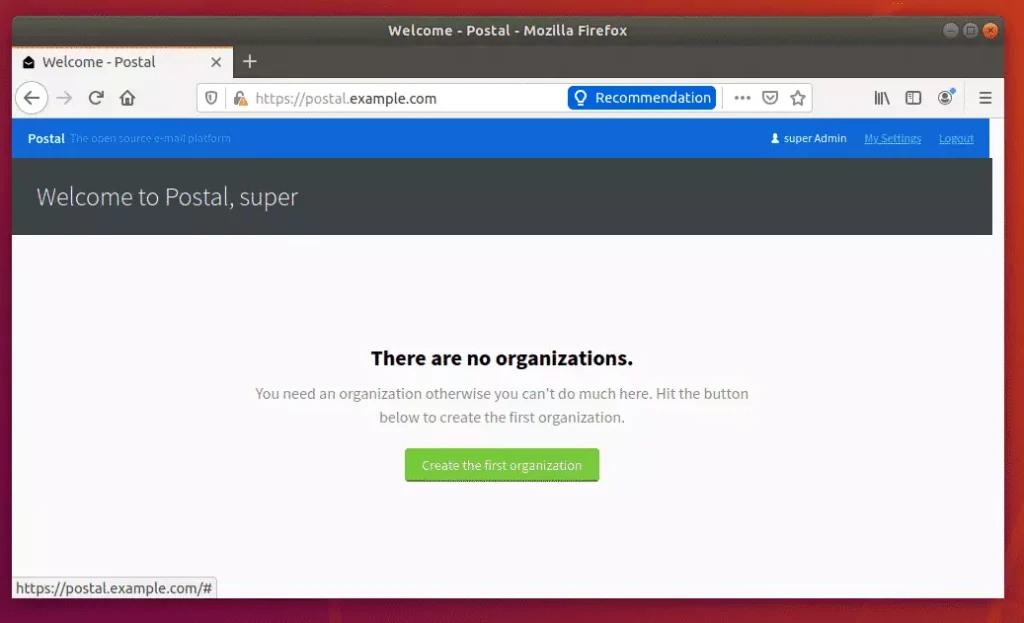
That should do it!
Conclusion:
This post showed you how to install Postal Mail Server on Ubuntu 18.04 | 16.04. If you find any error above, please use the form below to report it.
You may also like the post below:


Leave a Reply to vimal Cancel reply