
This brief tutorial shows students and new users how to install and configure OpenNebula on Ubuntu 18.04 | 16.04.
For the uninitiated, OpenNebula is an open-source cloud computing platform that allows you to combine and manage VMware and KVM virtual machines in fully virtualized clouds, which you can integrate with providers like AWS, Azure, and Packet and create flexible hybrid and edge cloud infrastructures.
For more about OpenNebula, please check its homepage.
To get started with installing and configuring OpenNebula, please follow the steps below:
Install MariaDB Database Server
OpenNebula also needs a database server to store its content. The MariaDB database server is a great place to start when looking at open-source database servers to use with OpenNebula.
To install MariaDB, run the commands below:
sudo apt update
sudo apt install mariadb-server mariadb-client
After installing MariaDB, the commands below can stop, start, and enable the service to start when the server boots.
sudo systemctl stop mariadb.service
sudo systemctl start mariadb.service
sudo systemctl enable mariadb.service
After that, run the commands below to secure the MariaDB server by creating a root password and disallowing remote root access.
sudo mysql_secure_installation
When prompted, answer the questions below by following the guide.
- Enter current password for root (enter for none): Just press the Enter
- Set root password? [Y/n]: Y
- New password: Enter password
- Re-enter new password: Repeat password
- Remove anonymous users? [Y/n]: Y
- Disallow root login remotely? [Y/n]: Y
- Remove test database and access to it? [Y/n]: Y
- Reload privilege tables now? [Y/n]: Y
Restart MariaDB server
To test if MariaDB is installed and working, run the commands below:
sudo systemctl status mariadb
That should display MariaDB’s service status.
● mariadb.service - MariaDB 10.1.44 database server
Loaded: loaded (/lib/systemd/system/mariadb.service; enabled; vendor preset: enabled)
Active: active (running) since Wed 2020-04-08 17:08:17 CDT; 1min 54s ago
Docs: man:mysqld(8)
https://mariadb.com/kb/en/library/systemd/
Main PID: 22363 (mysqld)
Status: "Taking your SQL requests now…"
Tasks: 27 (limit: 4666)
CGroup: /system.slice/mariadb.service
└─22363 /usr/sbin/mysqld
Apr 08 17:08:17 ubuntu1804 /etc/mysql/debian-start[22396]: mysql
Create OpenNebula Database
Now that you’ve installed all the required packages, continue below to start configuring the servers. First, create a blank database for OpenNebula to use.
To do that, run the commands below to log on to MariaDB. When prompted for a password, type the root password you created above.
sudo mysql -u root -p
Then, create a database called Opennebula.
CREATE DATABASE opennebula;
Create a database user called opennebulauser with a new password
CREATE USER 'opennebulauser'@'localhost' IDENTIFIED BY 'new_password_here';
Next, grant the user full access to the cakephpuser database.
GRANT ALL ON opennebula.* TO 'opennebulauser'@'localhost' WITH GRANT OPTION;
Finally, save your changes and exit.
FLUSH PRIVILEGES;
EXIT;
Now that the MariaDB server is installed and a database created go and install OpenNebula.
Install OpenNebula
By default, OpenNebula isn’t available via Ubuntu default repositories. If you’d like to install it in Ubuntu, you must install it from its repository.
First, run the commands below to add its repository key to Ubuntu
wget -q -O- https://downloads.opennebula.org/repo/repo.key | sudo apt-key add -
After adding the repository’s key, run the commands below to add its repository file.
echo "deb https://downloads.opennebula.org/repo/5.6/Ubuntu/18.04 stable opennebula" | sudo tee /etc/apt/sources.list.d/opennebula.list
After adding the repository’s key and file, run the commands below to install OpenNebula.
sudo apt update
sudo apt install opennebula opennebula-sunstone opennebula-gate opennebula-flow
After installing OpenNebula, run the commands below to install Ruby libraries and other required packages to support OpenNebula.
sudo /usr/share/one/install_gems
That should install OpenNebula on Ubuntu. After installing, the commands below can be used to start and enable OpenNebula services.
sudo systemctl start opennebula
sudo systemctl enable opennebula
sudo systemctl start opennebula-sunstone
sudo systemctl enable opennebula-sunstone
To support the MariaDB database server, run the commands below to open its configuration file.
sudo nano /etc/one/oned.conf
Then, edit the highlighted lines with the database name, user, and password created above and save the file.
SCRIPTS_REMOTE_DIR=/var/tmp/one
PORT = 2633
LISTEN_ADDRESS = "0.0.0.0"
#DB = [ BACKEND = "sqlite" ]
Sample configuration for MySQL
DB = [ BACKEND = "mysql",
SERVER = "localhost",
PORT = 0,
USER = "opennebulauser",
PASSWD = "database_password_here",
DB_NAME = "opennebula",
CONNECTIONS = 50 ]
VNC_PORTS = [
START = 5900
RESERVED = "6800, 6801, 6810:6820, 9869"
Save the file and exit.
To access the OpenNebula portal, you’ll need a credential. By default, its default username and password are stored in the credentials below:
sudo nano /var/lib/one/.one/one_auth
Edit it and replace the username and password that suits you.
After that, run the commands below to check the status of OpenNebula services.
sudo systemctl status opennebula
You should get similar lines as below:
● opennebula.service - OpenNebula Cloud Controller Daemon
Loaded: loaded (/lib/systemd/system/opennebula.service; enabled; vendor preset: enabled
Active: active (running) since Sat 2020-04-11 18:35:40 CDT; 6min ago
Main PID: 17544 (oned)
Tasks: 105 (limit: 4666)
CGroup: /system.slice/opennebula.service
├─17544 /usr/bin/oned -f
├─17547 ruby /usr/lib/one/mads/one_hm.rb
├─17582 ruby /usr/lib/one/mads/one_vmm_exec.rb -t 15 -r 0 kvm
├─17599 ruby /usr/lib/one/mads/one_vmm_exec.rb -l deploy,shutdown,reboot,cancel
├─17616 /usr/lib/one/mads/collectd -p 4124 -f 5 -t 50 -i 60
├─17668 ruby /usr/lib/one/mads/one_im_exec.rb -r 3 -t 15 -w 90 kvm
├─17681 ruby /usr/lib/one/mads/one_im_exec.rb -l -c -t 15 -r 0 vcenter
That shows the service is running.
Access OpenNebula Portal
Now that OpenNebula is installed, open your web browser and browse to the server hostname or IP address followed by port 9869
http://localhost:9869
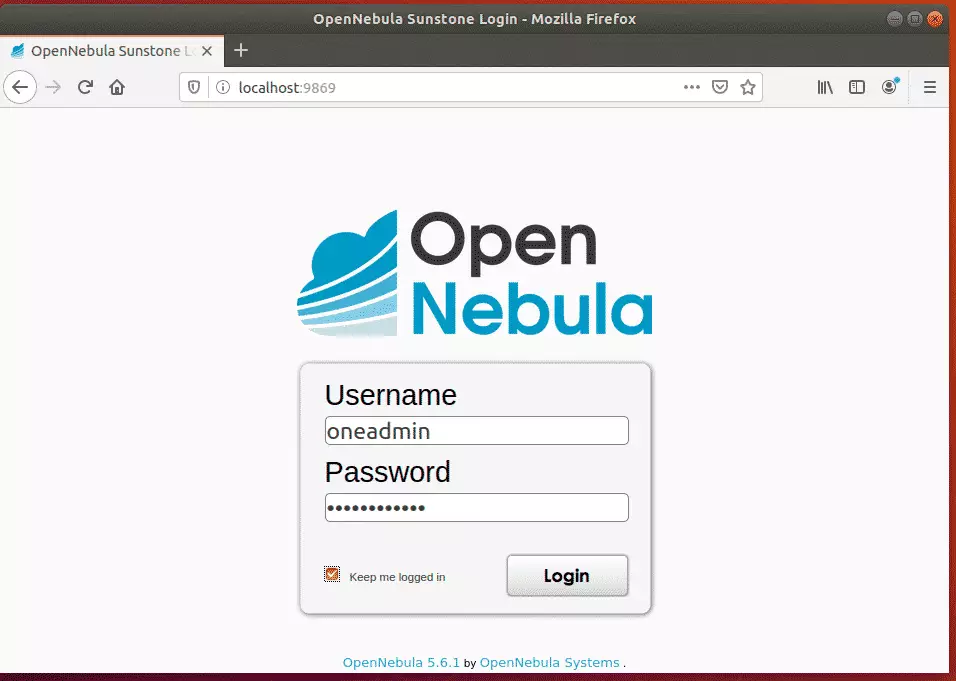
Login with the credentials found in the file above.
That should redirect you to the OpenNebula dashboard.
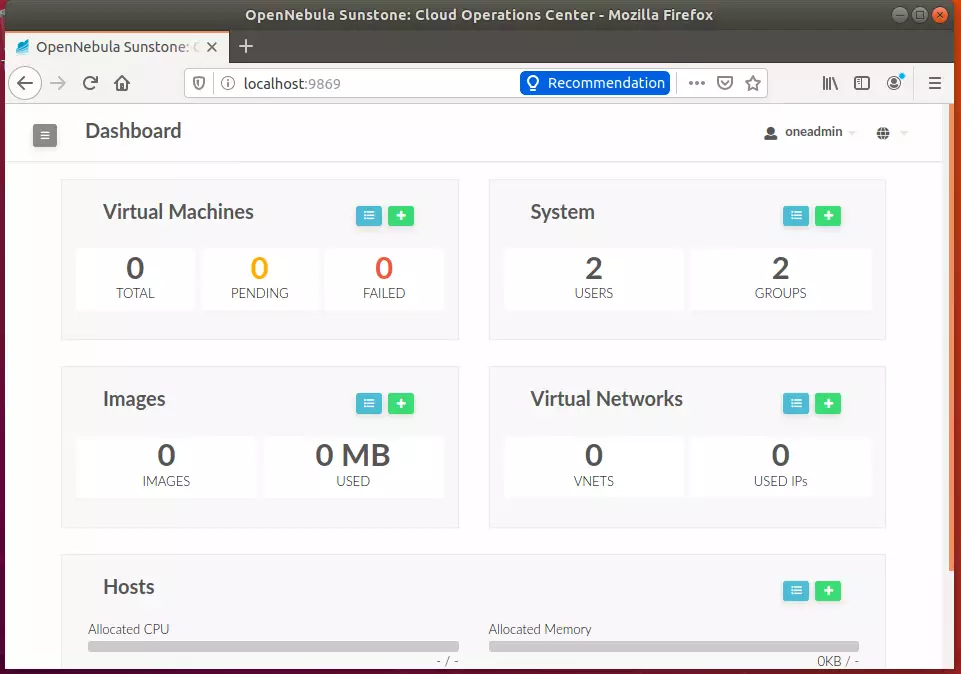
That’s it! Your platform is ready but must add VMware or KVM nodes to manage.
Setup KVM Node
Now that the OpenNebula platform is installed and ready, you must add nodes to manage. To add KVM nodes, run the commands below the node you want to manage via OpenNebula.
wget -q -O- https://downloads.opennebula.org/repo/repo.key | sudo apt-key add -
Then, add its repository.
echo "deb https://downloads.opennebula.org/repo/5.6/Ubuntu/18.04 stable opennebula" | sudo tee /etc/apt/sources.list.d/opennebulakvmnode.list
Finally, run the commands below to install the node package
sudo apt update
sudo apt-get install opennebula-node
After installing the node package, open its configuration file to allow OpenNebula to manage it.
sudo nano /etc/libvirt/libvirtd.conf
Then, edit these lines and save.
This is restricted to 'root' by default.
unix_sock_group = "oneadmin"
If not using PolicyKit and setting group ownership for access
control, then you may want to relax this too.
unix_sock_rw_perms = "0777"
Save the file and exit.
Restart the client services.
sudo systemctl restart libvirtd
sudo systemctl restart libvirt-bin
Communication is done via SSH. So, you’ll want to install SSH and enable password-less SSH authentication between the OpenNebula host and the KVM node.
After creating a password authentication, copy the server SSH key to the client known_hosts file.
/var/lib/one/.ssh/known_hosts
All keys in there will be trusted.
To manage a KVM host, go to the OpenNebula web interface, open Infrastructure >> Hosts, and click the + button.
Add a new node to manage.
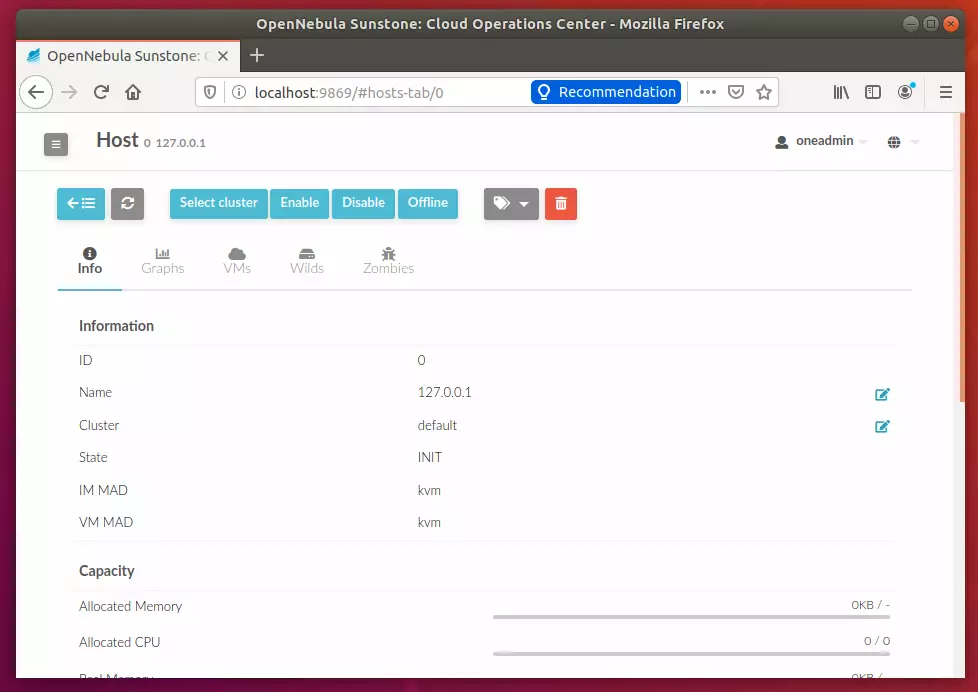
That should do it!
Conclusion:
This post showed you how to install OpenNebula on Ubuntu 18.04 | 16.04. If you find any error, please report it in the comment form below.
Thanks,
You may also like the post below:
Leave a Reply