How to Install OCS Inventory Server on Ubuntu Linux
You install OCS Inventory Server on Ubuntu Linux to gain a robust, free network asset management solution.
OCS Inventory Next Generation (OCS-NG) lets you meticulously track every piece of hardware, software, and network device within your infrastructure.
This guide walks you through setting up OCS Inventory Server on Ubuntu 18.04 or 16.04, leveraging an Apache2 web server. You’ll be able to discover devices like printers and switches via SNMP scans without needing an agent on them.
Install OCS Inventory Server by first updating your package list and installing essential packages like make and gcc. Then, install Apache2, MariaDB database server, and PHP 7.2 with its modules using apt commands.
Install Required Packages
Before setting up the OCS server on Ubuntu, you must install the required packages to enable the server to function. To do that, run the commands below to install the below packages.
sudo apt update
sudo apt install make cmake gcc make
Install Apache HTTP Server
OCS Inventory Server works best with the Apache2 web server, so let’s get it installed along with some necessary modules using these commands.
sudo apt install apache2 libapache2-mod-perl2 libapache-dbi-perl libapache-db-perl libapache2-mod-php
After installing Apache2, the commands below can stop, start, and enable the Apache2 service to always start up with the server boots.
sudo systemctl stop apache2.service
sudo systemctl start apache2.service
sudo systemctl enable apache2.service
Now that Apache2 has been installed, browse your browser to the URL below to test whether the web server works.
http://localhost
If you see the page above, then Apache2 is successfully installed.
Install MariaDB Database Server
OCS Inventory Server needs a database to keep its information, and MariaDB is a great open-source choice. Here’s how to install it.
To install MariaDB, run the commands below:
sudo apt-get install mariadb-server mariadb-client
After installing MariaDB, the commands below can stop and start the service and enable it to start when the server boots.
Run these on Ubuntu 16.04 LTS
sudo systemctl stop mysql.service
sudo systemctl start mysql.service
sudo systemctl enable mysql.service
Run these on Ubuntu 18.10 and 18.04 LTS
sudo systemctl stop mariadb.service
sudo systemctl start mariadb.service
sudo systemctl enable mariadb.service
Next, run the commands below to secure the database server with a root password if you were not prompted to do so during the installation.
sudo mysql_secure_installation
When prompted, answer the questions below by following the guide.
- Enter current password for root (enter for none): Just press the Enter
- Set root password? [Y/n]: Y
- New password: Enter password
- Re-enter new password: Repeat password
- Remove anonymous users? [Y/n]: Y
- Disallow root login remotely? [Y/n]: Y
- Remove test database and access to it? [Y/n]: Y
- Reload privilege tables now? [Y/n]: Y
Once MariaDB is installed, run the commands below to test whether the database server was installed.
sudo mysql -u root -p
Type the root password when prompted.

The server was successfully installed if you see a similar screen.
Install PHP 7.2 and Related Modules
OCS-NG uses PHP, and you might need PHP 7.2 for it to run correctly. If it’s not already on your Ubuntu system, these commands will help you install it.
sudo apt-get install software-properties-common
sudo add-apt-repository ppa:ondrej/php
Then update and upgrade to PHP 7.2
sudo apt update
Next, run the commands below to install PHP 7.2 and related modules.
sudo apt install php7.2 libapache2-mod-php7.2 php7.2-common php7.2-sqlite3 php7.2-mysql php7.2-gmp php7.2-curl php7.2-mbstring php7.2-gd php7.2-cli php7.2-xml php7.2-zip php7.2-soap php7.2-json php-pclzip
After installing PHP 7.2, run the commands below to open the PHP default configuration file for Apache2.
sudo nano /etc/php/7.2/apache2/php.ini
The lines below are a good setting for most PHP-based apps. Update the configuration file with these and save.
file_uploads = On
allow_url_fopen = On
short_open_tag = On
memory_limit = 256M
upload_max_filesize = 100M
max_execution_time = 360
date.timezone = America/Chicago
Every time you change the PHP configuration file, you should restart the Apache2 web server. To do so, run the commands below:
sudo systemctl restart apache2.service
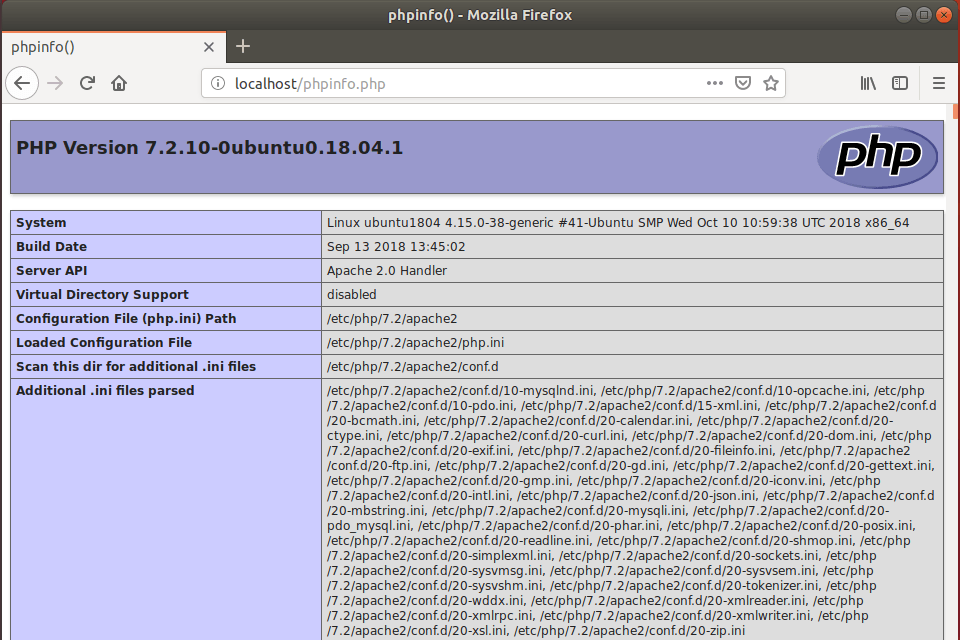
Once PHP is installed, create a test file called phpinfo.php in the Apache2 default root directory to test whether it’s functioning. ( /var/www/html/)
sudo nano /var/www/html/phpinfo.phpThen, type the content below and save the file.
<?php phpinfo( ); ?>
Next, open your browser and browse to the server’s hostname or IP address, followed by phpinfo.php
http://localhost/phpinfo.php
You should see the PHP default test page.
Create OCS-NG Database
With all the necessary software installed, it’s time to create the database that OCS Inventory Server will use. First, you’ll log into MariaDB to create a blank database named ‘ocs’.
To log on to the MariaDB database server, run the commands below.
sudo mysql -u root -p
Then, create a database called OCS
CREATE DATABASE ocs;Create a database user called ocsuser with a new password
CREATE USER 'ocsuser'@'localhost' IDENTIFIED BY 'new_password_here';
Then, grant the user full access to the database.
GRANT ALL ON ocs.* TO 'ocsuser'@'localhost' WITH GRANT OPTION;
Finally, save your changes and exit.
FLUSH PRIVILEGES;
EXIT;
Install Perl and Modules
Perl is essential for OCS Inventory Server to work. These commands will install Perl and all the specific modules it needs to run smoothly.
sudo apt -y install perl libxml-simple-perl libcompress-zlib-perl libdbi-perl libdbd-mysql-perl libnet-ip-perl libsoap-lite-perl libio-compress-perl libapache-dbi-perl libapache2-mod-perl2 libapache2-mod-perl2-dev
After installing the above, run the commands below to enable Perl modules.
sudo perl -MCPAN -e 'install Apache2::SOAP'
sudo perl -MCPAN -e 'install XML::Entities'
sudo perl -MCPAN -e 'install Net::IP'
sudo perl -MCPAN -e 'install Apache::DBI'
sudo perl -MCPAN -e 'install Mojolicious'
sudo perl -MCPAN -e 'install Switch'
sudo perl -MCPAN -e 'install Plack::Handler'
Download OCS-NG Latest Release
Now that the system is ready, you can download the latest version of OCS Inventory Server directly from GitHub. These commands will get the files and start the installation process.
sudo apt install git curl
cd /tmp
git clone https://github.com/OCSInventory-NG/OCSInventory-Server.git
Then, change into the OCSInventory-Server folder, clone the ocsreport project, and edit its setup.sh script and begin the installation.
cd OCSInventory-Server
git clone https://github.com/OCSInventory-NG/OCSInventory-ocsreports.git ocsreports
After cloning the ocsreports project, change into it, install Composer, and update the ocsreports packages.
cd /tmp/OCSInventory-Server/ocsreports
curl -sS https://getcomposer.org/installer | sudo php -- --install-dir=/usr/local/bin --filename=composer
sudo composer install
Afterward, go back to the OCSInventory-Server folder and edit the setup.sh file and type in the database username and password. Then save and exit.
cd .
nano setup.sh
Edit the highlighted lines and save the file.
 This code is open source and may be copied and modified as long as the source
# code is always made freely available.
# Please refer to the General Public Licence http://www.gnu.org/ or Licence.txt
################################################################################
#
# Which host run database server
DB_SERVER_HOST="localhost"
# On which port run database server
DB_SERVER_PORT="3306"
# Database server credentials
DB_SERVER_USER="ocsuser"
DB_SERVER_PWD="ocsuser_password_here"
# Where is Apache daemon binary (if empty, will try to find it)
APACHE_BIN=""
# Where is Apache configuration file (if empty, will try to find it)
When you’re done, run the commands below to begin the installation.
sudo ./setup.sh
During the installation, you’ll get numerous prompts. Choose the default settings and select y for all. When you’re done, you should see similar lines as below:
+----------------------------------------------------------------------+
|        OK, Administration server installation finished ;-)           |
|                                                                      |
| Please, review /etc/apache2/conf-available/ocsinventory-reports.conf
|          to ensure all is good and restart Apache daemon.            |
|                                                                      |
| Then, point your browser to http://server//ocsreports
|        to configure database server and create/update schema.        |
+----------------------------------------------------------------------+

Setup has created a log file /tmp/OCSInventory-Server/ocs_server_setup.log. Please, save this file.
If you encounter error while running OCS Inventory NG Management server,
we can ask you to show us its content !

DON'T FORGET TO RESTART APACHE DAEMON !

Enjoy OCS Inventory NG ;-)
Enable the OCS Portal
To make the OCS Inventory Server portal accessible, you need to enable a few configuration files in Apache. These commands create the necessary links so Apache can find the portal settings.
sudo ln -s /etc/apache2/conf-available/ocsinventory-reports.conf /etc/apache2/conf-enabled/ocsinventory-reports.conf
sudo ln -s /etc/apache2/conf-available/z-ocsinventory-server.conf /etc/apache2/conf-enabled/z-ocsinventory-server.conf
sudo ln -s /etc/apache2/conf-available/zz-ocsinventory-restapi.conf /etc/apache2/conf-enabled/zz-ocsinventory-restapi.conf
sudo chown -R www-data:www-data /var/lib/ocsinventory-reports
sudo systemctl restart apache2.service
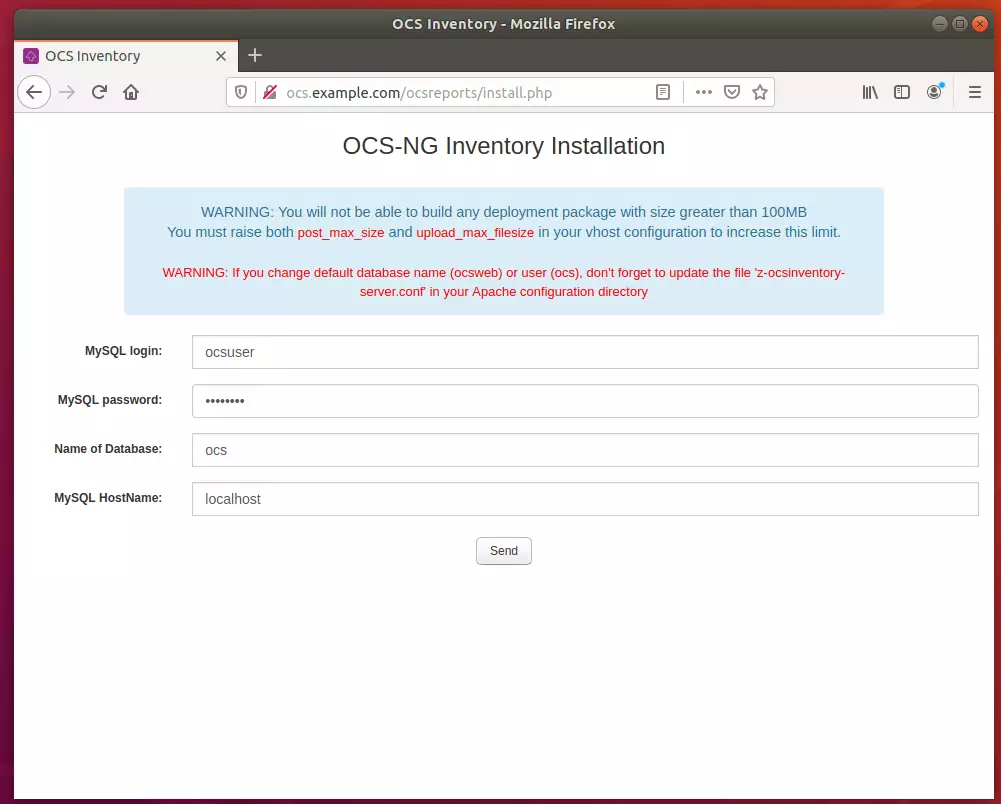
After running the commands above, open your browser and browse to the server domain name or IP address.
http://ocs.example.com/ocsreports/install.php
Next, type in the database username and password created above, then click Send
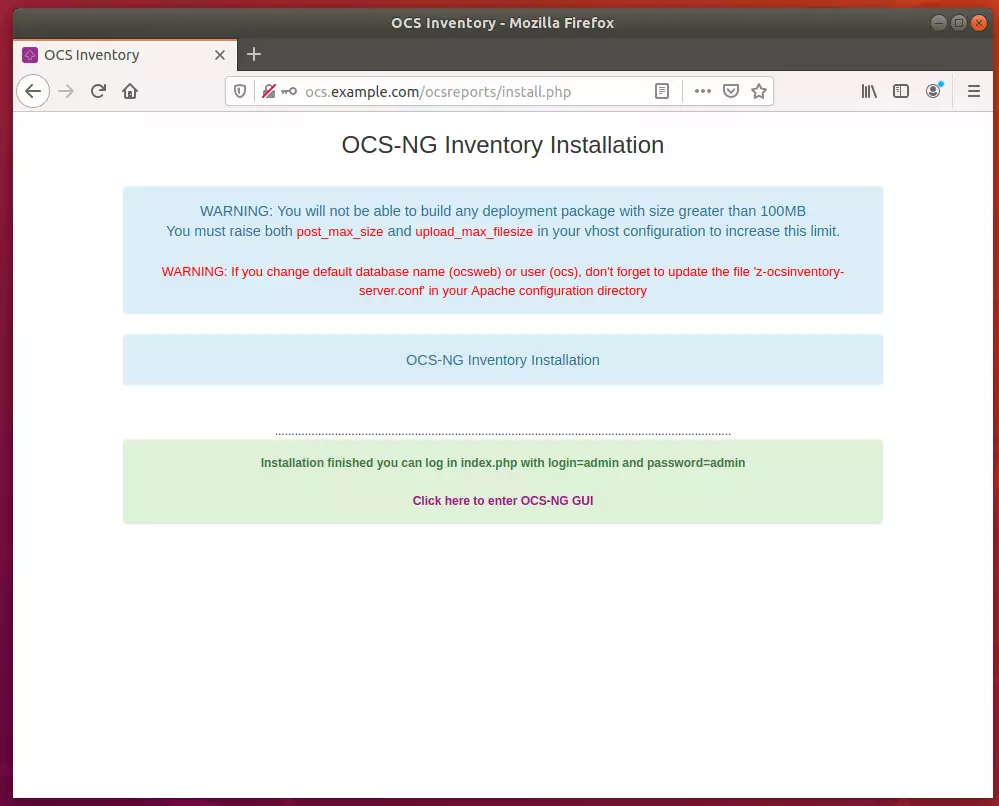
Next, click the OCS-NG GUI link.
Then click the link to Perform the update.
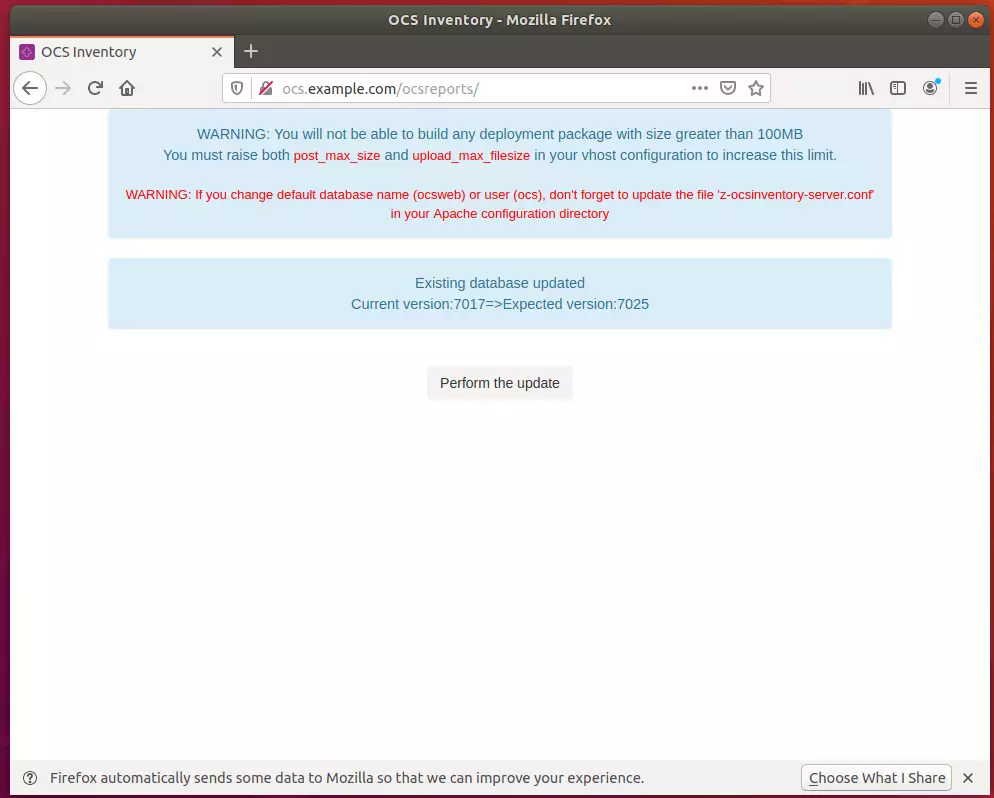
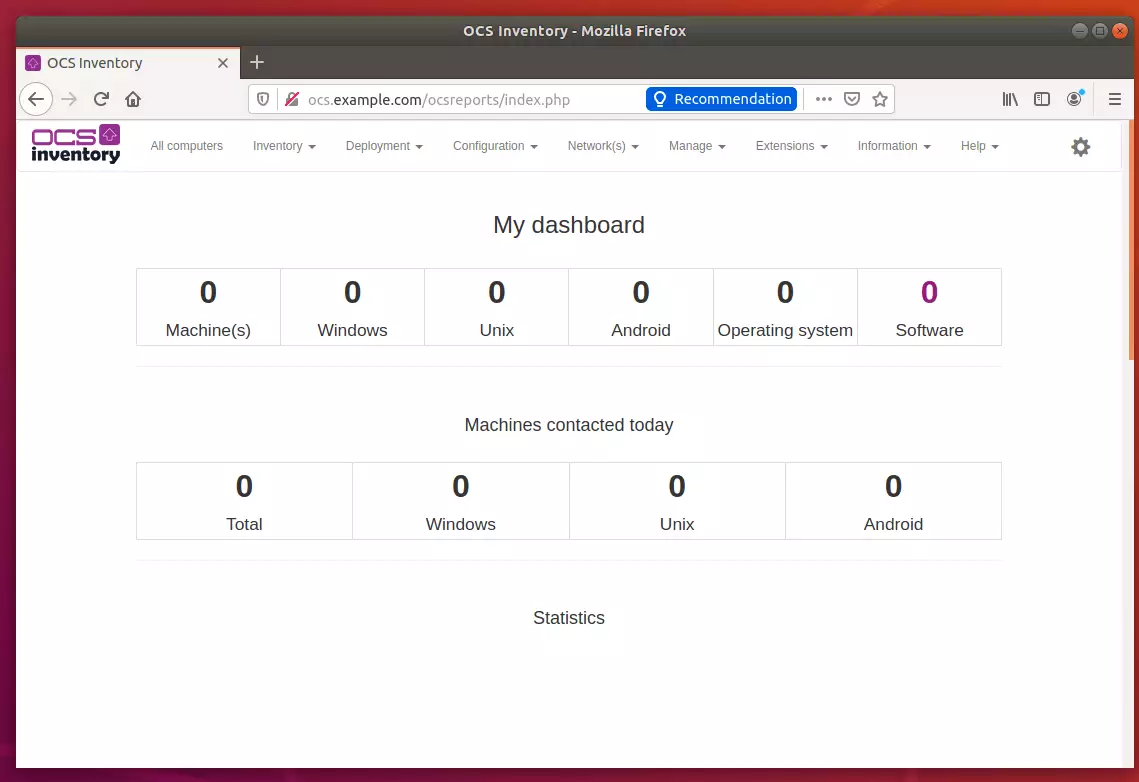
After that, the installation should be done.
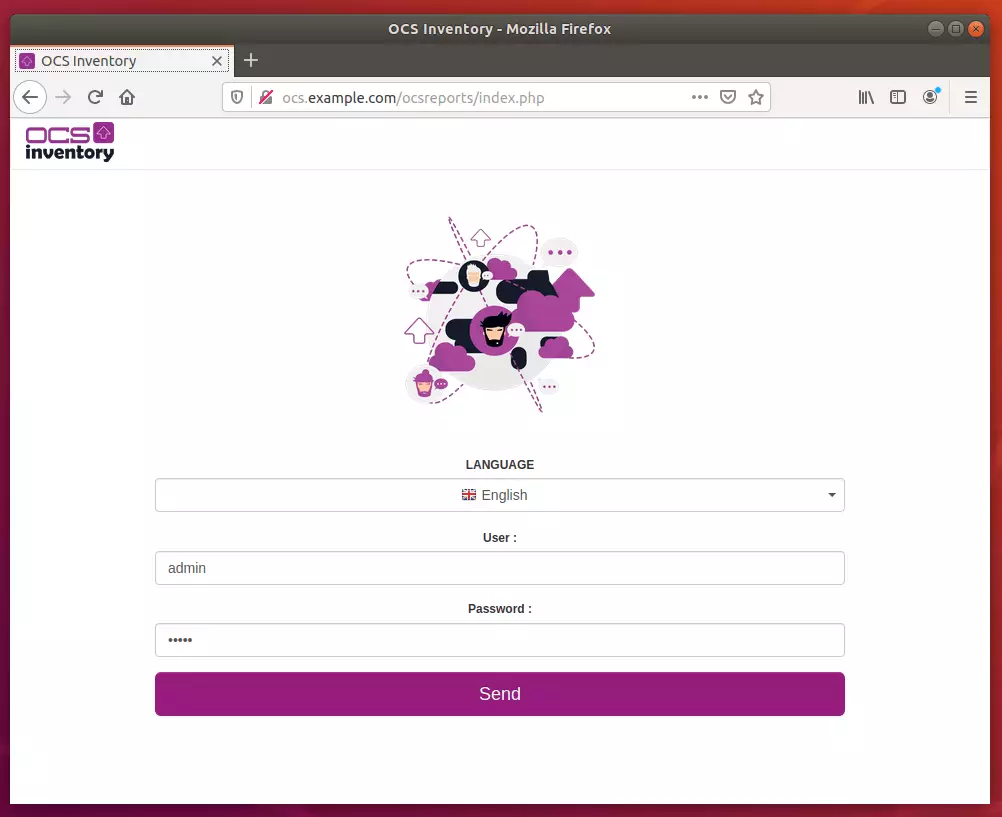
Log in with the username admin and password admin
Rename the install folder for security reasons.
sudo mv /usr/share/ocsinventory-reports/ocsreports/install.php /usr/share/ocsinventory-reports/ocsreports/install.php.bak
Enjoy~
Congratulation! You have successfully installed the OCS Inventory Server on Ubuntu 16.04 | 18.04.
You may also like the post below:
Was this guide helpful?

About the Author
Richard
Tech Writer, IT Professional
Richard, a writer for Geek Rewind, is a tech enthusiast who loves breaking down complex IT topics into simple, easy-to-understand ideas. With years of hands-on experience in system administration and enterprise IT operations, he’s developed a knack for offering practical tips and solutions. Richard aims to make technology more accessible and actionable. He's deeply committed to the Geek Rewind community, always ready to answer questions and engage in discussions.


Would almost have been great if i didn’t get an error 500 after clicking on “Click here to enter OCS-NG GUI” part
You must grant rights to http://www.data – chown -R www-data:www-data /var/lib/ocsinventory-reports
Thanks! In accordance with this guide I installed OCS on Debian 10
Awesome, I have been looking for a guide like this for a LONG time. Everything worked perfectly, thanks!
I have this error error 500 when I try to access to http://myip/ocsreports/install.php
Forbidden
You don’t have permission to access this resource.
Apache/2.4.29 (Ubuntu) Server at 192.168.1.6 Port 80
Help pls
i have the same issue
me too
try this
https://forum.ubuntu-fr.org/viewtopic.php?id=1990921
php-mbstring
plus
restart setup
It help me to access the page
Excellent tutorial, worked perfectly on Ubuntu 18.
A question, after installation, what is the path of the OCS installation folder?
Thanks.
I don1t now too
/usr/share/ocsinventory-reports/
Gracias gran ayuda, corriendo en ubuntu 18.04
Bingo ..
Looks all good,
how we can install ocsinventory-agent
Hey, Thank you very.
You saved my life with this tutorial.
greetings from Brazil.
Worked perfectly… Deployment tutorial is required
Thank you very much, the first guide that works!!!
try this
https://forum.ubuntu-fr.org/viewtopic.php?id=1990921
php-mbstring
plus
restart setup
It help me to access the page
http://localhost/ocsreports/install.php
not working only blank page appears
please provide solution
same problem
what is the error displayed? Http 500?
http://localhost/ocsreports/install.php
Forbidden
You don’t have permission to access this resource.
Apache/2.4.41 (Ubuntu) Server at localhost Port 80
Please help
did you run sudo chown -R www-data:www-data /var/lib/ocsinventory-reports
Hi Bro !! I also it same this issue, can you help me to solve it ?
The requested URL was not found on this server.
Apache/2.4.41 (Ubuntu) Server at 10.30.2.33 Port 80
Thanks you very much! Its work !!
Hi all,
I run into HTTP 500 (blank page ) after installation and after a little digging around this how I got ocsinventory working.
1 installed the following missing dependencies php-mbstring php-common php-mysqlnd
2 chmod 777 -R /usr/share/ocsinventory-reports/ocsreports
3 apt install composer
4 cd usr/share/ocsinventory-reports/ocsreports
5 composer update – (**without sudo**)
Success!!
P.S Read error log in /var/log/apache2/error.log for further information if issues persists.
Thanks a lot!
Thank you very much!
It worked perfectly 🙂
Buen día, no se logran inventariar mis equipos. He llegado hasta el final de todo el tutorial pero al momento de generar el agente no muestra data en el panel administrativo.
It does not register the computers, this is my access.log
192.168.1.213 – – [Oct / 08/2020: 17: 20: 11 -0500] “POST / ocsreports / HTTP / 1.1” 200 6656 “-” “OCS-NG_WINDOWS_AGENT_v2.8.0.0”
and my confi.ini
[OCS Inventory Agent]
ComProvider = ComHTTP.dll
Debug = 1
Local =
NoSoftware = 0
HKCU = 0
NoTAG = 0
IpDisc =
[HTTP]
Server = http: //192.168.1.174/ocsreports/
SSL = 1
CaBundle = cacert.pem
AuthRequired = 1
User = jZnah9vkdL + dE7dtBrAZvg == ||| ndFCiE0HpY6tghEFdIabxA ==
Pwd = LM7NlT5d2ZFpJwzmQXRVUg == ||| 41ulrxibbX + V85i + 8XtmOA ==
ProxyType = 0
Proxy =
ProxyPort = 0
ProxyAuthRequired = 0
ProxyUser =
ProxyPwd =
[OCS Inventory Service]
TTO_WAIT = 36000
INVENTORY_ON_STARTUP = 0
PROLOG_FREQ = 10
OLD_PROLOG_FREQ = 10
Installed on Ubuntu Server 20.04 sucessfully following these instructions
Hi;
I tried the installition but cannot find ocsinventory-reports file in /var/lib and /usr/share
Could you help me about it?
I get this errors when I try to use the agent
Mon Nov 30 12:14:13 2020;3350;521;NA;10.0.0.216;OCS-NG_WINDOWS_AGENT_v2.8.0.0;database_connect;Access denied for user ‘ocs’@’localhost’
Mon Nov 30 12:14:13 2020;3350;505;NA;10.0.0.216;OCS-NG_WINDOWS_AGENT_v2.8.0.0;handler;Database connection
and whe I configured it using the tutorial, u used ocsuser@localhost
For all who got ERROR 500 after install.php, my problem was in sudo composer install
Great job bro, greetings from Bogota Colombia.
Hi Bro !! can you help me to solve it ? The requested URL was not found on this server. Apache/2.4.41 (Ubuntu) Server at 10.30.2.33 Port 80
Hi Every One!!
I am from VietNam .
Can you help me to solve it ? Iam tried so many times to solve , but not success.
The requested URL was not found on this server. Apache/2.4.41 (Ubuntu) Server at 10.30.2.33 Port 80
why the portal only showing OCS-NG Inventory Installation but there are no database username and password to sent?
Hello!
Thank you, works perfecly!
but now, how i install/configure the Agents?
i tried here but dosent show in the server
Hello,
For us, after accessing http://localhost/ocsreports/index.php this page we are getting blank page and there is no error showing.
We tried with given permission for sudo chown -R www-data:www-data /var/lib/ocsinventory-reports
Also, chmod 777 -R /usr/share/ocsinventory-reports/ocsreports