
This article describes the steps to install and use Nexus Repository Manager on Ubuntu Linux.
Nexus provides a centralized location to store and manage your application binaries and build artifacts that can be scaled efficiently across multiple servers.
You will find Nexus helpful if you seek a package repository to support ecosystems such as Java/Maven, npm, NuGet, PyPI, RubyGems, etc.
Below are steps showing how to install and use Nexus repository management on Ubuntu Linux.
How to install and use Nexus repository manager on Ubuntu Linux
As described above, Nexus provides a centralized location to store and manage your application binaries and build artifacts that can be scaled efficiently across multiple servers.
Below is how to install it on Ubuntu Linux.
Before installing Nexus, you should be aware that two versions are available. One is open-source, and the other is commercial, which means you pay for it.
We are going to be installing the open-source version in this post.
Install Java
Nexus repository manager requires Java OpenJDK and JRE v8 and up. The OpenJDK version 8 works great with Nexus, so we’ll install that version.
Run the commands below to update Ubuntu package indexes and install OpenJDK version 8.
sudo apt update
sudo apt install openjdk-8-jdk
Additional resources on installing and using OpenJDK on Ubuntu can be found at the link below.
How to install and use OpenJDK on Ubuntu Linux
Install Nexus repository manager
Now that OpenJDK is installed, let’s go and download the Nexus package and install it. At this time, the latest version of Nexus is v3.41.1.
Run the commands below to download the Nexus package.
cd /tmp
wget https://download.sonatype.com/nexus/3/nexus-3.41.1-01-unix.tar.gz
Once the package is downloaded, run the commands below to extract the downloaded file, and move both the Nexus and sonatype-work folders to a new Nexus folder in the /opt/nexus directory.
tar xzf nexus-3.41.1-01-unix.tar.gz
sudo mv nexus-3.41.1-01 /opt/nexus
sudo mv sonatype-work /opt/
For this post, we are creating a dedicated user account called Nexus. This account will not be used to log on to the system.
sudo useradd -m -d /opt/nuxus -U -r -s /bin/bash nexus
Once the account is created, change the ownership of the /opt/nexus directory to the nexus user by running the commands below.
sudo chown -R nexus:nexus /opt/nexus /opt/sonatype-work
Configure Nexus to run on Ubuntu.
For Nexus to function, we must edit its configuration file and have the service run as the Nexus user created above.
Run the commands below to open the /opt/nexus/bin/nexus.rc configuration file.
sudo nano /opt/nexus/bin/nexus.rc
Uncomment the line below to ensure the service runs as the Nexus user.
run_as_user="nexus"
Next, run the commands below to open the nexus properties config file.
sudo nano /opt/nexus/etc/nexus-default.properties
Then, make sure to define the application host. By default, Nexus will communicate on all IPs. If you want to use a specific IP address, define it in the nexus-default.properties file.
application-host=192.168.1.1
Save the file and exit.
Once done, run the commands below to create a Nexus systemd service file.
sudo nano /etc/systemd/system/nexus.service
Copy the lines below into the file and save it.
[Unit]
Description=nexus service
After=network.target

[Service]
Type=forking
LimitNOFILE=65536
ExecStart=/opt/nexus/bin/nexus start
ExecStop=/opt/nexus/bin/nexus stop
User=nexus
Restart=on-abort

[Install]
WantedBy=multi-user.target
Reload systemd-daemon and start Nexus services.
sudo systemctl daemon-reload
sudo systemctl start nexus.service
sudo systemctl enable nexus.service
Nexus should be started and running.
By default, Nexus will use port number 8080 on the local server.
Open your web browser and browse to the server hostname or IP address followed by port number 8081.
http://localhost:8081
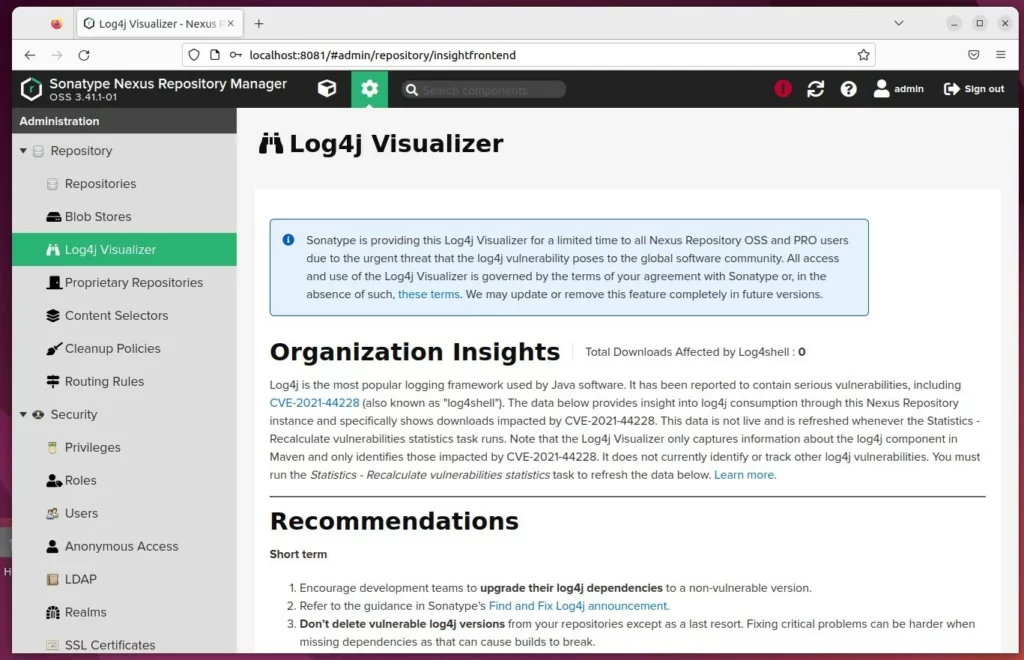
Nexus default portal should appear. You can use the default username and password found in the file below to log on.
sudo nano /opt/sonatype-work/nexus3/admin.password
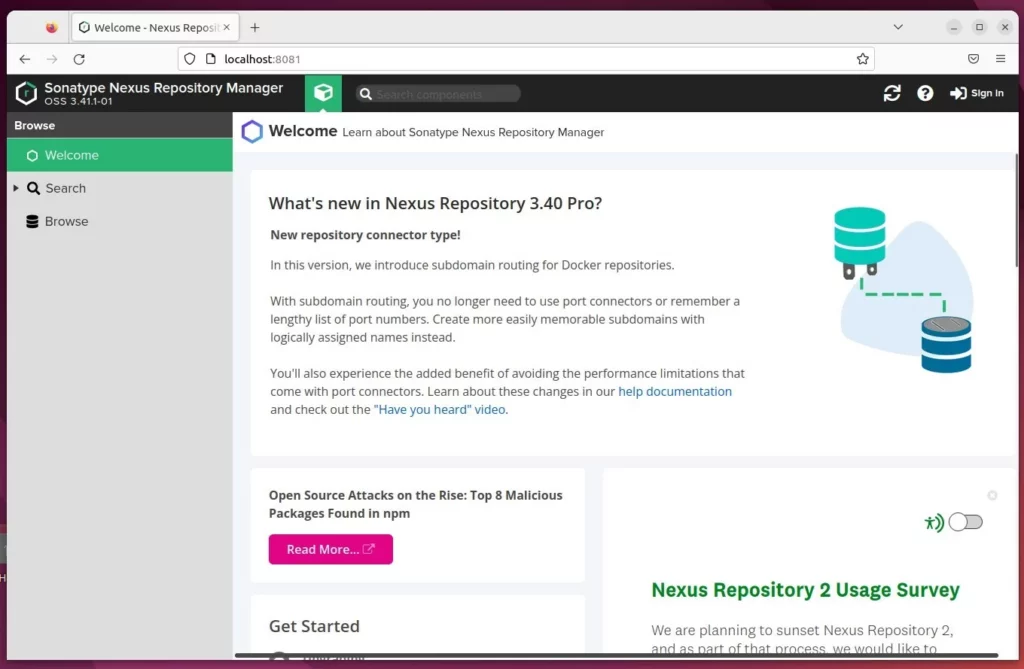
You will be prompted to change the temporary password when you log on.
Run Nexus behind a proxy
The most efficient way to run Nexus is behind a reverse proxy server. Below are two posts that showed you how to set up a reverse proxy with Nginx and Apache.
That should do it!
More documentation can be found at the link below.
https://help.sonatype.com/docs
Conclusion:
- Nexus repository manager provides a centralized location to store and manage application binaries and build artifacts efficiently across multiple servers.
- The installation process involves installing OpenJDK, downloading and configuring the Nexus package, creating a dedicated user account, and setting up the Nexus systemd service file.
- Once installed, Nexus can be accessed through a web browser using the default credentials in the system files.
- Running Nexus behind a proxy server, such as Nginx or Apache, is recommended for optimal performance and security.
This guide has provided a comprehensive overview of installing and using the Nexus repository manager on Ubuntu Linux. For further details or to contribute, please use the comment form below.


Leave a Reply