How to Install Let’s Chat on Ubuntu Linux
This tutorial explains how to set up Let’s Chat on Ubuntu Linux. Let’s Chat is a messaging platform designed for small teams. It includes features like LDAP authentication and a REST API.
Why use Let’s Chat?
You might want a private, self-hosted space for your team to talk and collaborate without relying on big tech services.
What happens when done?
You will have a private messaging server running on your own hardware, accessible via a web browser.
Prerequisites
Before you begin, ensure your system meets these requirements for 2026:
- Node.js version 20.x or 22.x (LTS) How to install Node.js on Ubuntu Linux
- MongoDB installed How to install MongoDB on Ubuntu Linux
- Python 3.x installed How to install Python on Ubuntu Linux
- Git installed (sudo apt install git) Node.js 0.11+ MongoDB 2.6+ Python 2.7
Download and install Let’s Chat
Disclaimer: Let’s Chat is currently unmaintained software. It may contain security vulnerabilities. For modern, active alternatives, we suggest using Mattermost, Rocket.Chat, or Zulip.
To install, run these commands:
git clone https://github.com/sdelements/lets-chat.git
cd lets-chat
npm install
Copy the settings file and start the server:
cp settings.yml.sample settings.yml
npm start
You can reach the site at http://localhost:5000.
General: Setting up Nginx and HTTPS
To use a domain name and secure your traffic, use Nginx as a reverse proxy. Install Nginx and create a configuration file:
sudo nano /etc/nginx/conf.d/letschat.conf
Add your server configuration pointing to port 5000. Once configured, use Certbot to enable HTTPS:
sudo apt install certbot python3-certbot-nginx
sudo certbot --nginx -d yourdomain.com
Create a Let’s Chat systemd file
We will create a restricted user for security. This prevents the app from running with root permissions.
sudo useradd -r -s /bin/false letschat
sudo chown -R letschat:letschat /path/to/lets-chat
Create the service file:
sudo nano /etc/systemd/system/letschat.service
Add this content:
[Unit]
Description=Let's Chat Server
After=network.target mongod.service

[Service]
Type=simple
User=letschat
WorkingDirectory=/path/to/lets-chat
ExecStart=/usr/bin/npm start
Restart=always

[Install]
WantedBy=multi-user.target
Reload and start the service:
sudo systemctl daemon-reload
sudo systemctl start letschat
sudo systemctl enable letschat
Access Let’s Chat portal
Restart Nginx to apply your changes. Visit your domain name in your browser to log in and start chatting. 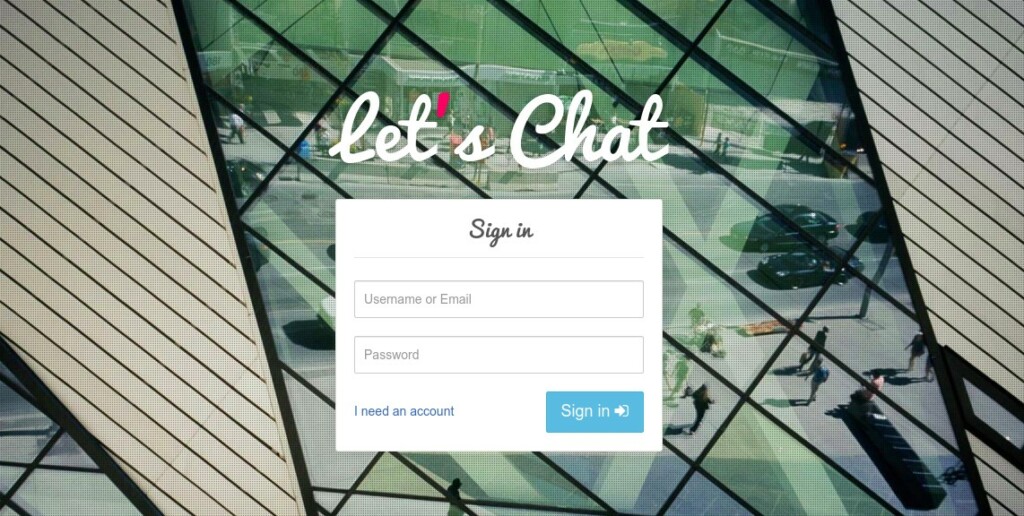
[Unit]
[Service]
[Install]
Was this guide helpful?


Leave a Reply Cancel reply