This brief tutorial shows students and new users how to install JFrog Artifactory on Ubuntu 18.04 | 16.04.
JFrog Artifactory is a cross-platform software that allows DevOps to manage multiple package repositories hosted locally or in the cloud from a single platform.
You may want to install JFrog Artifactory on Ubuntu Linux for several reasons: 1. Cross-platform support: JFrog Artifactory is a cross-platform software that runs on different operating systems, including Ubuntu Linux. You can easily manage your package repositories on Ubuntu Linux using JFrog Artifactory.
2. Centralized management: JFrog Artifactory allows you to manage multiple package repositories from a single platform. This makes it easier for DevOps teams to manage their packages, artifacts, and dependencies.
3. Integration with current environment: JFrog Artifactory can be easily integrated with your current environment, providing high availability with active/active clustering and multi-site replication. This automation enables faster releases and ensures that all packages are up-to-date.
4. Latest updates: Installing JFrog Artifactory from the APT repository ensures that you always get the latest updates as they’re released, which is important for keeping your package repositories secure and up-to-date.
Installing JFrog Artifactory on Ubuntu Linux efficiently manages your package repositories and dependencies, which is crucial for DevOps teams working on complex software projects.
For more about JFrog Artifactory, please visit its homepage.
To get started with installing JFrog Artifactory, follow the steps below:
Prepare Ubuntu
Before installing packages on Ubuntu, you must first update the server. To do that, run the commands below:
sudo apt update
sudo apt dist-upgrade
sudo apt autoremove
Running the commands above will update and remove obsolete packages from your system. It’s also good to reboot the server after running the above commands.
Install OpenJDK 8
To properly use JFrog Artifactory, you will need Java installed. First, download the Java 8 Development Kit: the official Oracle JDK or Open JDK.
For this tutorial, we’re going to install OpenJDK.
To do that, run the commands below:
sudo apt update
sudo apt-get install openjdk-8-jdk openjdk-8-doc
After installing Java, you can verify it by running the commands below:
java -version
It should output something similar, as shown below:
Output:
openjdk version "1.8.0_242"
OpenJDK Runtime Environment (build 1.8.0_242-8u242-b08-0ubuntu3~18.04-b08)
OpenJDK 64-Bit Server VM (build 25.242-b08, mixed mode)
Now that you have updated and installed Java continue to install JFrog below.
Download and Install JFrog Artifactory
The quickest and easiest way to get JFrog installed is via an APT repository. Installing JFrog from the repository will allow you always to get the latest updates as they’re released.
To install, follow the steps below:
First, install wget and other packages if you don’t already have them installed.
sudo apt install wget software-properties-common
Then, run the commands below to add the repository key and file to Ubuntu.
wget -qO - https://api.bintray.com/orgs/jfrog/keys/gpg/public.key | apt-key add -
sudo add-apt-repository "deb [arch=amd64] https://jfrog.bintray.com/artifactory-debs $(lsb_release -cs) main"
When you’re done, run the commands below to update Ubuntu and install JFrog Artifactory.
sudo apt update
sudo apt install jfrog-artifactory-oss
After installation, the commands below can stop, start, and enable JFrog’s services.
systemctl stop artifactory.service
systemctl start artifactory.service
systemctl enable artifactory.service
To check the service status, run the commands below:
systemctl status artifactory.service
It should output similar lines as shown below:
artifactory.service - Artifactory service
   Loaded: loaded (/lib/systemd/system/artifactory.service; enabled; vendor preset: enabled)
   Active: active (running) since Thu 2020-03-26 20:34:28 CDT; 3s ago
  Process: 6249 ExecStart=/opt/jfrog/artifactory/app/bin/artifactoryManage.sh start (code=exited, status=0/SUCCESS)
 Main PID: 8345 (java)
    Tasks: 0 (limit: 4666)
   CGroup: /system.slice/artifactory.service
           ‣ 8345 /opt/jfrog/artifactory/app/third-party/java/bin/java -Djava.util.logging.config.file=/opt/jfrog/artifacto

Mar 26 20:34:28 ubuntu1804 artifactoryManage.sh[6249]: metadata started. PID: 8924
Mar 26 20:34:28 ubuntu1804 su[8792]: pam_unix(su:session): session closed for user artifactory
Mar 26 20:34:28 ubuntu1804 su[8931]: Successful su for artifactory by root
That should do it!
Access Artifactory Portal
When you’re done installing, open your web browser and browser to the server’s hostname or IP address as shown below:
http://localhost:8081/artifactory/
You should see the login portal similar to the one below:
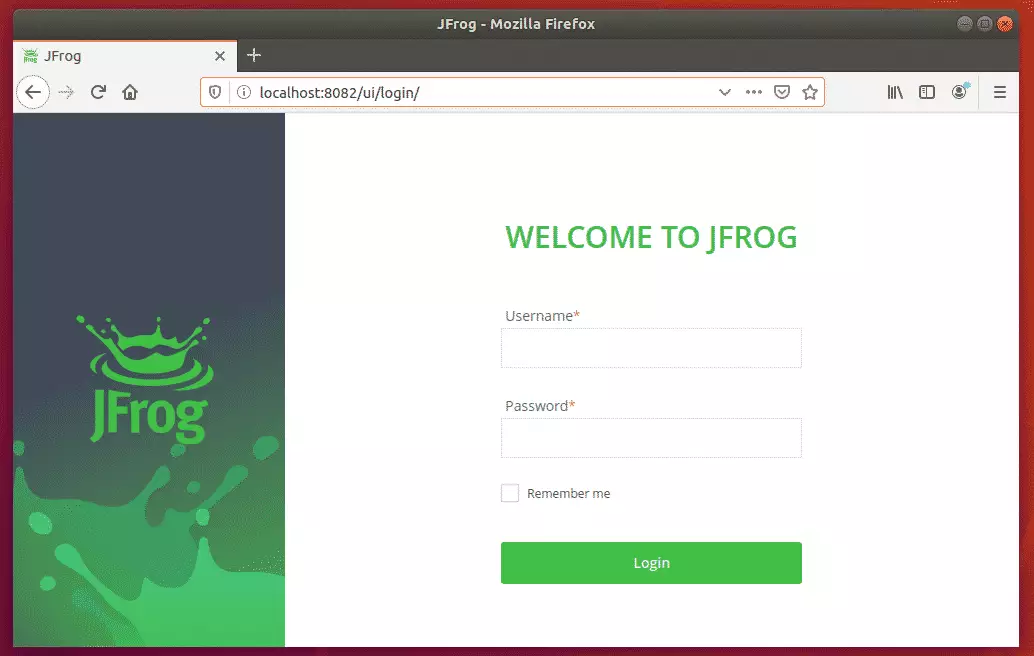
Login with Username: admin and Password: Password
You’ll be prompted to change the temporary Password above. When you do, you can start setting up your environment.
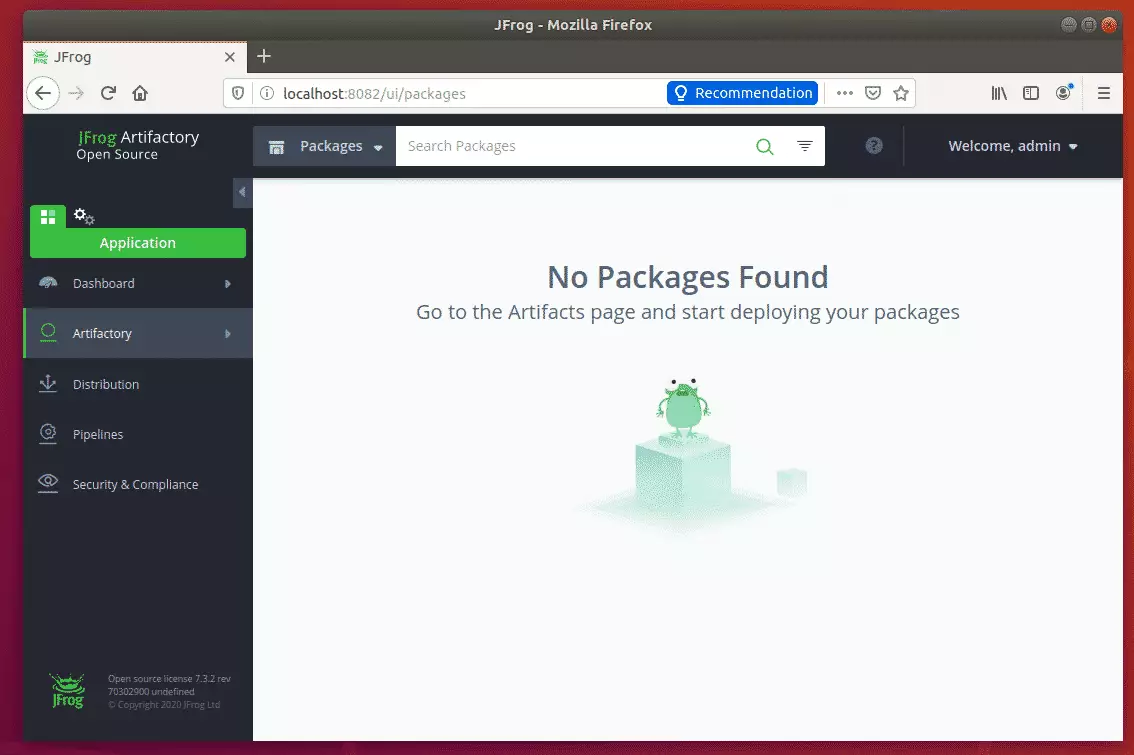
Enjoy!
Conclusion:
This post showed you how to install JFrog Artifactory on Ubuntu 18.04 | 16.04. If you find any error above, please use the form below to report it.
Thanks,
You may also like the post below:


Leave a Reply