

This article explains installing Couch CMS with Apache on Ubuntu 24.04.
CouchCMS is a flexible content management system for publishers and developers who want public website content quickly. With Couch, you don’t need to know how to develop in PHP; it takes off that for you.
It’s a great alternative to WordPress and other popular CMSs used today. If you’re a current WordPress user and wish to try another CMS, try Couch and see if it fits your needs.
Installing CouchCMS on Ubuntu Linux with Apache support gives you access to a powerful content management system that is easy to use and customize, with integrated security features and speed optimizations.
Install Apache HTTP server on Ubuntu
CouchCMS requires a web server. This post will install and use the Apache web server to run CouchCMS.
To do that, open the Ubuntu terminal and run the commands below to install the Apache web server.
sudo apt update
sudo apt install apache2
Once Apache is installed, the commands below can start, stop, and enable the Apache web server to start automatically when your server boots up.
sudo systemctl stop apache2
sudo systemctl start apache2
sudo systemctl enable apache2
You can test that the Apache web server is running by opening your web browser and browsing to the server’s localhost or IP address.
http://localhost
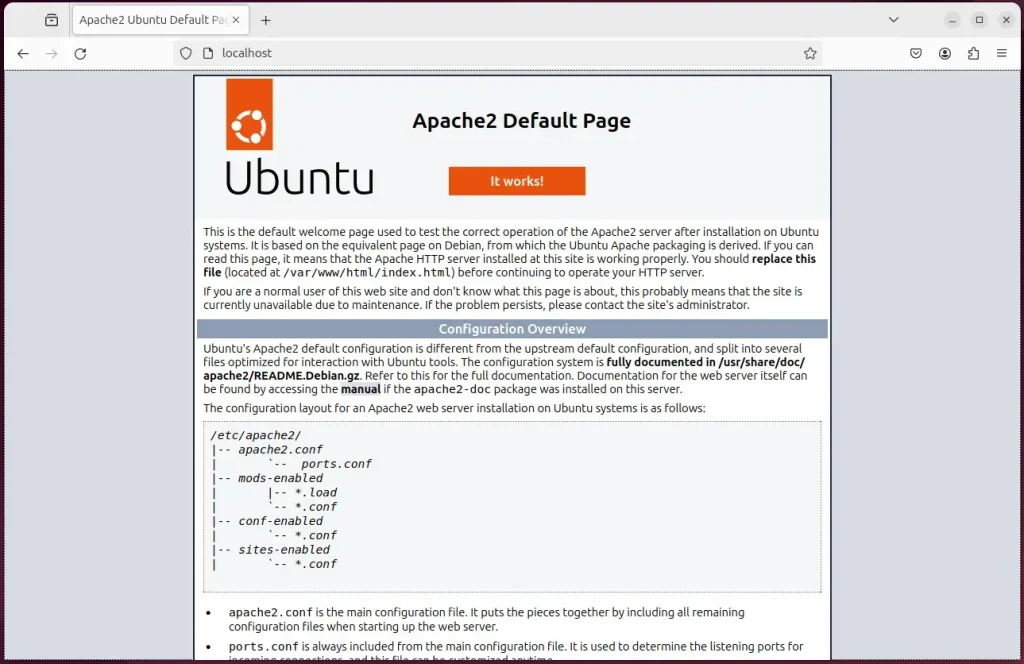
When you see the Apache2 Default Page, it means the Apache HTTP server is successfully installed.
Additional help on installing Apache on Ubuntu is in the link below.
How to install Apache on Ubuntu
Install the MariaDB database server on Ubuntu
The next component required to run CouchCMS is a database server. This post will install and use the MariaDB database server.
To install and use the MariaDB database server, use the instructions below.
Open the Ubuntu terminal and run the commands below to install the MariaDB database server.
sudo apt update
sudo apt install mariadb-server
Once the MariaDB database server is installed, use the commands below to stop, start, and enable the MariaDB server to start automatically when the server boots.
sudo systemctl stop mariadb
sudo systemctl start mariadb
sudo systemctl enable mariadb
Run the following commands to validate and test if the MariaDB database server is installed successfully.
sudo mariadb
Once you run the commands above, it will log you onto the MariaDB console and display a message similar to the one below.
Welcome to the MariaDB monitor.  Commands end with ; or g.
Your MariaDB connection id is 32
Server version: 10.11.2-MariaDB-1 Ubuntu 23.04

Copyright (c) 2000, 2018, Oracle, MariaDB Corporation Ab and others.

Type 'help;' or 'h' for help. Type 'c' to clear the current input statement.

MariaDB [(none)]>
The message tells you that the server is installed successfully.
Additional help on installing MariaDB.
Create a CouchCMS database
Upon successfully installing the MariaDB database server, create a blank database on the server specifically for the CouchCMS application.
As part of the setup, we will create a couchdb database and a user account called couchdbuser.
Finally, we’ll grant the couchdbuser full access to the couchdb database.
All the database steps above can be done using the commands below:
But first, log on to the MariaDB database server:
sudo mariadb
Then run the commands below to complete the steps:
CREATE DATABASE couchdb CHARACTER SET utf8mb4 COLLATE utf8mb4_general_ci;
CREATE USER couchdbuser@localhost IDENTIFIED BY 'type_your_password_here';
GRANT ALL ON couchdb.* TO couchdbuser@localhost WITH GRANT OPTION;
FLUSH PRIVILEGES;
exit
Ensure to replace ‘type_your_password_here ‘with your password.
Install PHP on Ubuntu Linux
The last component you will need to run CouchCMS is PHP. The CouchCMS application is PHP-based and supports the latest versions of PHP.
Then, run the commands below to install the latest PHP version.
sudo apt install php libapache2-mod-php php-intl php-mysql php-curl php-cli php-zip php-xml php-gd php-common php-mbstring php-xmlrpc php-bcmath php-json php-sqlite3 php-soap php-zip
Additional help on installing PHP
How to install PHP on Ubuntu Linux
Download CouchCMS files
Let’s begin downloading and configuring the CouchCMS files on Ubuntu Linux.
To always install the latest version, check the download page for CouchCMS. Get the download link and download the archived package to your computer. Then, extract it.
First, navigate to the /tmp/ directory and download the CouchCMS files. Next, move the content into the CouchCMS folder in the Apache root directory.
The final step is to change the permissions. This will allow the Apache web server to interact safely with the files, ensuring a secure environment for your CouchCMS installation.
cd /tmp/
wget https://github.com/CouchCMS/CouchCMS/archive/refs/heads/master.zip
sudo unzip master.zip
sudo mv CouchCMS-master/couch /var/www/couchcms
sudo chown -R www-data:www-data /var/www/couchcms
Once you have completed all the above steps, continue configuring the Apache web server below to serve the CouchCMS content.
Run the commands below to create an Apache virtual host file for CouchCMS.
sudo nano /etc/apache2/sites-available/couchcms.conf
Then, copy and paste the content block below into the Apache server block.
<VirtualHost *:80>
  ServerName example.com
  ServerAlias www.example.com
  ServerAdmin admin@example.com
  DocumentRoot /var/www/couchcms

  <Directory /var/www/couchcms/>
       Options FollowSymlinks
       AllowOverride All
       Require all granted
  </Directory>

       ErrorLog ${APACHE_LOG_DIR}/error.log
       CustomLog ${APACHE_LOG_DIR}/access.log combined
</VirtualHost>
Save the file.
Then, run the commands below to enable the virtual host and restart the Apache server.
sudo a2ensite couchcms.conf
sudo a2enmod rewrite
sudo systemctl restart apache2
Configure CouchCMS
After setting up Apache above, run the command below to create a Couch CMS configuration file.
sudo cp /var/www/couchcms/couch/config.example.php /var/www/couchcms/couch/config.php
Next, open the config.php file and enter the database details you created above.
sudo nano /var/www/couchcms/couch/config.php
Then change the lines below to match your database connection info
// If necessary, define the full URL of your site including the subdomain, if any.
    // V.IMP: Don't forget the trailing slash!
    define( 'K_SITE_URL', 'http://example.com/' );
    // MySQL settings. You need to get this info from your web host.
    // 4.
    // Name of the database
    define( 'K_DB_NAME', 'couchdb' );
    // 5.
    // Database username
    define( 'K_DB_USER', 'couchdbuser' );
    // 6.
    // Database password
    define( 'K_DB_PASSWORD', 'type_password_here' );
    // 7.
    // MySQL hostname (it will usually be 'localhost')
    define( 'K_DB_HOST', 'localhost' );
    //
    define( 'K_PRETTY_URLS', 1 );
Save the file and exit.
Setup Let’s Encrypt SSL/TLS for CouchCMS
You may want to install an SSL/TLS certificate to secure your CouchCMS site. Secure your CouchCMS installation with HTTPS from Let’s Encrypt.
Please read the post below for additional resources on installing and creating Let’s Encrypt SSL certificates for Apache.
How to set up Let’s Encrypt SSL certificate for Apache on Ubuntu Linux
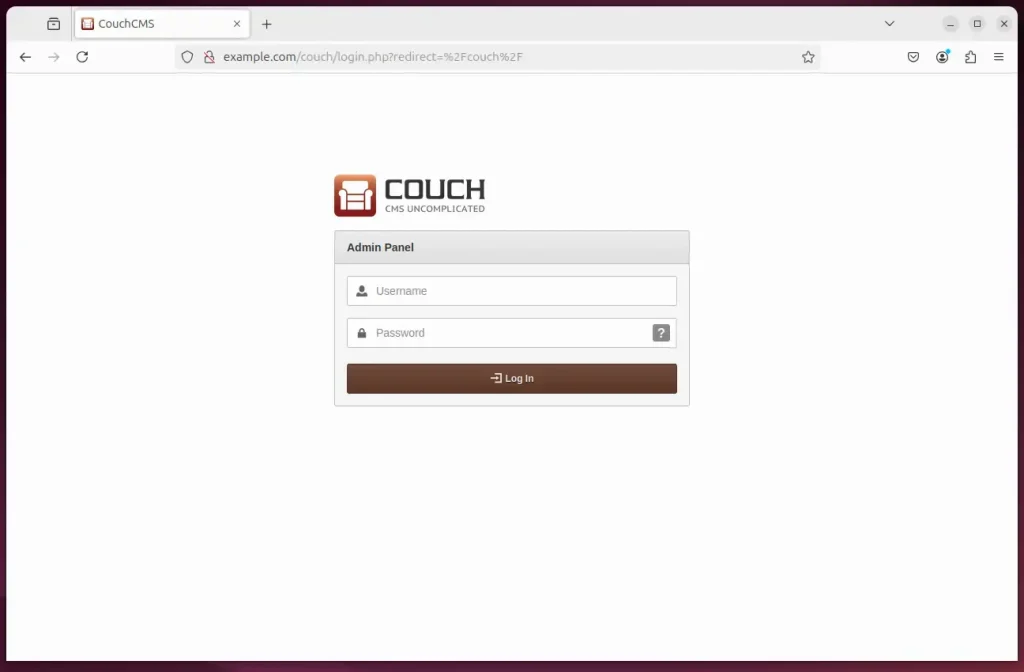
Once you have restarted the Apache web server, open your browser and browse to the server hostname or IP address defined in the Apache server block.
http://example.com/couch/
Your CouchCMS site should be ready.
That should do it!
Conclusion:
Installing CouchCMS with Apache on Ubuntu 24.04 provides an efficient content management solution for your website. Here are the key takeaways:
- User-Friendly: CouchCMS allows users without PHP knowledge to manage website content effectively.
- Robust Setup: The installation involves setting up Apache, MariaDB, and PHP, ensuring a secure and efficient environment.
- Database Creation: Creating a specific database for CouchCMS enhances the organization and management of your content.
- Custom Configuration: Apache configuration allows easy control of how CouchCMS serves content.
- SSL Security: Securing your site with Let’s Encrypt ensures encrypted data transfer and enhances trustworthiness.
- Flexible Alternative: CouchCMS is a practical alternative to more widely-used CMSs like WordPress, catering to different user needs.
By following the steps provided, you’ll be well on your way to deploying and managing your CouchCMS site confidently.

Leave a Reply Cancel reply