How to Install BoxBilling with Apache on Ubuntu Linux
You can install BoxBilling, an open-source client billing and management system, on Ubuntu Linux using the Apache web server.
BoxBilling automates essential business tasks like generating invoices, managing client accounts, and processing payments directly from your server. This setup is ideal for freelancers and small businesses seeking a powerful, self-hosted solution.
This tutorial guides you through configuring Apache and installing BoxBilling version 4.x on your Ubuntu system, ensuring you have a robust billing portal ready to go.
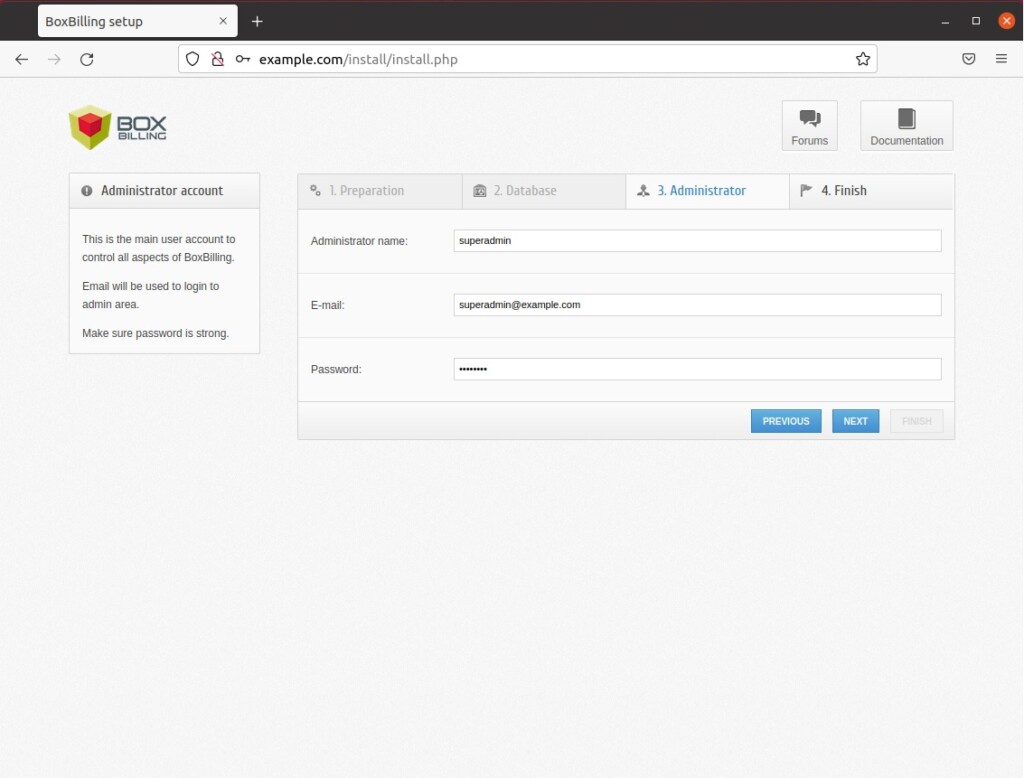
Install BoxBilling by downloading and extracting the files to /var/www/boxbilling. Create a database named boxbilling with a dedicated user. Configure Apache with a virtual host for your domain and enable the necessary PHP modules. Finally, clean up the installer directory and set up a cron job for daily tasks.
How to install Apache on Ubuntu Linux
Installing Apache on Ubuntu is the first step to getting your BoxBilling site online, as it’s the program that shows your website to visitors.
sudo apt update
sudo apt install apache2
Next, you can manage the Apache service with these commands:
sudo systemctl stop apache2
sudo systemctl start apache2
sudo systemctl enable apache2
Finally, test your installation by visiting your server’s IP address in a web browser.
How to install MariaDB on Ubuntu Linux
BoxBilling needs a database to store all its important information, and installing MariaDB on Ubuntu is a great way to set one up.
sudo apt install mariadb-server mariadb-clientSecure your database with this command:
sudo mysql_secure_installationFollow the prompts. Press Enter for the current password. When asked about authentication, choose the default secure option. Answer “y” to remove anonymous users, disallow remote root login, and remove the test database.

How to install PHP on Ubuntu Linux
To make BoxBilling work, you need to install PHP 8.3 on Ubuntu, which involves adding a special software source to get the latest version.
sudo apt install software-properties-common
sudo add-apt-repository ppa:ondrej/php
sudo apt update
Install PHP 8.3 and the required extensions:
sudo apt install php8.3 php8.3-mysql php8.3-xml php8.3-mbstring php8.3-fpm php8.3-curl php8.3-gd php8.3-zipGeneral Configuration
To help BoxBilling run smoothly and quickly, we’ll set up Apache to work with PHP-FPM, which is how Apache handles PHP code, and then create a specific site file.
sudo a2enmod proxy_fcgi setenvif
sudo a2enconf php8.3-fpm
Create a configuration file for your site:
sudo nano /etc/apache2/sites-available/boxbilling.confPaste this content into the file:
<VirtualHost *:80>
ServerName example.com
DocumentRoot /var/www/boxbilling
<Directory /var/www/boxbilling/>
AllowOverride All
Require all granted
</Directory>
</VirtualHost>
Enable the site and restart Apache:
sudo a2ensite boxbilling.conf
sudo systemctl restart apache2
Set the correct ownership for your files:
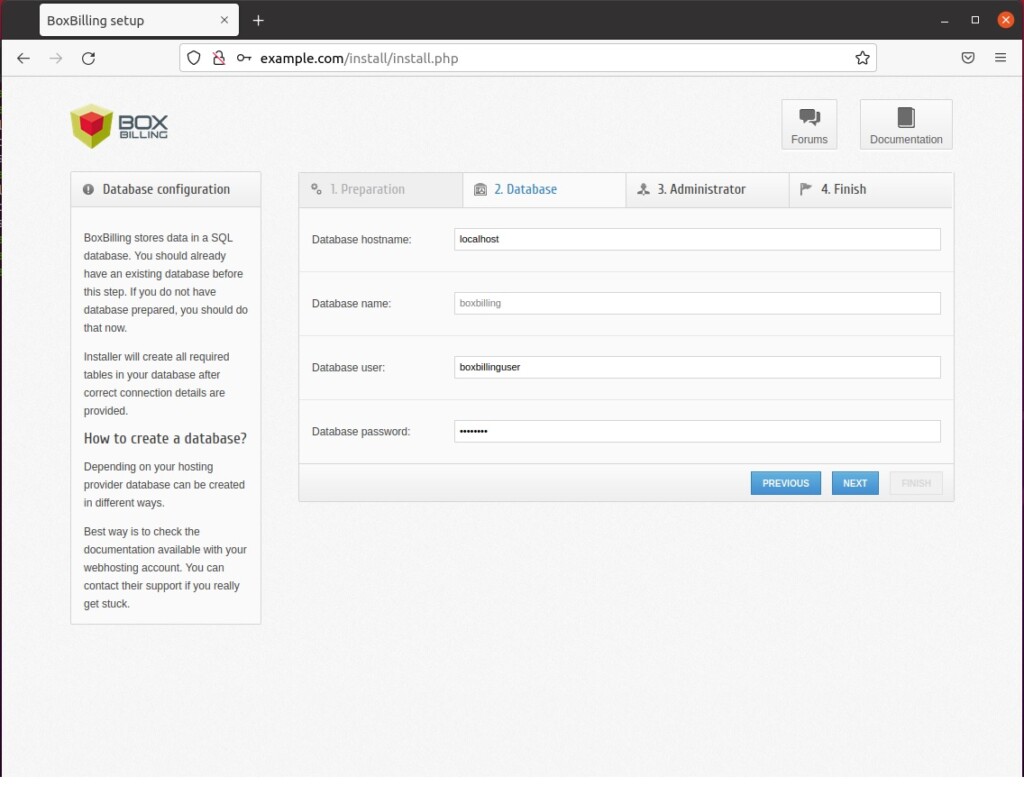
sudo chown -R www-data:www-data /var/www/boxbillingHow to create a BoxBilling database
Log into your database console:
sudo mysql -u root -pRun these commands to create your database and user:
CREATE DATABASE boxbilling;
CREATE USER 'boxbillinguser'@'localhost' IDENTIFIED BY 'your_password';
GRANT ALL ON boxbilling.* TO 'boxbillinguser'@'localhost';
FLUSH PRIVILEGES;
EXIT;
How to download BoxBilling
Download and extract the files:
cd /tmp
wget https://github.com/boxbilling/boxbilling/releases/download/4.22.1.3/BoxBilling.zip
sudo mkdir -p /var/www/boxbilling
sudo unzip BoxBilling.zip -d /var/www/boxbilling
How to setup Let’s Encrypt
To secure your site with SSL, follow the guide here: How to Setup Let’s Encrypt on Ubuntu Linux with Apache – Website for Students.
Finalizing the setup
Once you’ve installed BoxBilling on Ubuntu, it’s time to finish up by cleaning out the installer files and making the settings file read-only for better safety.
sudo rm -rf /var/www/boxbilling/installSet the configuration file to be read-only:
sudo chmod 644 /var/www/boxbilling/bb-config.phpAdd a cron job to keep your billing tasks running:
sudo crontab -eAdd this line to the file:
*/5 * * * * php /var/www/boxbilling/bb-cron.php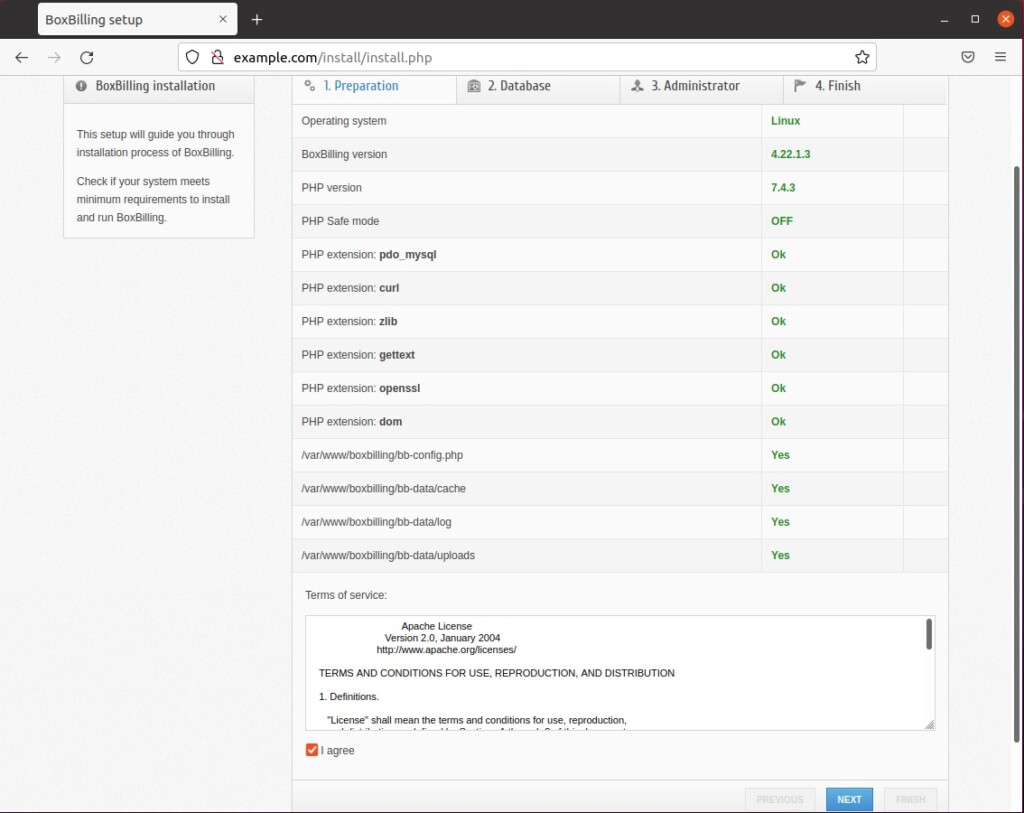
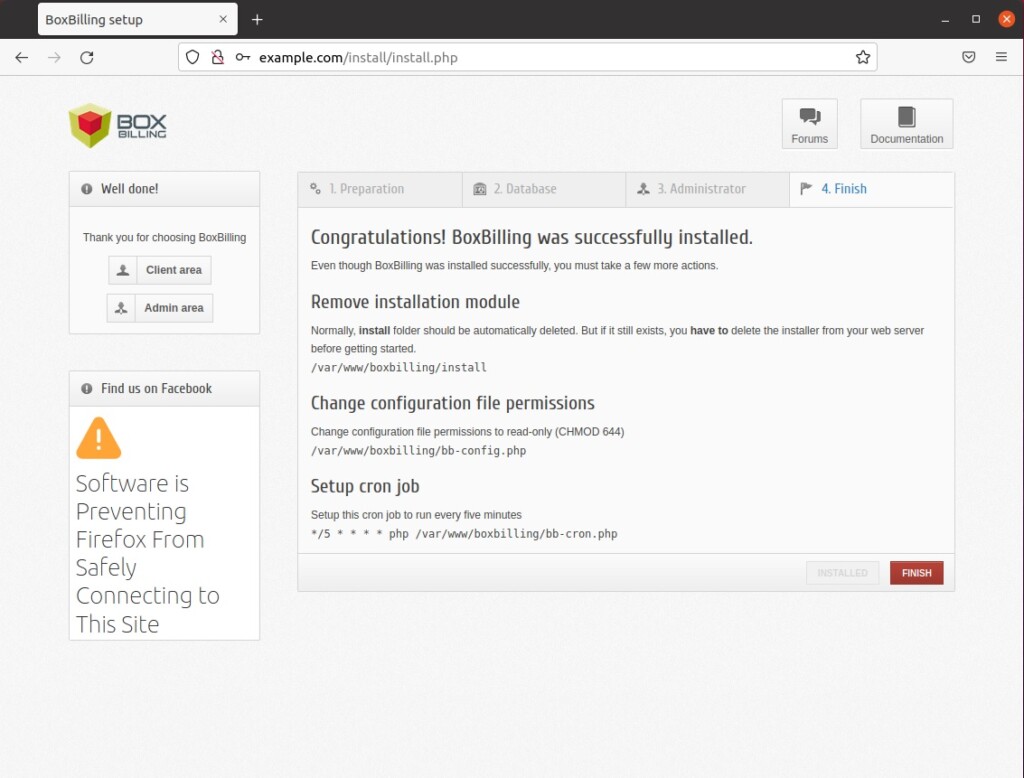
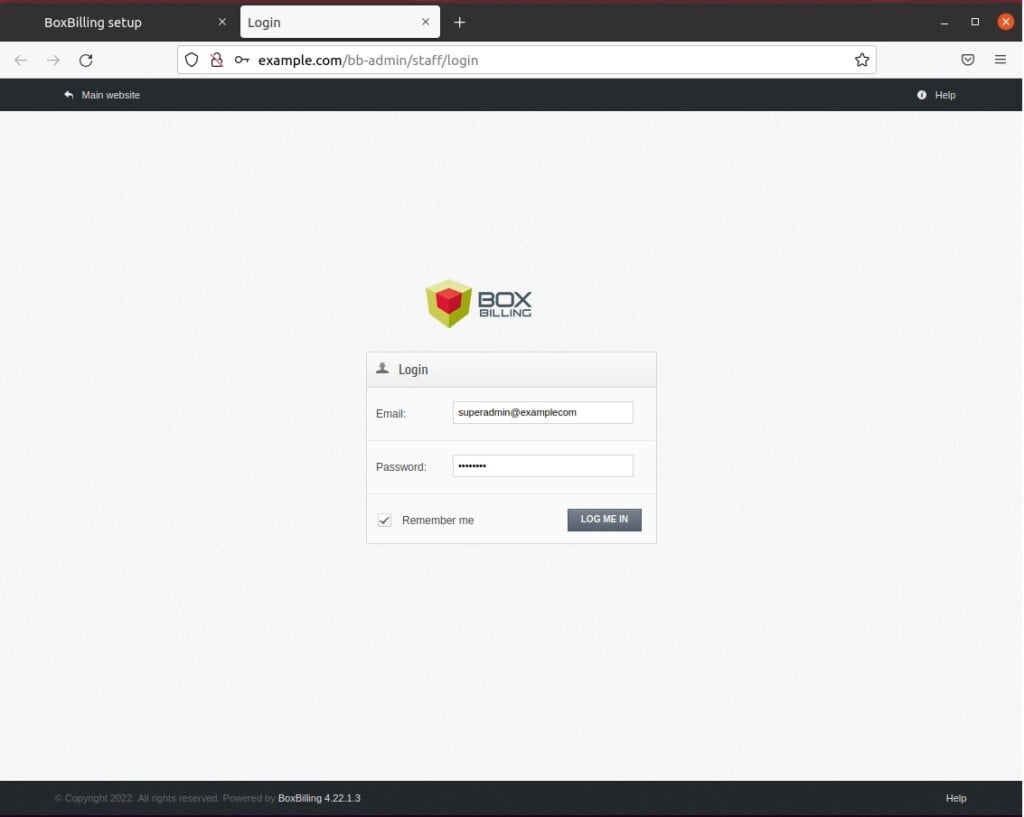
Your BoxBilling installation is now complete and ready for use.
[Y/n] [Y/n] [Y/n] [Y/n] [Y/n] [Y/n]
Was this guide helpful?

About the Author
Richard
Tech Writer, IT Professional
Richard, a writer for Geek Rewind, is a tech enthusiast who loves breaking down complex IT topics into simple, easy-to-understand ideas. With years of hands-on experience in system administration and enterprise IT operations, he’s developed a knack for offering practical tips and solutions. Richard aims to make technology more accessible and actionable. He's deeply committed to the Geek Rewind community, always ready to answer questions and engage in discussions.

Thanks a lot Sir for your assistance.