How to Install Bitwarden on Ubuntu Linux
This article shows you how to install a password manager on your Ubuntu Linux system. Keeping your passwords safe is crucial for your digital security.
Install Bitwarden on Ubuntu by creating a dedicated user, downloading the official installation script, and running it with `./bitwarden.sh install`. After installation, start the services using `docker compose up -d`.
Introduction
Bitwarden is a free password manager that keeps all your passwords safe in one encrypted spot, making it simple to manage your online accounts on any device.
Why use a self-hosted password manager? This means your private data stays under your control on your own hardware, instead of relying on a third-party cloud service.
What happens when done? You will have a private, secure password vault that you can access from any device.
Bitwarden vs. Vaultwarden
When setting up your own Bitwarden server, you’ll likely pick between the official Bitwarden and the unofficial Vaultwarden, which is a lighter option.
- Official Bitwarden: This is the enterprise-grade version. It is very powerful but requires more system resources to run.
- Vaultwarden: This is an unofficial, lightweight version written in Rust. It is highly recommended for home-lab users because it uses very little memory and CPU power.
Install Bitwarden on Ubuntu Linux
Installing Bitwarden on Ubuntu Linux is easiest using Docker, which runs apps in separate spaces to simplify the setup process.
First, we create a dedicated user for security. We’ll give this user only the permissions they need to use Docker, which is a security practice known as the principle of least privilege.
sudo useradd -G docker -s /bin/bash -m -d /opt/bitwarden bitwarden
sudo passwd bitwarden
sudo chown -R bitwarden: /opt/bitwarden
Next, grab your installation key here: Bitwarden installation key
Now, switch to your new user and download the official installation script:
su - bitwarden
curl -Lso bitwarden.sh https://go.btwrdn.co/bw-sh
chmod +x bitwarden.sh
Start the installation:
./bitwarden.sh install
During the setup, the script will ask for your domain name and database settings. For a secure setup, we highly recommend using a valid SSL/TLS certificate. You can obtain one using Let’s Encrypt with Certbot or by placing your server behind a reverse proxy like Nginx Proxy Manager.
Running the Service
Once the installation finishes, start the services using the Docker Compose V2 plugin command:
docker compose up -d
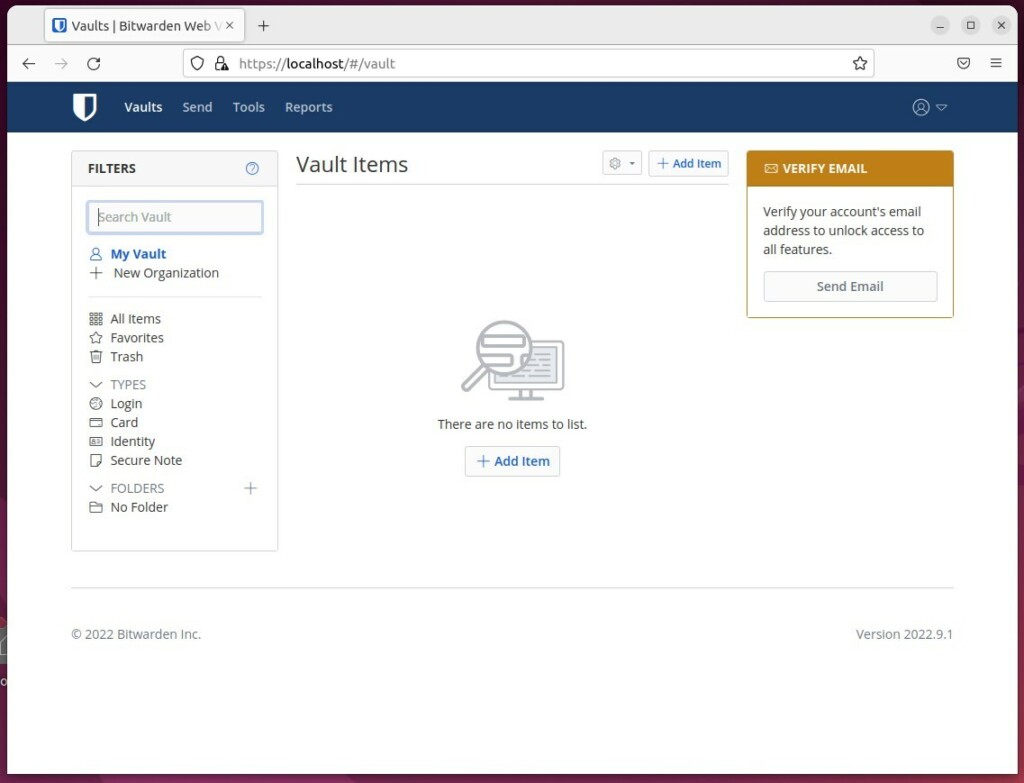
What happens when done? The containers will initialize, and your vault will be accessible through your web browser. You can then create your admin account and start saving your passwords.
Conclusion
By hosting your own password manager, you gain full control over your credentials. Whether you choose the official Bitwarden or the lightweight Vaultwarden, you have taken a major step toward better online privacy.
Was this guide helpful?

About the Author
Richard
Tech Writer, IT Professional
Richard, a writer for Geek Rewind, is a tech enthusiast who loves breaking down complex IT topics into simple, easy-to-understand ideas. With years of hands-on experience in system administration and enterprise IT operations, he’s developed a knack for offering practical tips and solutions. Richard aims to make technology more accessible and actionable. He's deeply committed to the Geek Rewind community, always ready to answer questions and engage in discussions.


No comments yet — be the first to share your thoughts!