
This post shows steps for students and new users to install, configure, and use the Apache HTTP web server on Ubuntu Linux. Apache is the most popular open-source web server in the world. Chances are many of the websites you visit today are mostly likely running Apache HTTP server.
If you’re thinking of running a website, you’re more likely to go with Apache or have support for Apache on web hosting companies than other web servers. Apache provides powerful features that a wide variety of modules can extend.
If you’re a student or new user learning Linux, Ubuntu Linux is the easiest place to start learning. Ubuntu is the modern, open-source Linux operating system for desktops, servers, and other devices.
Follow the steps below to install the Apache HTTP server on Ubuntu Linux.
How to use Apache HTTP server on Ubuntu Linux
As mentioned above, Apache is widely used across the internet. Continue below to learn how to install and use it on Ubuntu Linux.
Apache is available in Ubuntu repositories, so we can easily install it using the apt package management tool.
To install Apache, run the commands below:
sudo apt update
sudo apt install apache2
The commands above will install the Apache HTTP server.
To find out if Apache is installed and running, use the status check command below.
sudo systemctl status apache2
The command will output similar lines below when Apache is running.
apache2.service - The Apache HTTP Server
     Loaded: loaded (/lib/systemd/system/apache2.service; enabled; vendor preset: enabled)
     Active: active (running) since Wed 2021-09-15 12:29:40 CDT; 10s ago
       Docs: https://httpd.apache.org/docs/2.4/
    Process: 4860 ExecStart=/usr/sbin/apachectl start (code=exited, status=0/SUCCESS)
   Main PID: 4864 (apache2)
      Tasks: 55 (limit: 4651)
     Memory: 4.7M
     CGroup: /system.slice/apache2.service
             ├─4864 /usr/sbin/apache2 -k start
             ├─4865 /usr/sbin/apache2 -k start
             └─4866 /usr/sbin/apache2 -k start

Sep 15 12:29:40 ubuntu2004 systemd[1]: Starting The Apache HTTP Server...
Sep 15 12:29:40 ubuntu2004 apachectl[4863]: AH00558: apache2: Could not reliably determine the >
How to allow Apache through the Ubuntu firewall
If you’re running Ubuntu in protected mode with a firewall enabled, you must allow HTTP (80) and HTTPS (443) to the Apache web server. In most cases, Ubuntu servers are running without a firewall enabled. However, run the commands below if you’re not sure.
If you’re using UFW to manage the Ubuntu firewall, run the below commands to allow traffic.
sudo ufw allow 'Apache Full'
That will allow full traffic to Apache.
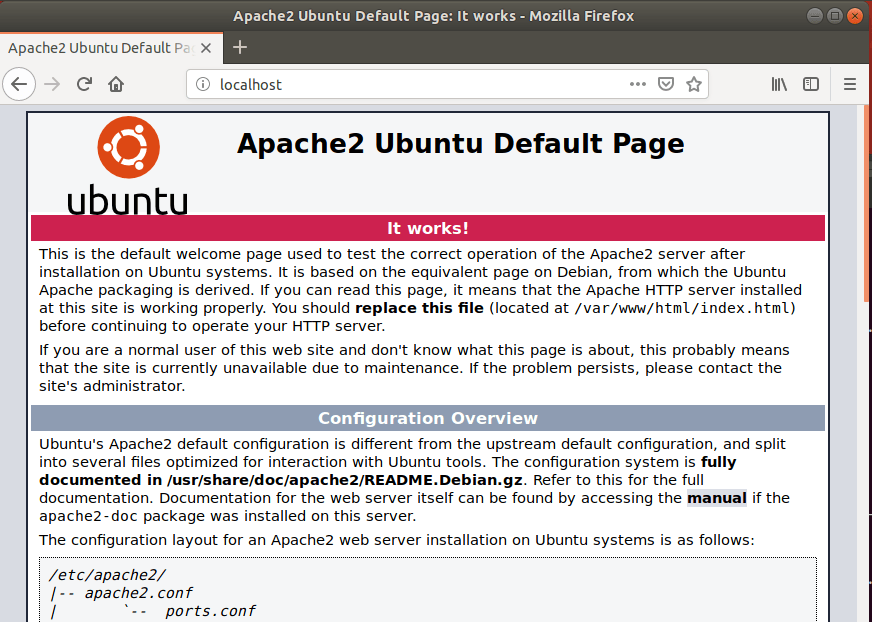
Browse the server hostname or IP address with the firewall opened to see if the Apache default page is up.
http://localhost
You should see the Apache default welcome page.
How to configure Apache on Ubuntu Linux
Now that Apache is installed, you should be aware of important folders and locations. Other Linux systems might have different folder structures and configuration files.
On Ubuntu Linux, these are Apache directory structures and configuration files.
All Apache configuration files are located in the /etc/apache2 directory. This is considered the Apache home directory.
Apache’s main configuration file is /etc/apache2/apache2.conf. Global configuration settings are done in the file, but this file is rarely ever touched.
Port configurations, including changing the default listen ports, are specified in this file /etc/apache2/ports.conf. The ports in here are what Apache listens to for traffic.
Apache Virtual Hosts files are stored in /etc/apache2/sites-available directory. This is the directory where individual websites are defined. Apache does not use website configurations until they’re activated. Once activated, they are linked to the /etc/apache2/sites-enabled directory.
These are the commands below to activate websites to link them to the /etc/apache2/sites-enable directory. (replace example.com.conf with your VirtualHost file)
sudo a2ensite example.com.conf
The command above will create a symlink of the website configuration files found in the sites-available directory to the sites-enabled directory.
To deactivate a virtual host, use the command below. (replace example.com.conf with your website VirtualHost file).
sudo a2dissite example.com.conf
Apache uses modules to enhance and add additional functionalities located in the /etc/apache2/mods-available/ directory.
Modules are only available to load with Apache when enabled and symlinked to the /etc/apache2/mods-enable/ directory.
The a2enconf and a2disconf commands can turn modules on or off. Once modules are activated and linked to the mod-enable directory, they’re available to Apache to load.
Apache also has log files (access.log and error.log) in the /var/log/apache/ directory. You can view access and error logs in these files on Ubuntu.
Other Apache configuration files that might be available in Ubuntu are not listed above. We’ll continue posting a valuable tutorial here for more Apache configurations and how to use them.
Conclusion:
This post showed you how to install and use Apache on Ubuntu Linux. Please use the comment form below if you find any errors above or have something to add.


Leave a Reply Cancel reply