This brief tutorial shows students and new users how to install the aaPanel web hosting software panel on Ubuntu 20.04 | 18.04 LTS.
CPanel is free, simple, and lightweight server control software that you can use to manage your servers in a web hosting environment from which you can manage and control domains, SSL, MySQL databases, and other web hosting features from a simple web interface.
aaPanel, which also runs on low-resource servers right out of the box. With its auto-installer, you can install multiple apps with one click.
If you need a next-generation hosting control platform built for speed, security, and stability, you may want to try aaPanel host control platform.
These features come with aaPanel: WEB domains, DNS domains, MAIL domains, Databases, CRON, User Directories, and more.
For more about aaPanel, please visit its homepage
When you’re ready to install aaPanel, continue with the steps below:
Configure Local Host
Before installing aaPanel, you will want to set up Ubuntu local domain on the server… To do that, run the commands below to open the Ubuntu local hosts file.
sudo nano /etc/hosts
Then type in the server address to domain mapping. You can use your public IP address instead of the local one…
127.0.0.1 aapanel.example.com
It should look like the lines below:
127.0.0.1              localhost
127.0.1.1              ubuntu1804
127.0.0.1              aapanel.example.com

# The following lines are desirable for IPv6 capable hosts
::1     ip6-localhost ip6-loopback
fe00::0 ip6-localnet
ff00::0 ip6-mcastprefix
ff02::1 ip6-allnodes
ff02::2 ip6-allrouters
Save the file and exit
To get started with installing aaPanel on Ubuntu, follow the steps below:
Install aaPanel
To quickly install aaPanel on Ubuntu, run the commands below to add its repository to Ubuntu.
wget -O install.sh http://www.aapanel.com/script/install-ubuntu_6.0_en.sh && sudo bash install.sh
After running the commands above, aaPanel should download and install all packages. When done, you should see a successful message similar to the one below:
==================================================================
 Congratulations! Installed successfully!
 aaPanel Internal Address: http://10.0.2.10:8888/8c507cff
 username: 6yxnpg4v
 password: bccf9493
 Warning:
 If you cannot access the panel,
 release the following port (8888|888|80|443|20|21) in the security group
 Time consumed: 4 Minute!
Access aaPanel
When you finish the steps above, open your web browser and browse to aaPanel WebUI at port 127.0.0.18080.
http://localhost:8888/8c507cff
Replace the example IP address with your server’s address.
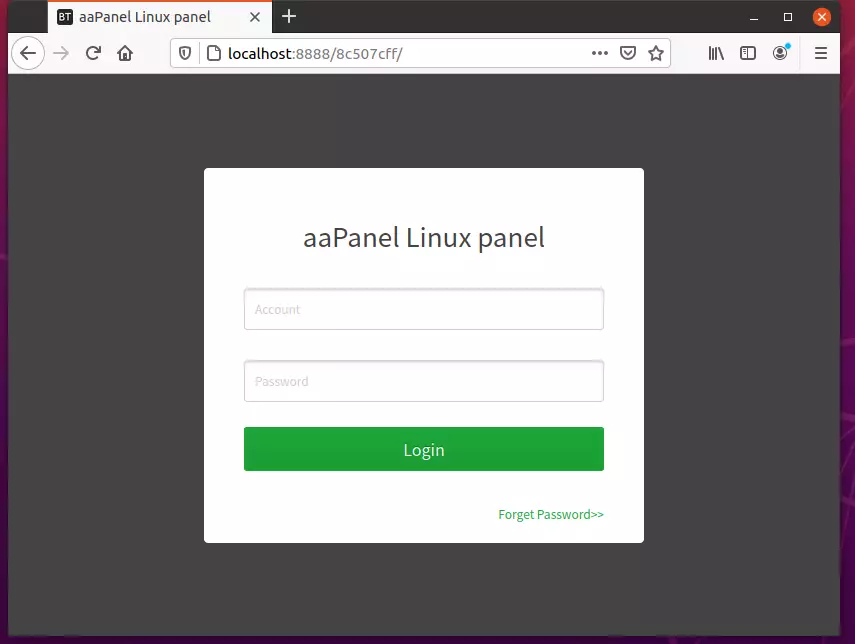
Login with the admin account created above. When you log in, you can choose the environment to run with aaPanel.
Nginx with MySQL and PHP (LNMP) vs. Apache and MySQL and PHP (LAMP).
For this tutorial, I went with LNMP.
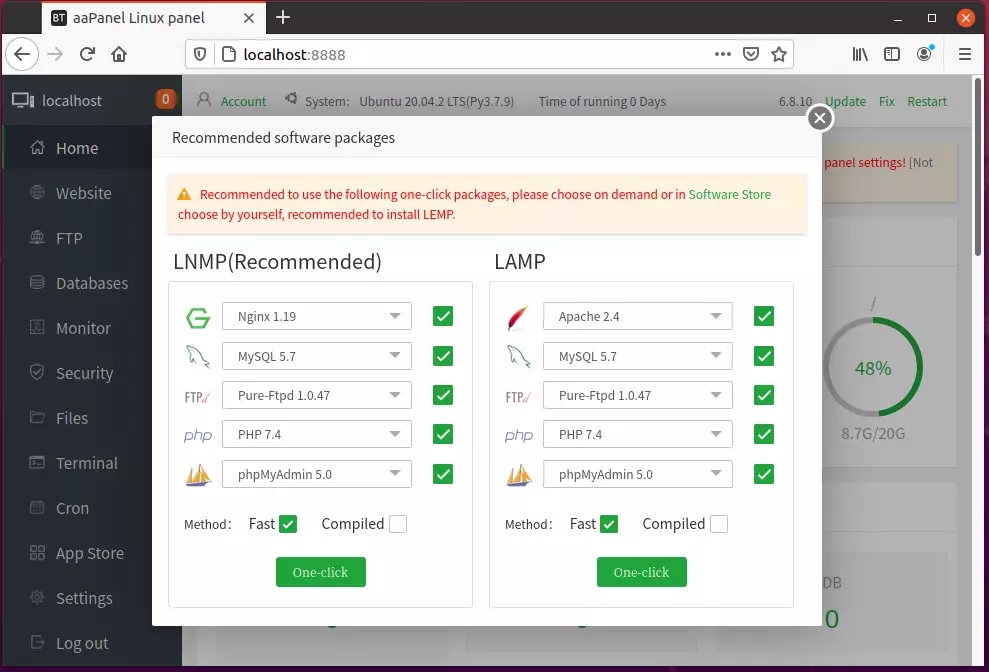
With for the LNMP packages to be downloaded and installed. This might take a while, depending on the speed of your server.
Once all is done, begin setting up your environment.
Conclusion:
This post showed you how to install and configure aaPanel. If you find any error above, please use the form below to report.
You may also like the post below:


Leave a Reply Cancel reply