
This article explains how to install a new language in Windows 11.
During the Windows installation, you can select your preferred language. Windows then utilizes this language for features such as Settings and File Explorer.
After installing Windows on your device, you can add additional language packs to expand your list of display languages. These language packs may include features that support text-to-speech, speech recognition, handwriting, keyboard input, optical character recognition, and more.
If a language is listed under Preferred Languages but doesn’t appear on the Windows display language list, you must install its language pack (if available). The steps below show you how to install a language in Windows 11.
How to add a Language pack to Windows 11
As mentioned above, Windows uses your preferred Language for features like Settings and File Explorer. If a language is listed under Preferred Languages but doesn’t appear on the Windows display language list, you must install its language pack (if available).
Below is how to add a language to Windows 11
Windows 11 has a centralized location for the majority of its settings. From system configurations to creating new users and updating Windows, all can be done from the System Settings pane.
To get to System Settings, you can use the Windows key + I shortcut or click on Start ==> Settings, as shown in the image below:

Alternatively, you can use the search box on the Taskbar to search for Settings and then select it to open it.
In Windows Settings, click Time & Language on the right pane and select the Language & region tile to expand it.

On the Language & region settings pane, under Language, select the Preferred Languages tile, and click the Add a language button as highlighted below.

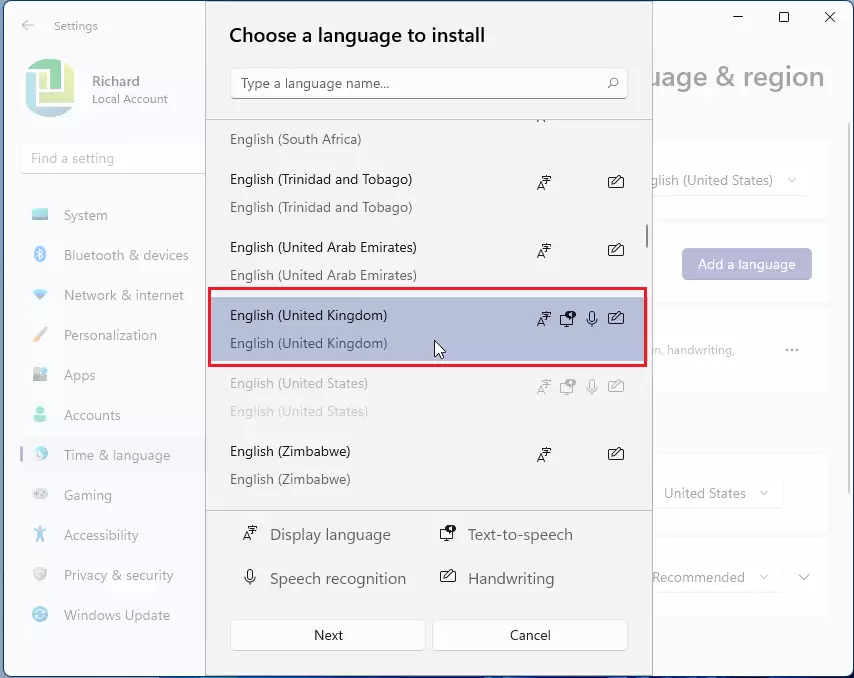
Next, choose a language to install from the list of available languages, and click Next to continue.
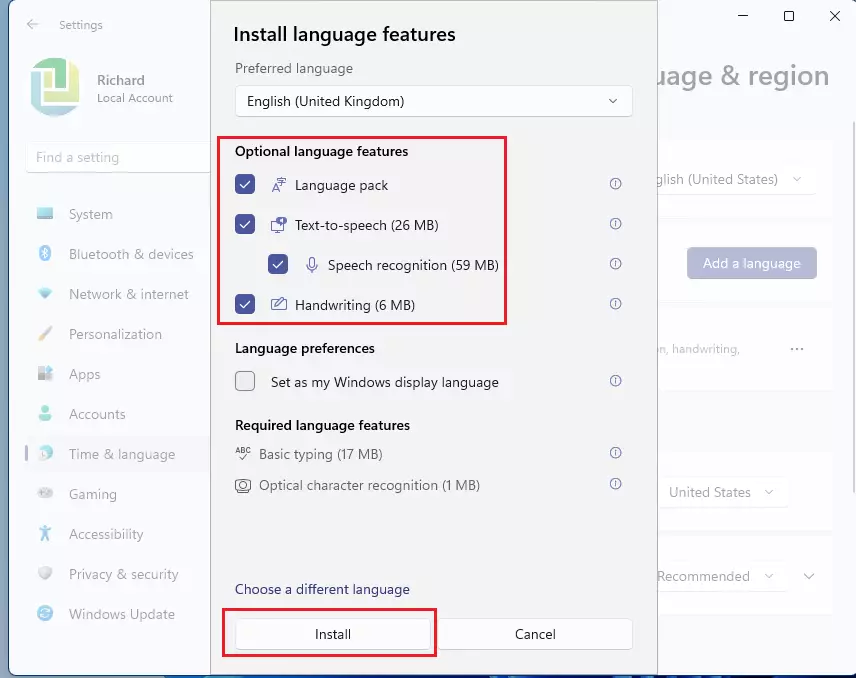
Next, select the optional language features and preferences you want to install with your preferred Language and click the Install button.
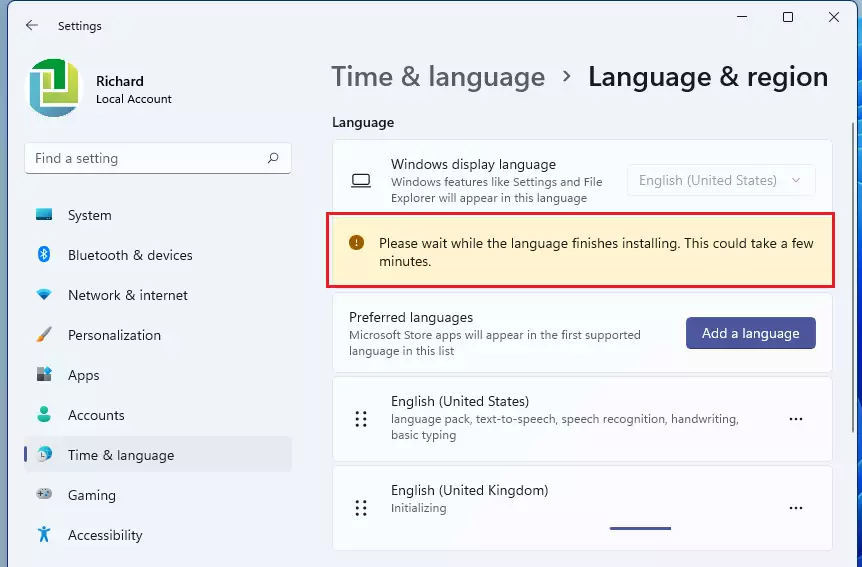
Wait for your preferred Language and optional features to be downloaded and installed for your account profile.
That should do it! You have successfully installed a preferred language in Windows 11. Under the Preferred Languages tile, you’ll see all the installed languages available to be used with your account.
On the Taskbar, you should be able to switch between your preferred Language in Windows.
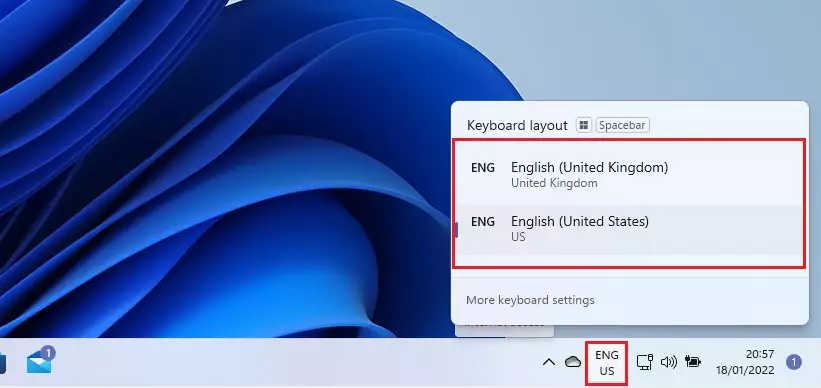
That should do it!
Conclusion:
- Installing additional language packs in Windows 11 enhances your user experience by providing access to various features.
- Users can easily add their preferred languages through the centralized System Settings.
- The installation process is straightforward, requiring only a few clicks to choose languages and optional features.
- After installation, users can switch between languages seamlessly via the Taskbar.
- Customizing Windows display languages allows for a more personalized and accessible computing environment.

Leave a Reply