
This article explains how to use BitLocker to encrypt external USB thumb drives with passwords in Windows 11.
To share sensitive information securely, consider using a USB thumb drive. It’s simple to secure a USB thumb drive in Windows 11 using BitLocker To Go.
Windows employs BitLocker drive encryption to secure hard disk drives, ensuring that your data is protected in the event of loss or theft. BitLocker safeguards the information on your device, allowing only authorized users to gain access.
If an unauthorized individual attempts to access a device that has BitLocker enabled, their access will be denied without proper authentication.
Password-protect USB flash drives in Windows 11
Windows utilizes BitLocker to encrypt drives, providing simplicity and security. Follow the steps below to encrypt and password-protect your USB disk drive.
Windows 11 offers a central location for most settings. Users can manage system configurations, create new accounts, and update Windows through the System Settings pane.
To get to System Settings, you can use the Windows key + I shortcut or click on Start ==> Settings, as shown in the image below:

Alternatively, you can use the search box on the taskbar to search for Settings. Then select to open it.
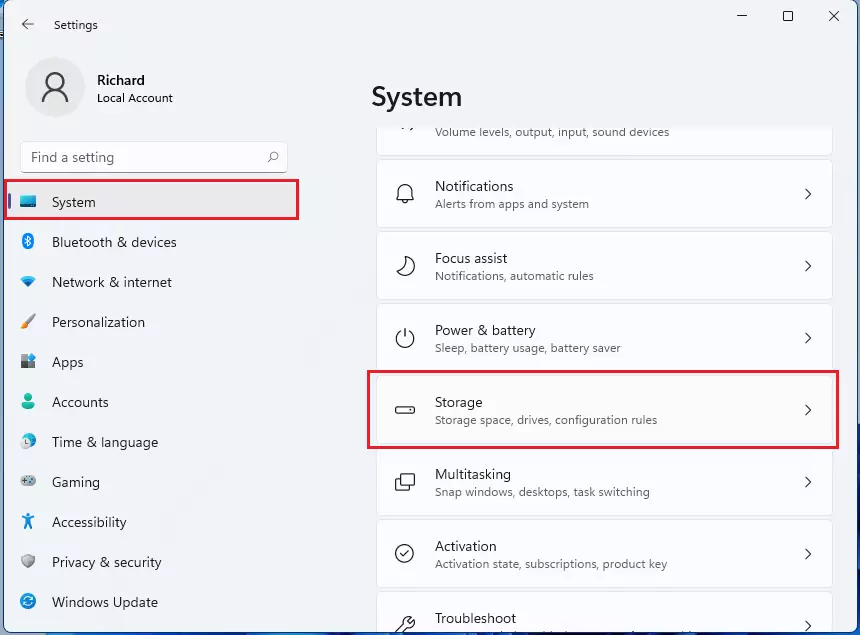
In Windows Settings, click on System and choose Storage from the right pane of your screen, as illustrated in the image below.
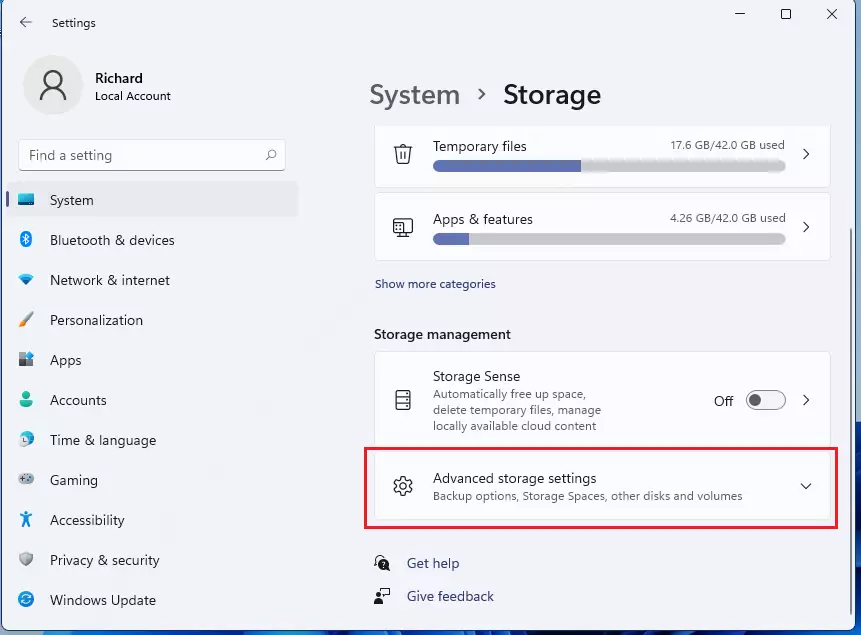
On the Storage settings pane, select Advanced storage settings to expand.
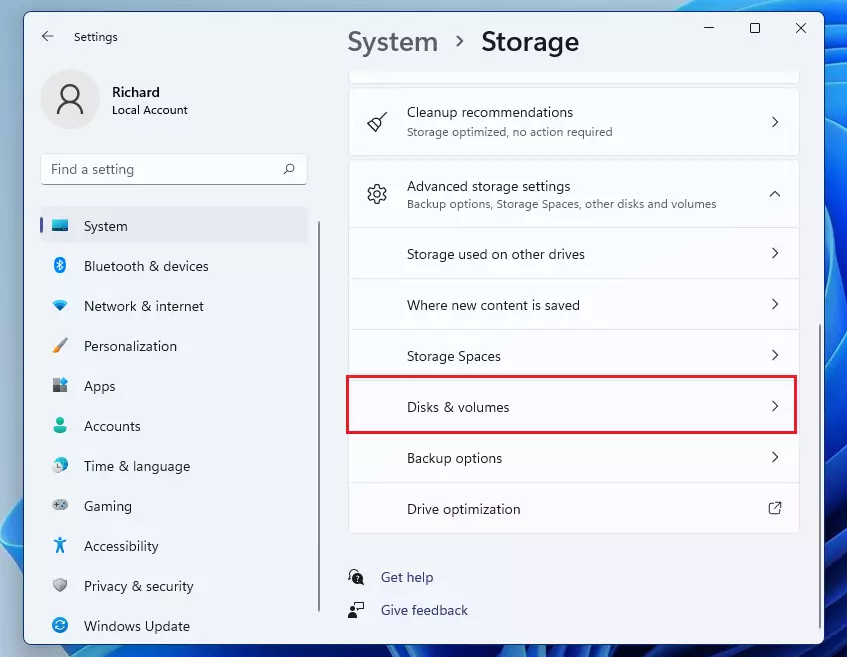
Then select Disks & volumes as highlighted below.
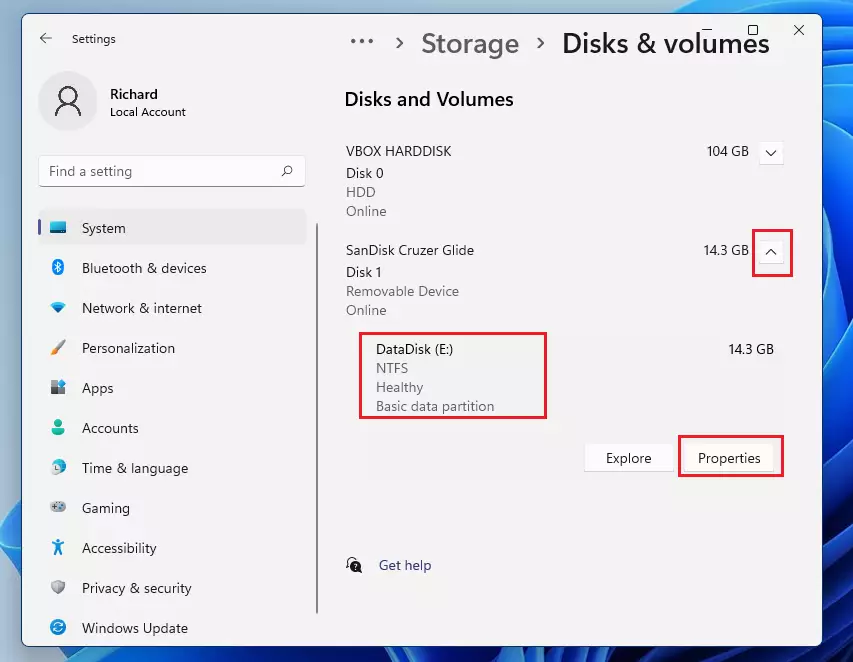
On the Disks & Volumes settings pane, select the external drive you want to encrypt and password-protect on the list. Then, expand it using the drop-down arrow. Then select Properties.
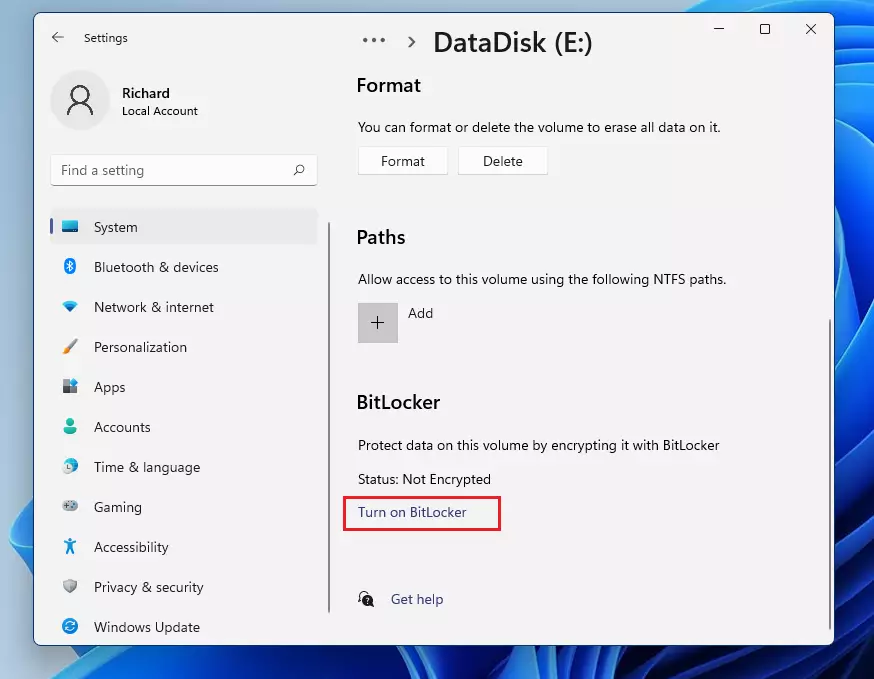
Click the link on the disk properties pane to turn on BitLocker, as highlighted below.
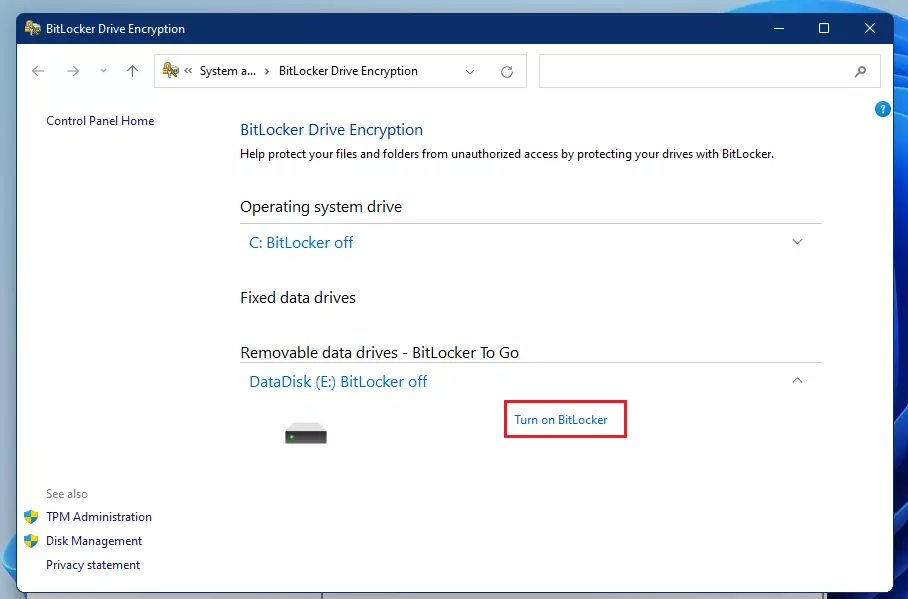
A new pane will open up. Under Removable data drive – BitLocker To Go, click the link to Turn on BitLocker.
When prompted, enter and confirm the password for the drive. This unique password is required to open and access the drive.

You’ll also be prompted to save the BitLocker recovery key to restore your data when you don’t remember the password.
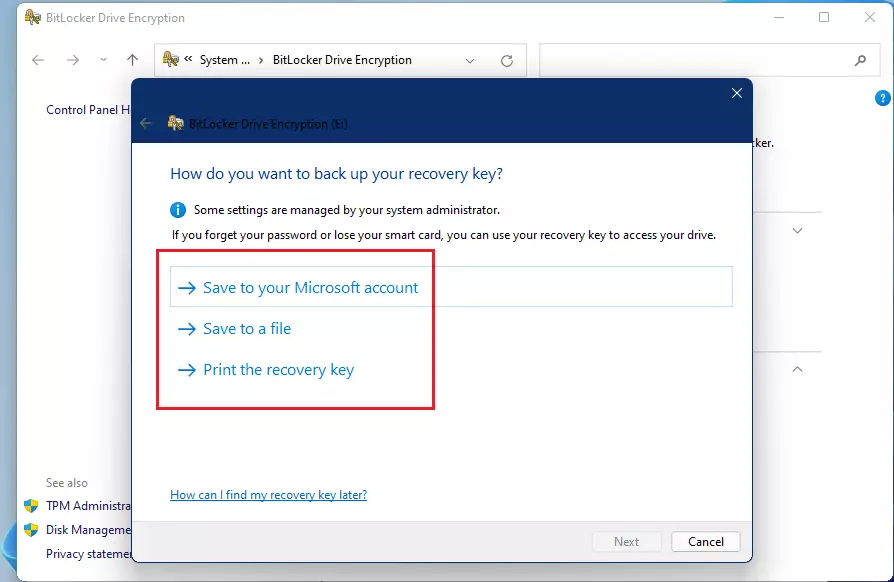
Next, select the option that works in your environment and click Next.
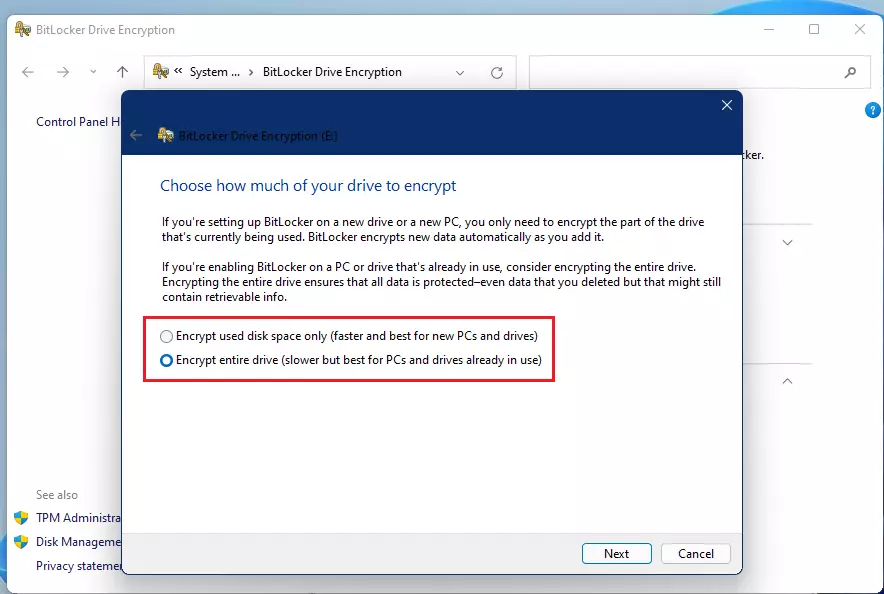
Next, choose the encryption mode that works for you, then click Start Encrypting to begin the process.

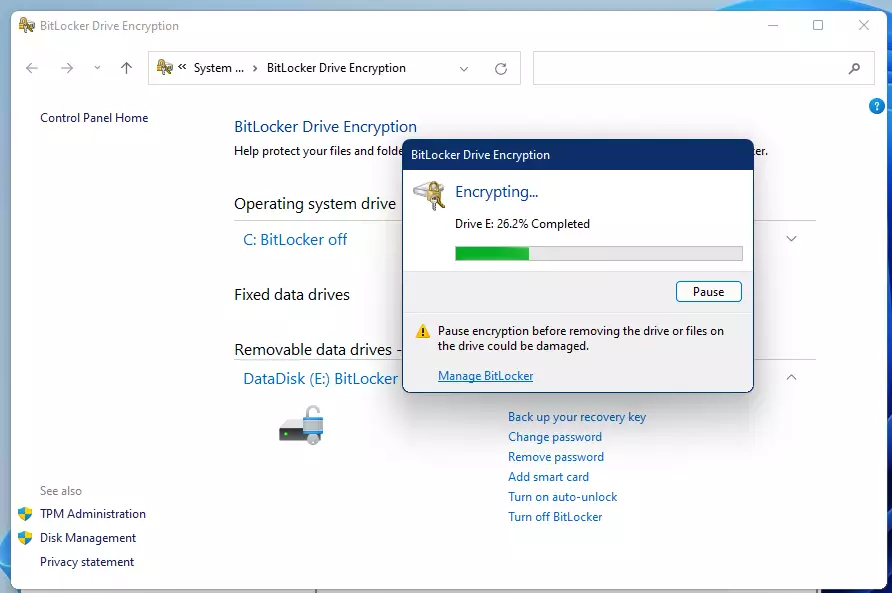
The encryption process should start. After a while, depending on your computer’s speed and the disk’s size, you should have a fully encrypted removable drive.
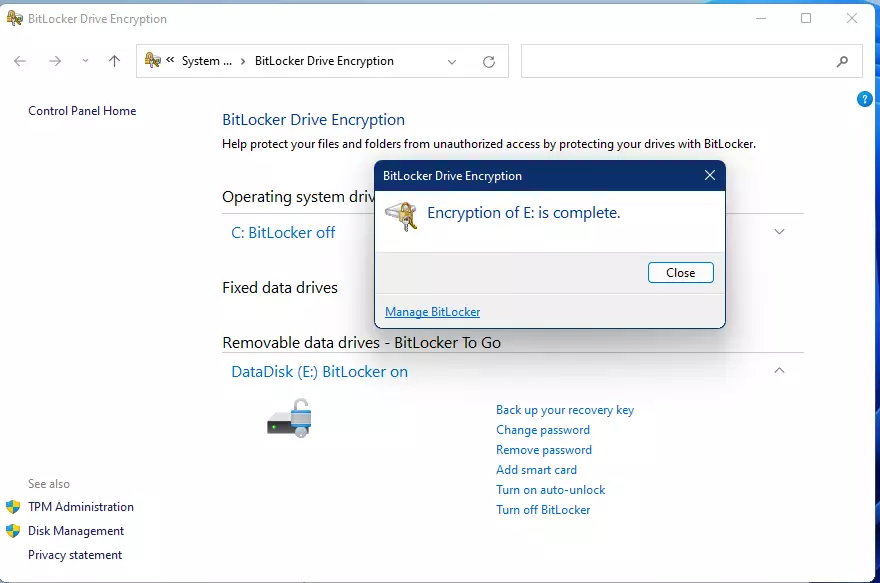
Wait until you see a message that the drive encryption is complete.
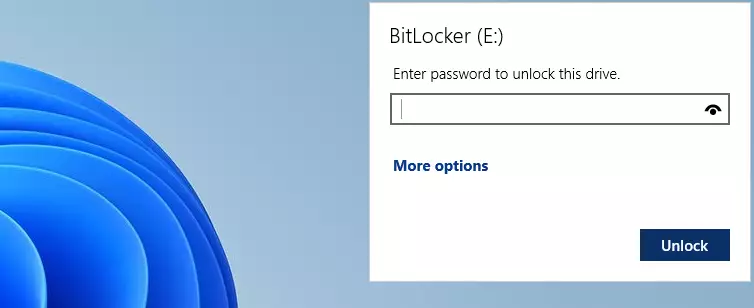
When you want to use the drive, insert it into any Windows computer, and you’ll be prompted that the drive is encrypted and that to access it, you will need a password.
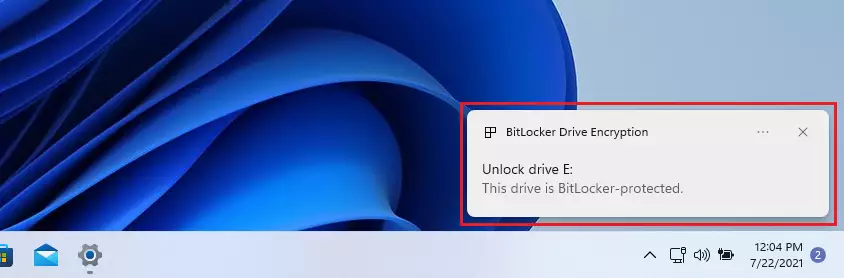
Open the disk and type in the correct password to unlock it.
That should do it!
Conclusion:
- BitLocker To Go provides a secure way to encrypt and protect sensitive data on USB thumb drives in Windows 11.
- Following the outlined steps ensures that only authorized users can access the encrypted drive.
- Remember to keep the BitLocker recovery key safe to avoid data loss.
- The encryption process may take some time, but it significantly enhances your data’s security.
- Always use strong passwords for better protection against unauthorized access.
By employing these practices, you can effectively safeguard your important information on portable drives.
Leave a Reply Cancel reply