
This article describes steps to turn on or off automatically save screenshots with Snipping Tools in Windows 11.
Starting with the most recent Snipping Tools, you can enable or disable automatically saving screenshots. In addition to being copied to the clipboard, they’ll now be automatically saved in PNG format in the Screenshots folder under Picture in your home folder.
This feature is enabled by default. However, if you don’t want to save screenshots automatically, you can disable them. The steps below show you how to do that.
How to disable or enable auto-saving screenshots with the Snipping Tool in Windows
As described above, starting with the most recent version of Snipping Tools, you can now enable or disable automatically saving screenshots.
This feature is enabled by default but can easily be disabled on the app’s settings page.
Below is how to do that.
Because Snipping Tool is not a native Win32 app but a Store app that receives updates separately from the OS, you can’t change its settings with the group policy of Windows Registry.
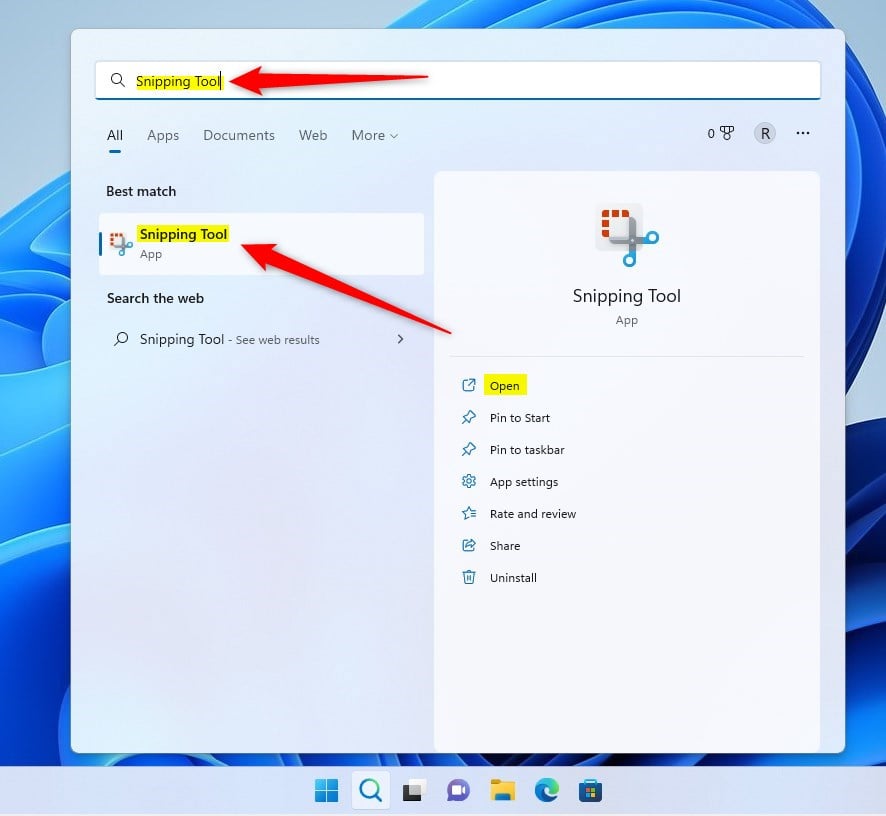
To disable or enable it, open the Snipping Tool app. You can do that from the Start menu by searching for the Snipping Tool.
Under Best match, select the Snipping Tool app to launch.
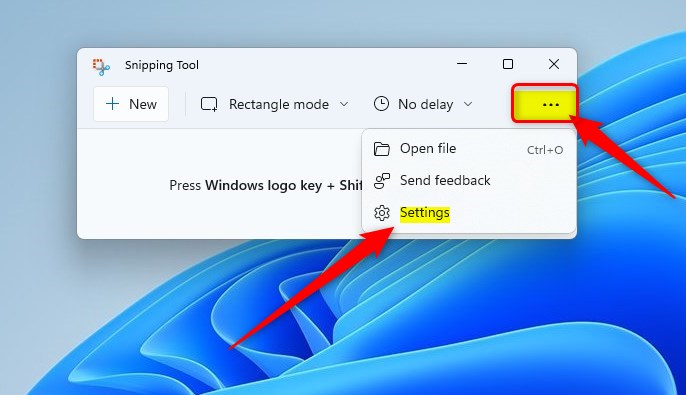
Once the app opens, click on the menu’s three horizontal dots (ellipses) and select Settings.
Find the Automatically save screenshots option on the Settings page, then toggle the switch button to On or Off to enable or disable it as you like.
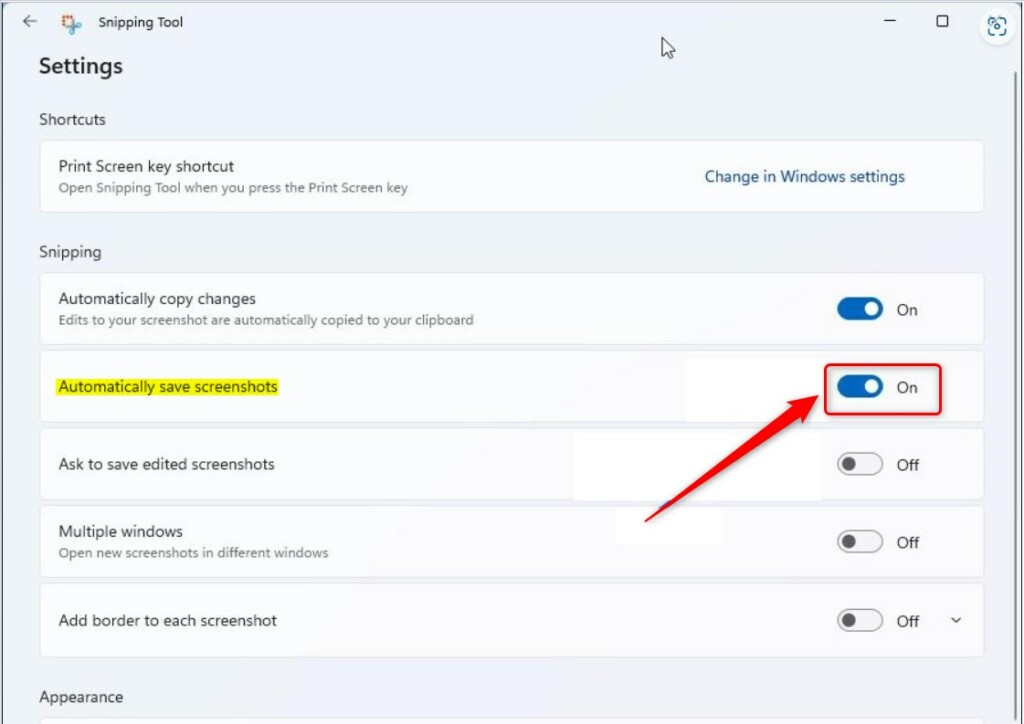
Exit, and your changes should be applied immediately.

That should do it!
Conclusion:
- Enabling or disabling the automatic saving of screenshots with the Snipping Tool in Windows 11 is easy to do through the app’s settings.
- Remember that this feature is enabled by default, so if you prefer not to save screenshots automatically, you can follow the steps to disable it effortlessly.
- The Snipping Tool is a Store app, and its settings cannot be changed through the group policy or Windows Registry, so it’s important to use the app’s settings page to make the desired changes.
- These steps ensure that you can customize the behavior of the Snipping Tool according to your preferences, making the screenshot process more tailored to your needs in Windows 11.


Leave a Reply Cancel reply