
This article describes how to enable or disable the HDR feature in Windows 11.
Windows 11 includes a feature called HD Color that enables high dynamic range (HDR) and wide color gamut (WCG) content when it is available.
If your device supports HDR, you’ll enjoy more vibrant pictures in games, videos, and apps on Windows 11.
When HDR is enabled and set to automatic, Windows determines how and when to utilize it based on various scenarios. This feature is particularly beneficial in game mode or while playing graphically intensive games.
How to Turn on Auto HDR in Windows 11
Enabling auto-HDR in Windows is straightforward. You can do that using the steps below.
Windows 11 offers a centralized location for most of its settings. Users can manage system configurations, create new accounts, and update Windows directly from the System Settings pane.
To get to System Settings, you can use the Windows key + I shortcut or click on Start ==> Settings, as shown in the image below:

Alternatively, you can use the search box on the taskbar to search for Settings. Then select to open it.
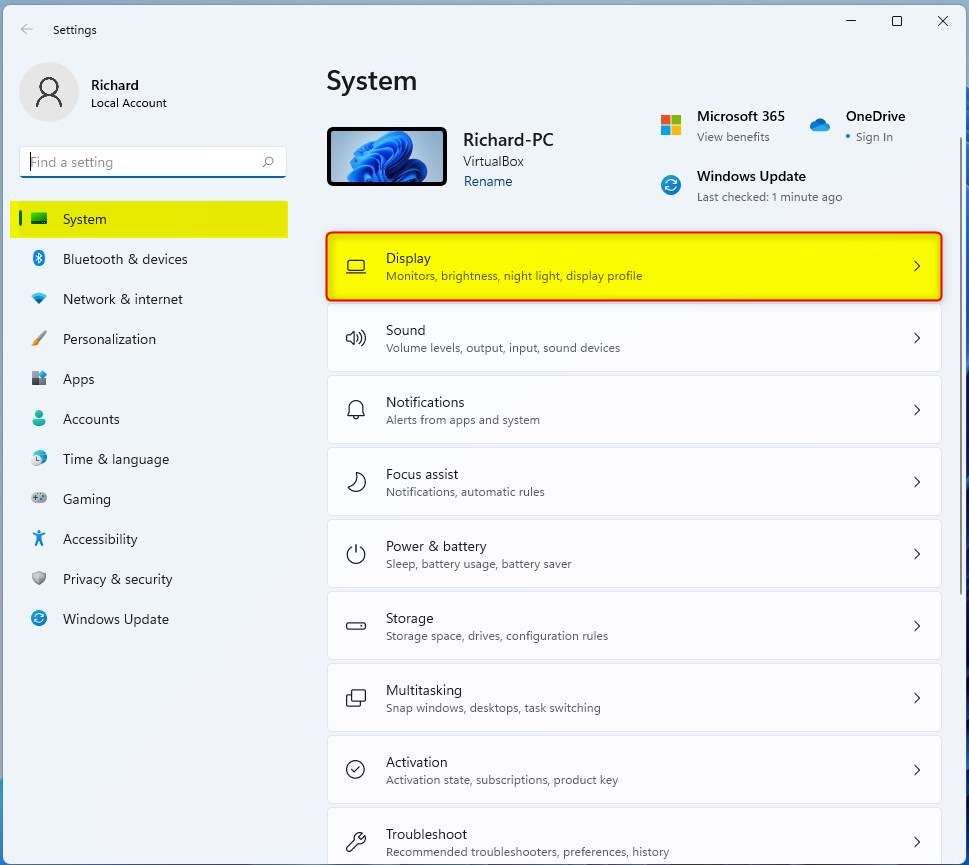
In Windows Settings, click on System, and select Display from the options on the right pane of your screen.
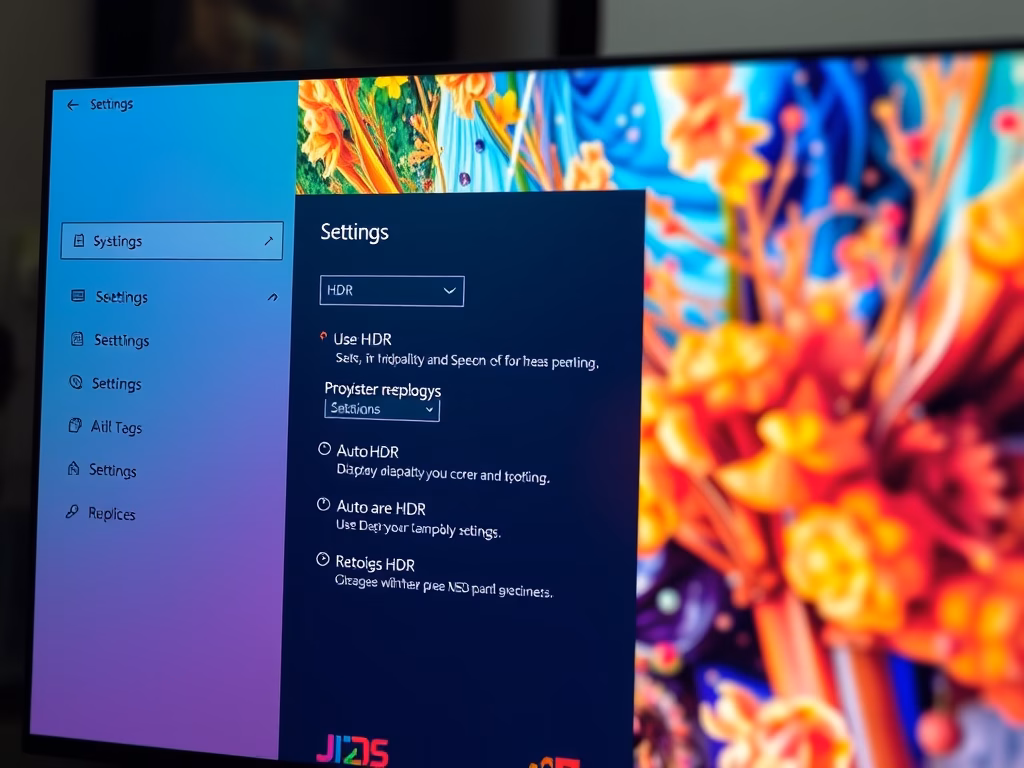
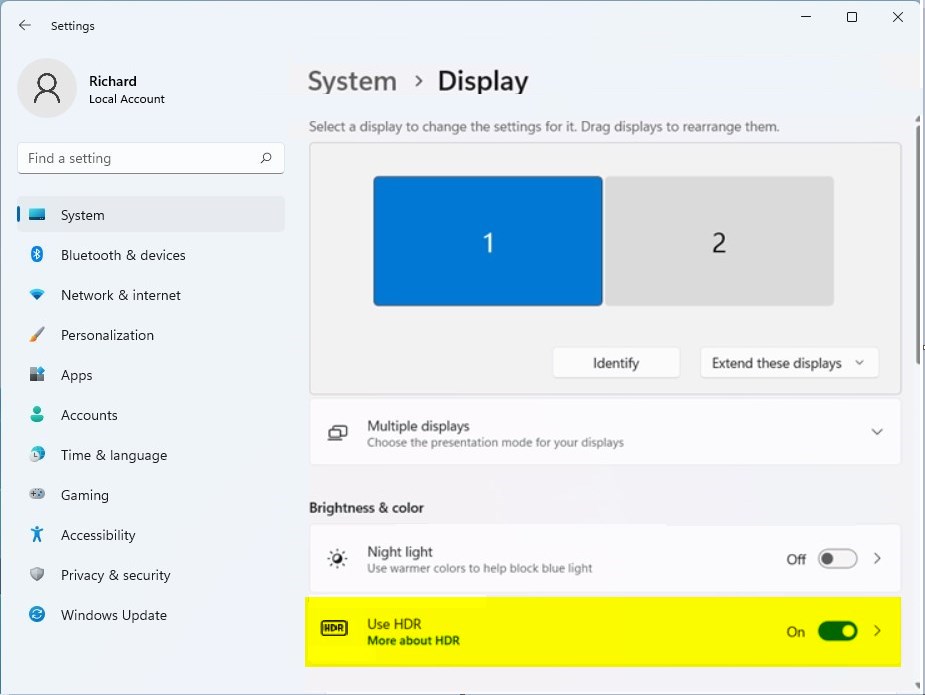
Select HDR or Use HDR as highlighted below on the System -> Display settings pane.
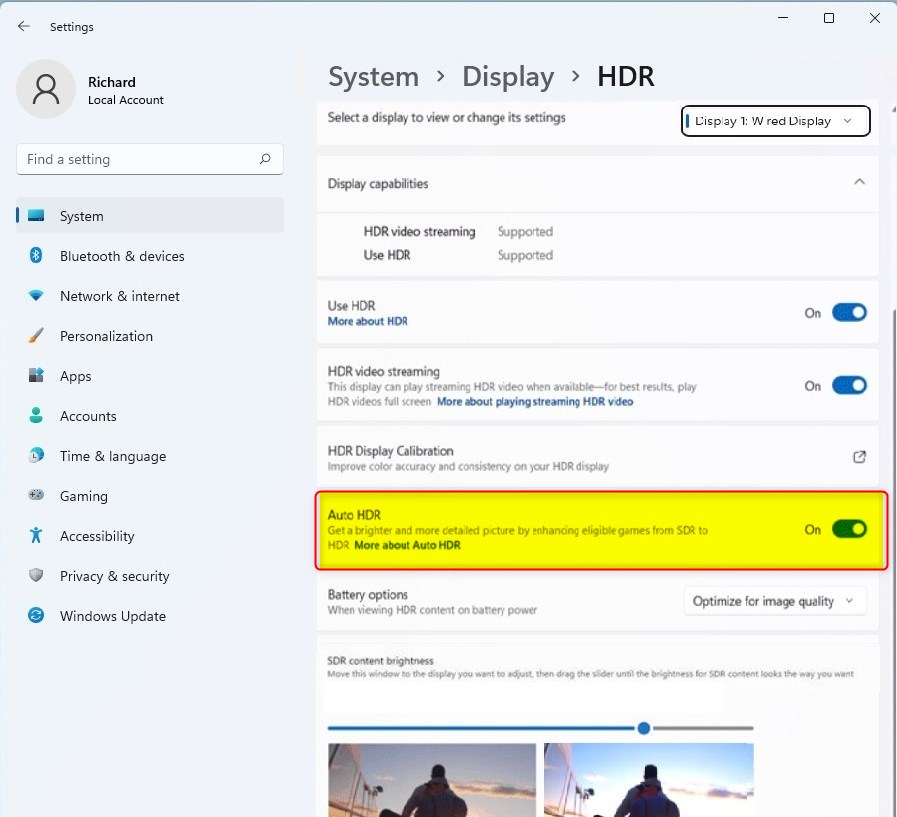
On the HDR settings pane, under Display capabilities, set the Auto HDR settings to On.
How to Disable HDR in Windows 11
If Windows 11 allows you to manage your desktop HDR content, and it’s not working as expected, you can turn it off.
To turn off the HDR feature in Windows, reverse the steps above.
Go to Start ==> Settings ==> System ==> Display ==> HDR and turn off both Playing streaming HDR video and Use HDR.
That should do it!
Conclusion:
- Enabling HDR in Windows 11 enhances the visual experience by providing vibrant colors and improved graphics.
- Auto HDR allows Windows to manage HDR settings automatically, optimizing the display for different content types.
- Users can easily turn HDR on or off through the System Settings, making it convenient to switch based on their needs.
- Disabling HDR is simple and can be done through the same settings pathway, ensuring control over the display configuration.
- Familiarizing yourself with these settings helps you take full advantage of your device’s capabilities when it comes to high-quality content.


Leave a Reply Cancel reply