
This article describes steps to repair Windows 11 by performing an In-place upgrade without losing your data, apps, and documents.
If your Windows 11 PC has an issue you cannot resolve quickly, there are multiple ways to fix it. For example, one can do a PC reset without losing data, and others can perform an In-place upgrade to repair Windows while keeping data intact.
To do an In-place upgrade to repair Windows, you’ll need a Windows installation media with the same edition and same version, the same language, and the same or higher build number than the one currently installed on the machine you want to fix.
You will also need at least 20 GB of free space on the Windows drive to perform an in-place upgrade to repair your machine.
Below is how to do that in Windows 11.
How to repair Windows 11 by performing an In-place upgrade
As mentioned above, one can resolve issues in Windows 11 in multiple ways. One can do a PC reset without losing data, and others can perform an In-place upgrade and keep data intact.
Another way is to perform an in-place upgrade to repair Windows without losing one’s data, apps, and documents.
Before you start, make sure the following conditions are met:
- Disable or uninstall any third-party antivirus software and security products.
- Disable BitLocker before performing an in-place upgrade.
- If you haven’t already done so, download a full ISO Windows 11 image.
- Mount the ISO image on the computer you want to repair.
With all the above conditions met, begin the in-place upgrade.
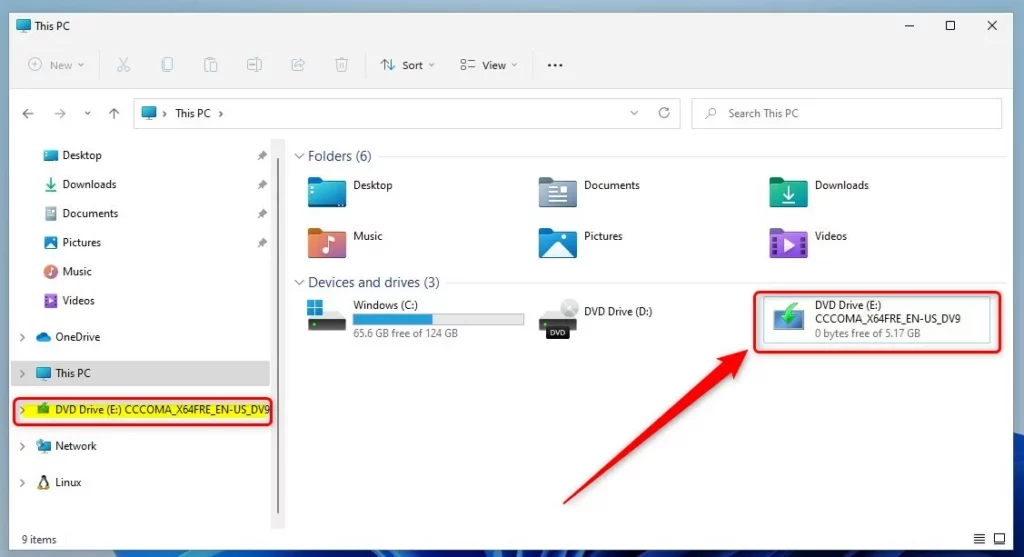
Mount the downloaded Windows 11 ISO image file.
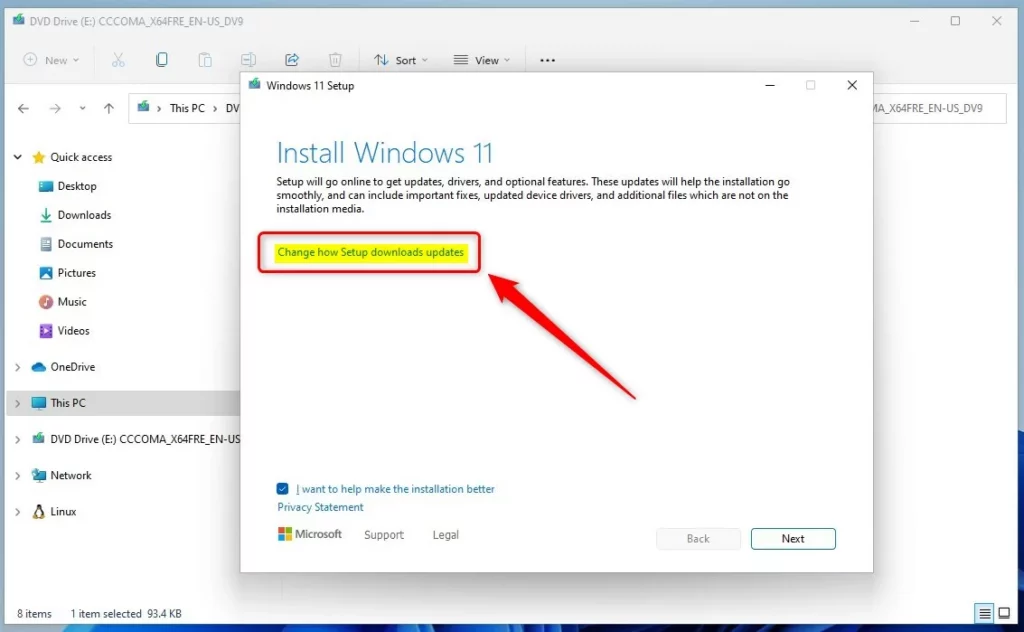
Open the ISO mount, and run the setup.exe file to start Windows 11 Setup. On the UAC prompt window, click on Yes.
On the Windows 11 Setup window, under Install Windows 11, click on the link that says “Change how Setup downloads updates,” as highlighted below.
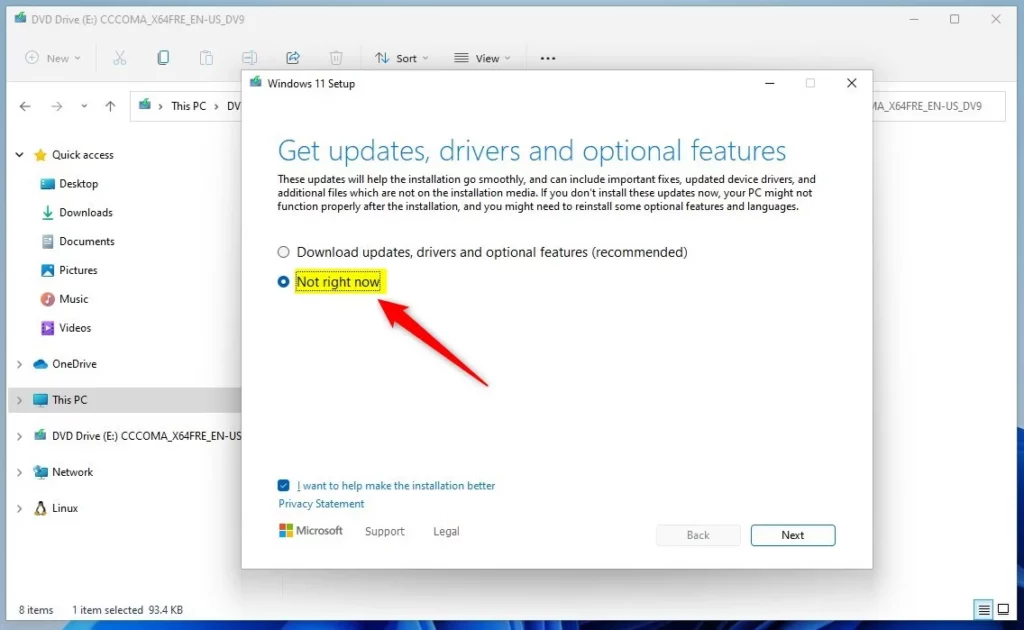
In the next window, choose Not right now so you don’t get to download updates, drivers, and optional features.
Click Next.
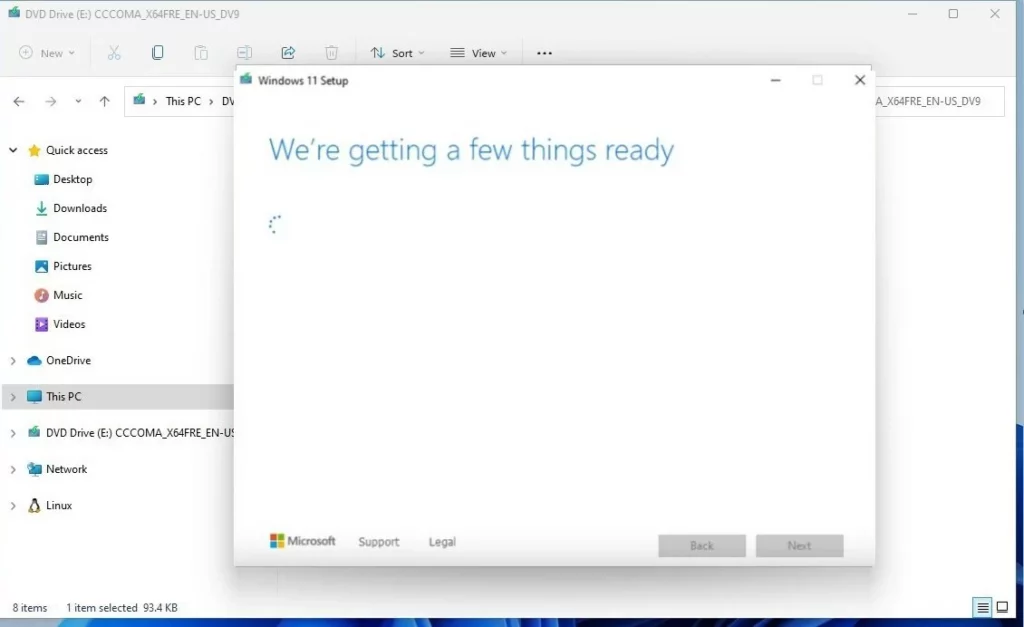
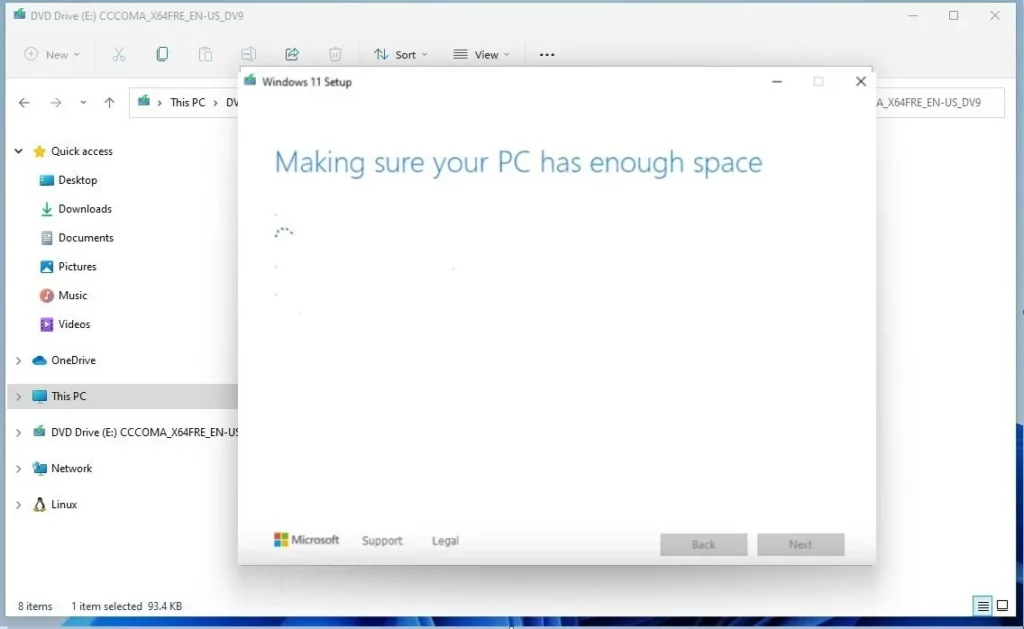
When you do that, Windows will begin preparing and checking your system to ensure it meets the upgrade requirements.
You will also see Windows checking that you have enough space to upgrade.
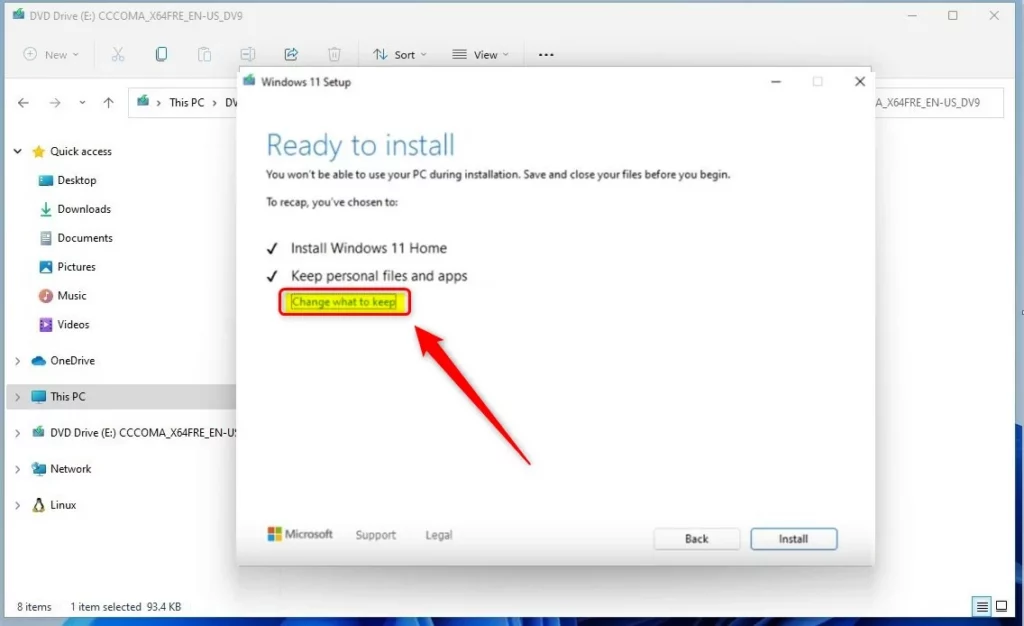
On the Ready to Install window, click the link that says “Change what to keep,” as highlighted below.
Next, click the Install button.
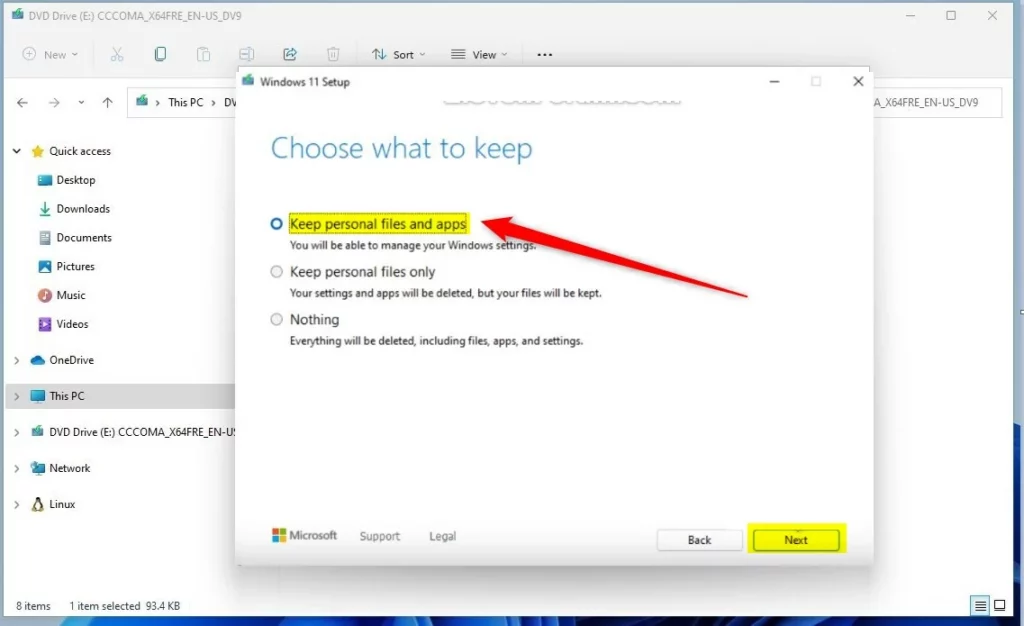
On the next window, which says “Choose what to keep,” select the option to Keep personal files and apps as highlighted below.
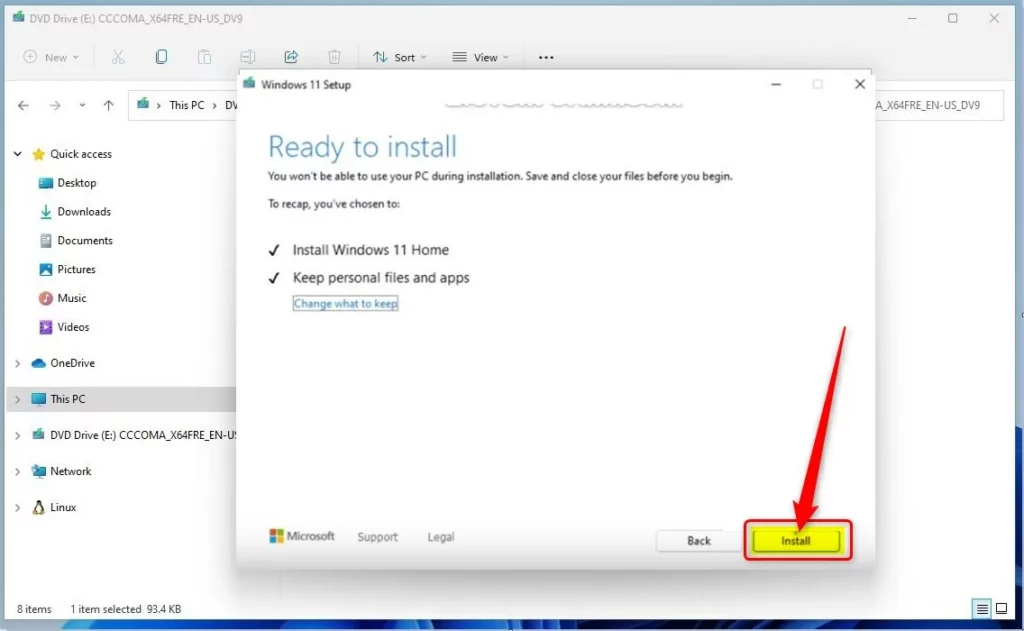
Click the Install button on the Ready to install window to begin upgrading your system while keeping your files and apps.
Windows will start to repair your machine and may restart several times.

When the process is complete, you should be able to log back onto your computer, and hopefully, all issues will be resolved.
That should do it!
Conclusion:
- In this post, we have detailed the steps to repair Windows 11 by performing an in-place upgrade, ensuring that your data, apps, and documents remain intact.
- Following the outlined instructions will help you resolve issues with your Windows 11 PC without losing any important data or applications.
- We hope this guide has helped assist you with the repair process for Windows 11 through an in-place upgrade. Please utilize the comment section below if you have any feedback or additional insights to share.
Leave a Reply Cancel reply