
This article explains how to defragment the system disk in Windows 11 to enhance performance.
If the files on your system’s disk are fragmented, you should use the built-in defragmentation tool in Windows to organize and consolidate those files. Running this tool regularly can help speed up access to the files and data necessary for operating Windows 11.
Defragmenting your system drive can take a significant amount of time, particularly if the drive is large and contains a lot of data. It’s best to schedule this process for a time when the computer is not in use, preferably overnight.
To make it more convenient, consider setting up a daily or weekly defragmentation schedule instead of running it manually when necessary.
How to defrag Windows 11 system drive
Defragmenting involves organizing and consolidating files and data on a system’s drive to enhance performance. When data is fragmented or scattered, it creates access issues, making it difficult to retrieve information efficiently from the disk.
To optimize your System’s disk, use the guide below:
Windows 11 has a centralized location for the majority of its settings. From system configurations to creating new users and updating Windows, all can be done from the System Settings pane.
To get to System Settings, you can use the Windows key + I shortcut or click on Start ==> Settings, as shown in the image below:

Alternatively, you can use the search box on the taskbar to search for Settings. Then select to open it.
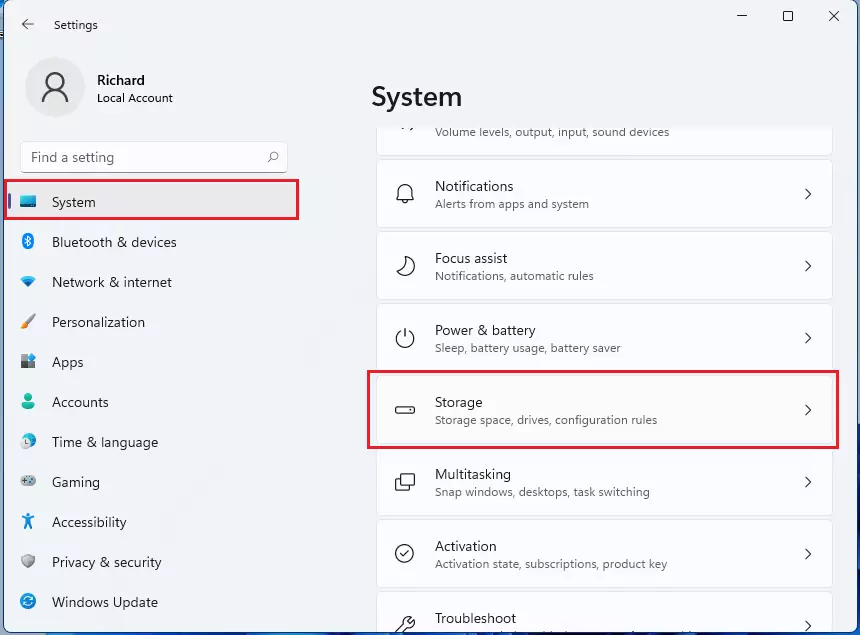
In Windows Settings, click System, and select Storage on the right pane of your screen, as shown in the image below.
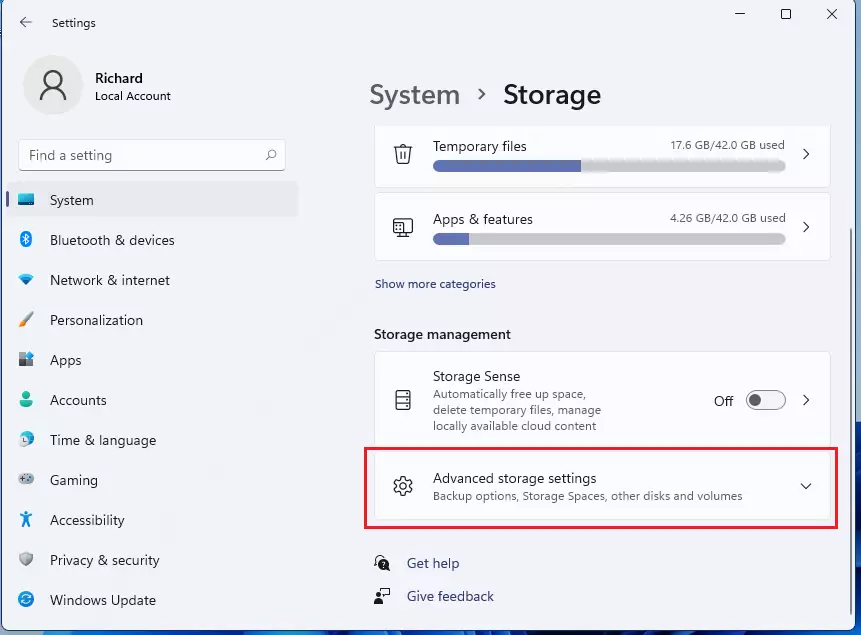
On the Storage settings pane, click Advanced storage settings.
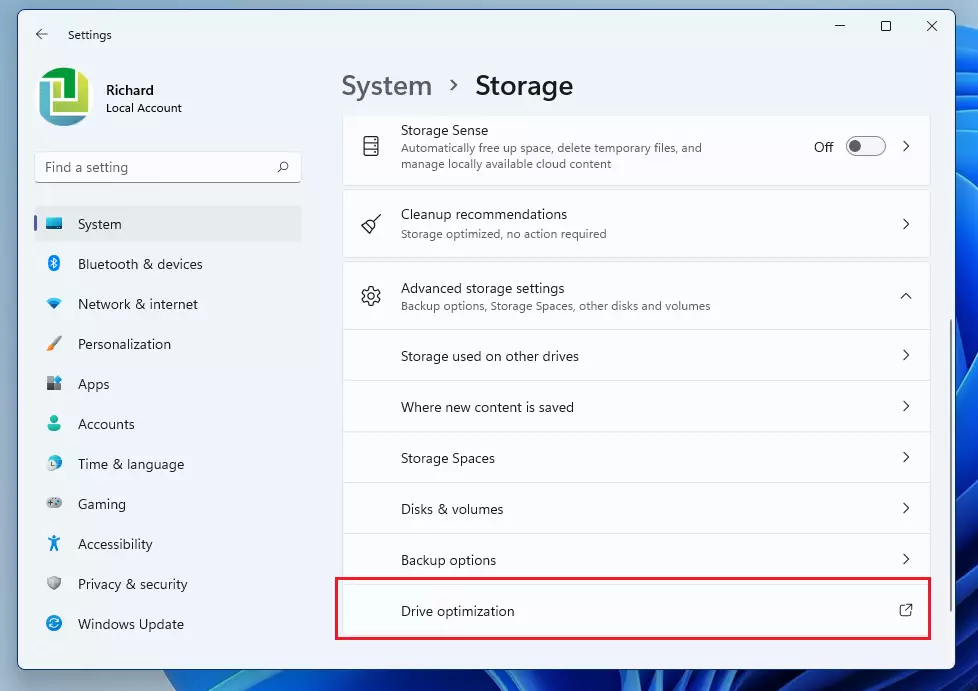
On the Advanced Storage settings expanded pane, select Drive optimization as highlighted below.
You’ll see status details on the Optimize Drives settings pane, including the last analysis, schedules, and other optimization details.

Since we want to schedule Windows 11 to run the defragmentation tool at a specific time, ensure Schedule optimization is turned Off. If it’s on, click the Change settings button and turn off the scheduled optimization.
How to schedule disk to defragment in Windows 11
Windows automatically schedules disk defragmentation on a daily or weekly basis, but not at a specific time. If you prefer Windows to manage the scheduling, simply enable the default weekly schedule and leave it alone.
Those who want to schedule a run at a specific time can turn off the schedule above and run a Task scheduler instead.
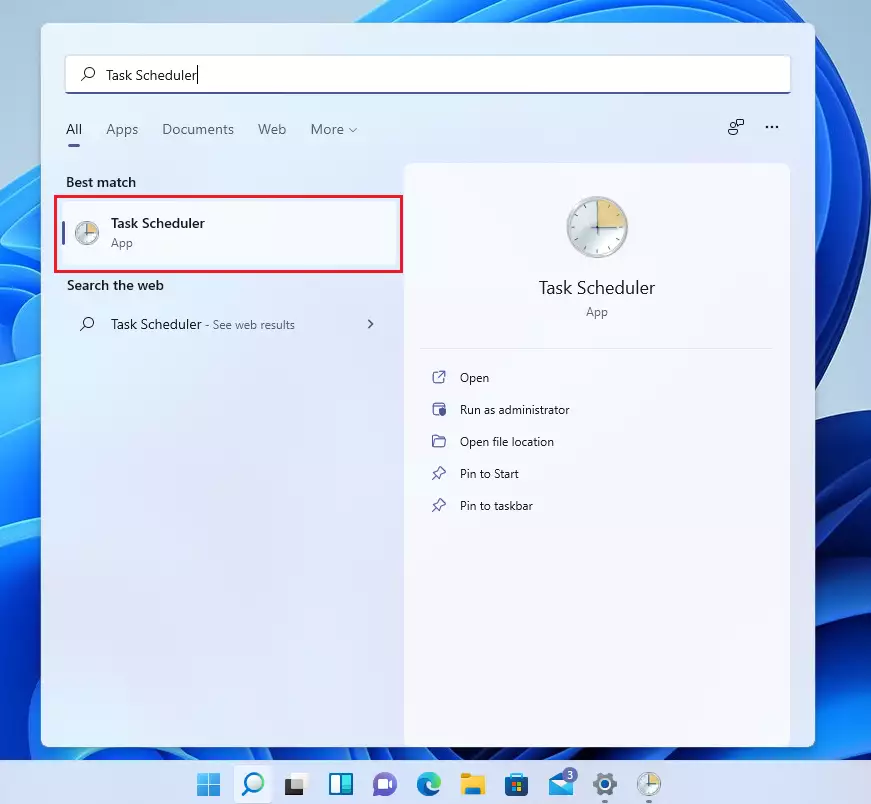
Search for Task Scheduler and select the app as highlighted below.
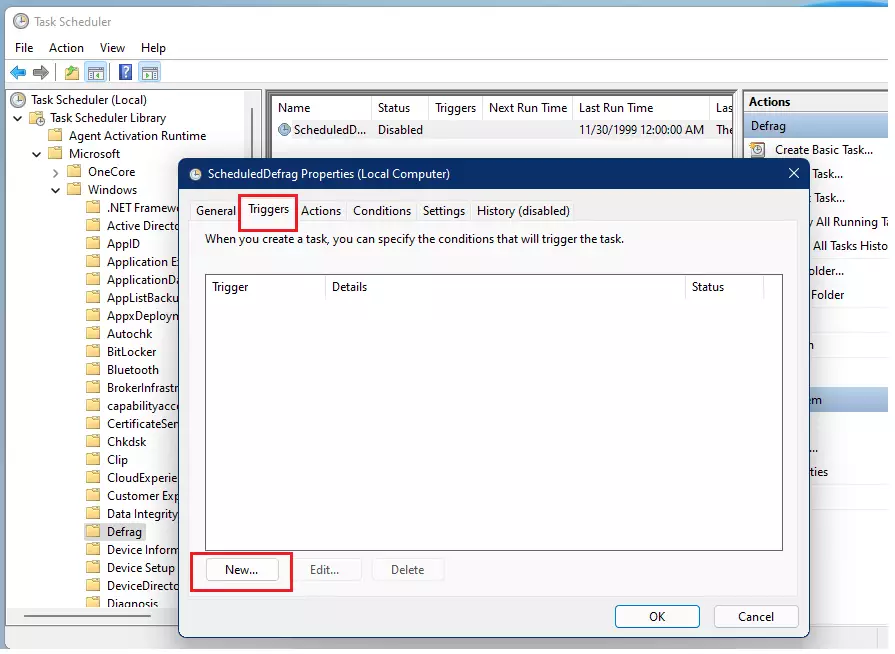
When the Task Scheduler app opens, open the Task Scheduler Library ==> Microsoft ==> Windows ==> Defrag.
Then select and double-click the selected defrag schedule or click Properties on the right.

When the Properties opens, click the Triggers tab and click New.
Then, select the options and settings that are best for you. You can choose the time, how often it should run and for how long.
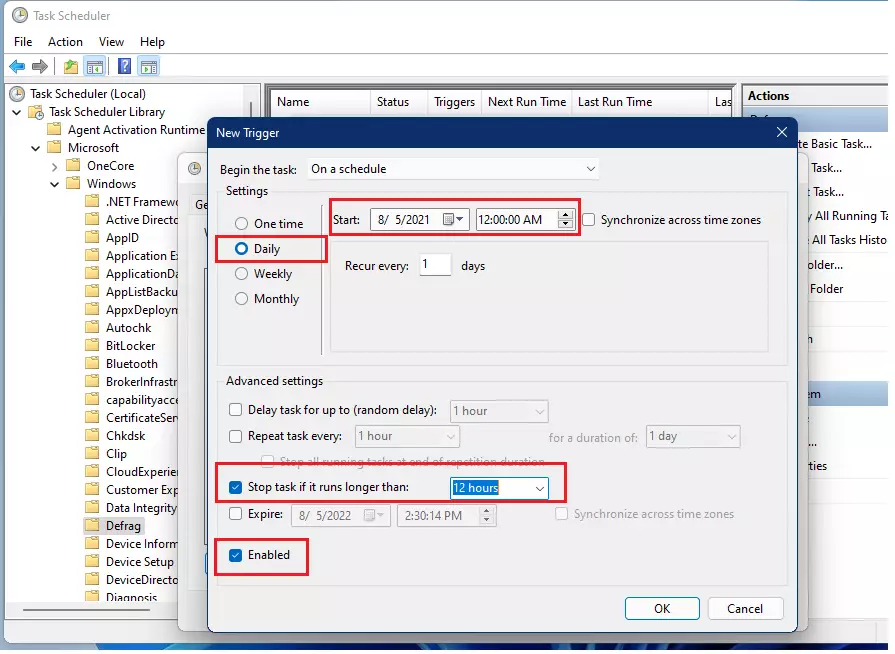
When you’re done, click OK and enable the schedule.
Finally, please right-click on the scheduled task and enable it.
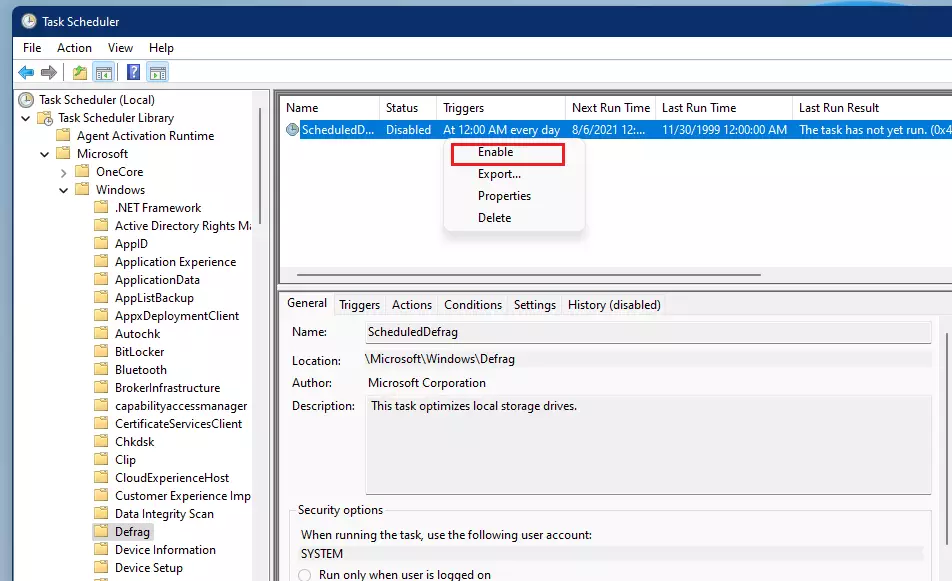
That should do it!
Conclusion:
- Regular defragmentation of your Windows 11 system drive can significantly improve performance by organizing fragmented files.
- Utilizing the built-in defragmentation tool ensures that your files are efficiently accessed, reducing load times.
- Scheduling the defragmentation process allows it to run automatically, saving time and effort while maintaining optimal system performance.
- Windows 11’s Task Scheduler offers flexibility for users who wish to customize the timing and frequency of their defrag sessions.
- Keeping your system drive optimized is a best practice for ensuring smooth and efficient operation of your computer.


Leave a Reply