

This article describes how to change the Screen and Sleep settings in Windows 11.
By default, Windows will automatically turn off a device screen and put it into sleep mode after some time of inactivity to preserve energy and extend its battery life.
Under the power settings, you can choose two options: turn off the device screen after some time when it detects no user activates while keeping the computer running in the background.
The second option will put the device into a low-power state (sleep mode), shutting down the system while keeping the user’s sessions in memory. Simply pressing a key or mouse will resume sleep.
The typical settings for Screen and sleep in Windows 11 are optimal for most users. However, if the device is turning off the Screen or going to sleep too quickly, Windows lets you change that setting.
How to change screen and sleep settings in Windows 11
As described above, Windows has power settings for Screen and sleep, which users can control if the default isn’t suitable.
Below is how to do that.
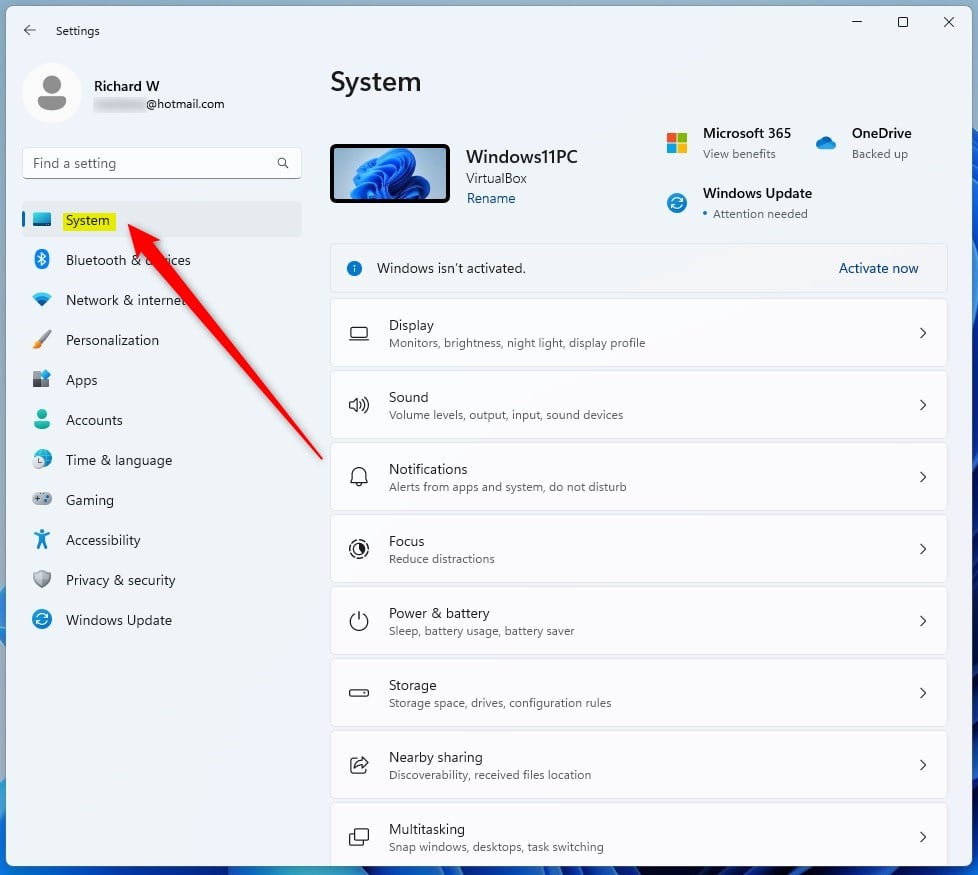
Windows 11 has a centralized location for the majority of its settings. As a result, everything can be done, from system configurations to creating new users and updating Windows from its System Settings pane.
To get to System Settings, you can use the Windows key + I shortcut or click on Start ==> Settings, as shown in the image below:

Alternatively, you can use the search box on the taskbar and search for Settings. Then select to open it.
Windows Settings pane should look similar to the image below. In the Windows Settings app, click System on the left.
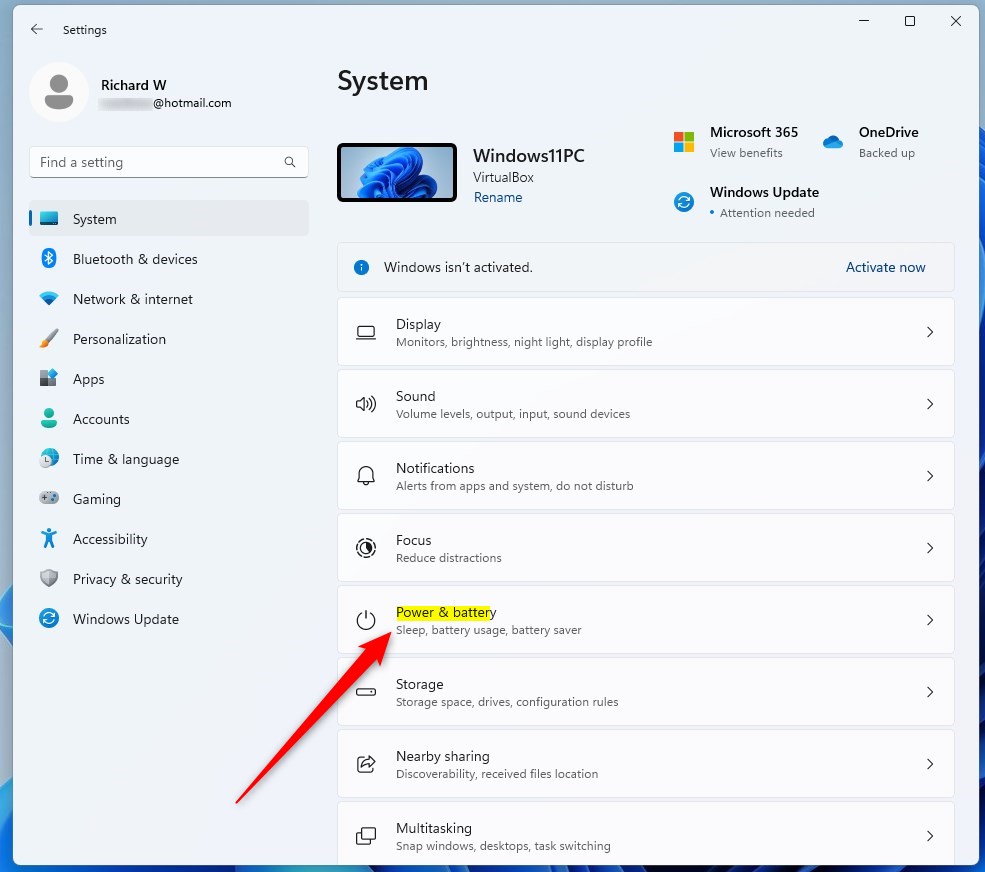
On the right, select the Power & battery tile to expand.
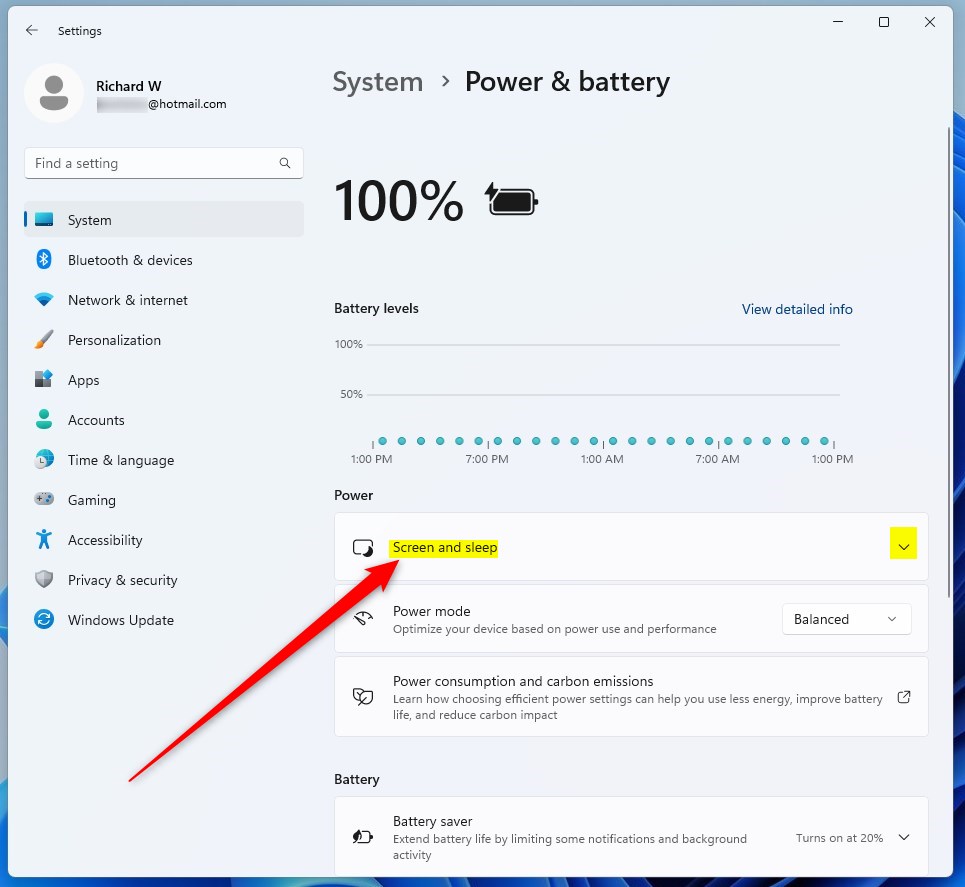
On the System -> Power & battery settings panel, click on the Screen and sleep tile to expand.
On the System -> Power & battery -> Screen and sleep settings pane, select the best options.
- On battery power, turn off my Screen after:
- When plugged in, turn on my Screen after:
- On battery power, put my device to sleep after:
- When plugged in, put my device to sleep after:
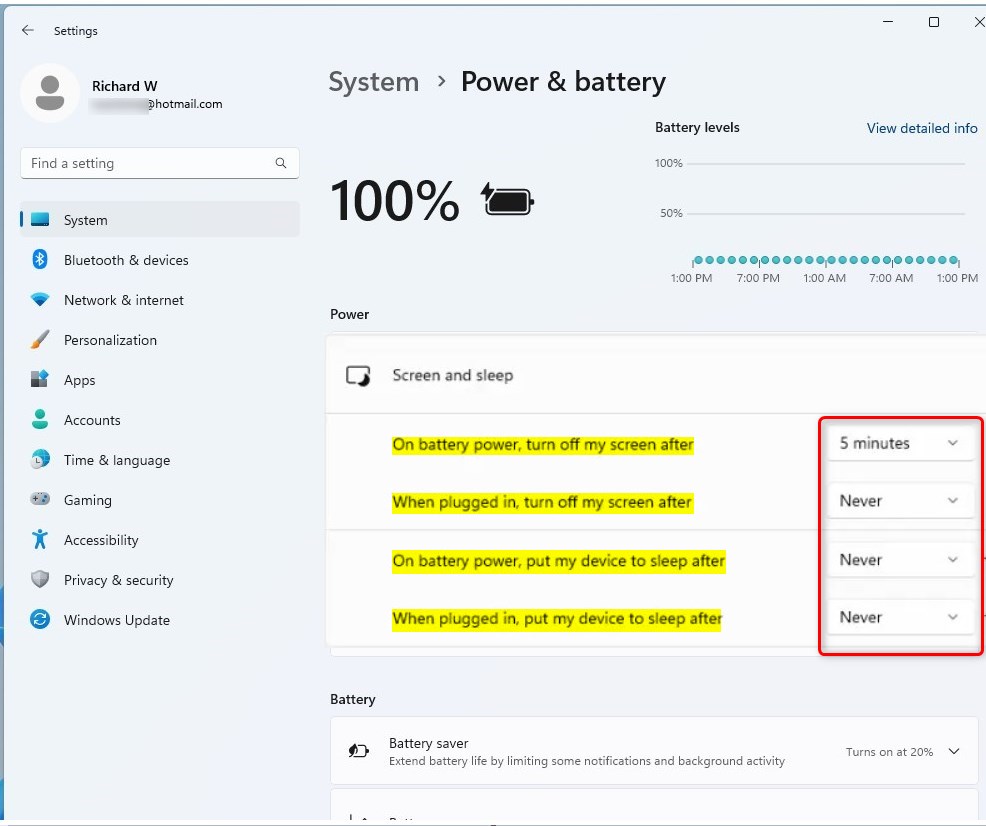
Once configured, your device will turn on the Screen and go to sleep based on your selections above.
That should do it!
Conclusion:
- Adjusting the screen and sleep settings in Windows 11 is essential for optimizing user experience and power consumption.
- By customizing these settings, users can ensure that their devices function according to their preferences and needs.
- Following the steps outlined in this article, users can easily access the power settings and make the necessary adjustments for their devices.
- We hope this guide has helped empower users to manage their Windows 11 screen and sleep settings effectively.


Leave a Reply to A new way to manage lid close settings in Windows 11 - Geek Rewind Cancel reply