How to Update Regional Settings for Windows 11

Regional settings in Windows 11 control how your PC displays dates, times, and currency symbols based on your physical location. These preferences determine whether your system shows a 12-hour or 24-hour clock, uses commas or periods for decimals, and applies the correct monetary unit in apps like Calculator.
Open the Settings app or Control Panel to change your region whenever you move to a new country or prefer different formatting rules. Getting these details right keeps your calendar, documents, and software matching local standards.
Update your Windows 11 region by going to Settings Time & Language Language & region. Select your country from the Region dropdown menu to adjust date, time, and currency formats.
Prerequisites
Before you begin, ensure you are logged in with an administrator account. Some changes to system locale settings require elevated permissions. Verify your system is fully updated to avoid errors during language pack installation.
How to update your Region in 🪟 Windows 11
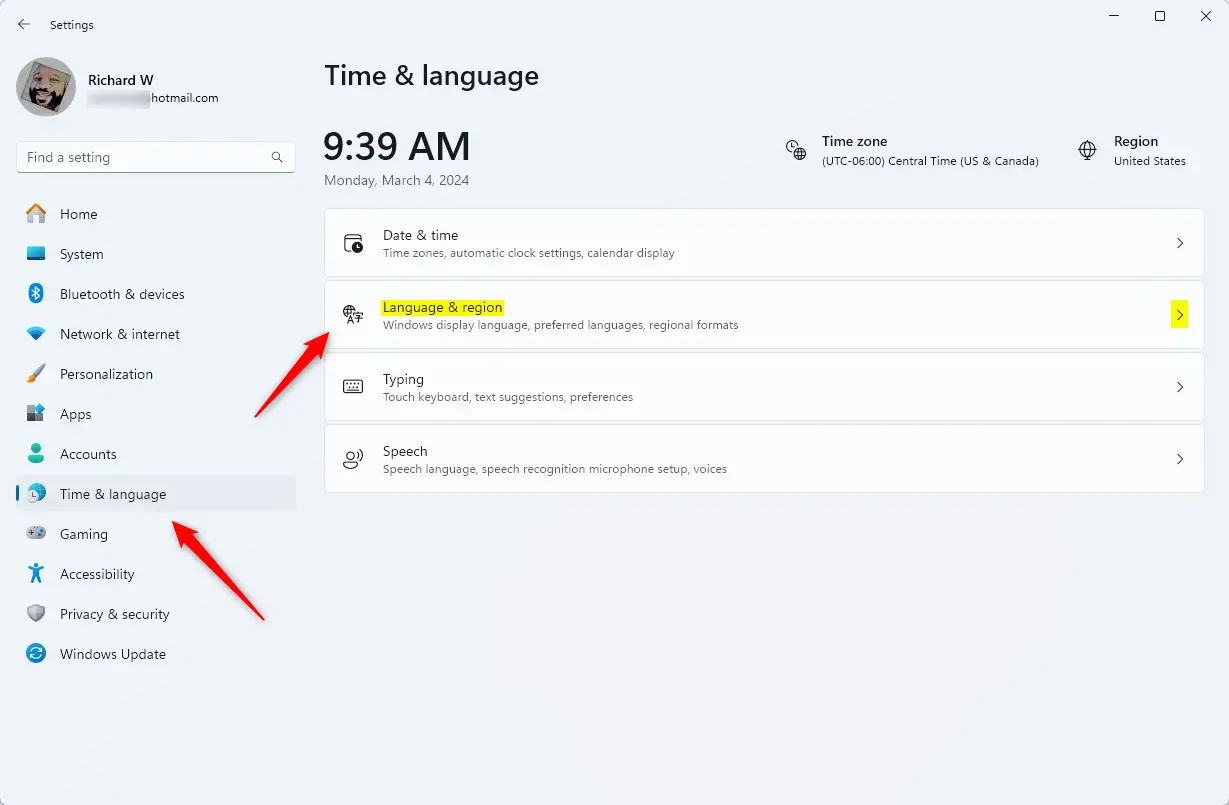
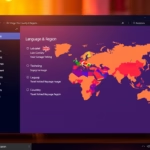
To change regional settings Windows 11 users need to open the main system settings. You can do this by pressing the Win+I on your keyboard. From there, go to Time & Language, click on Language & region, and select your correct country from the region dropdown menu to fix local dates, times, and currency formats.

2. In the menu on the left, click on Time & Language.
3. On the right side of the screen, click on Language & region to see more options.
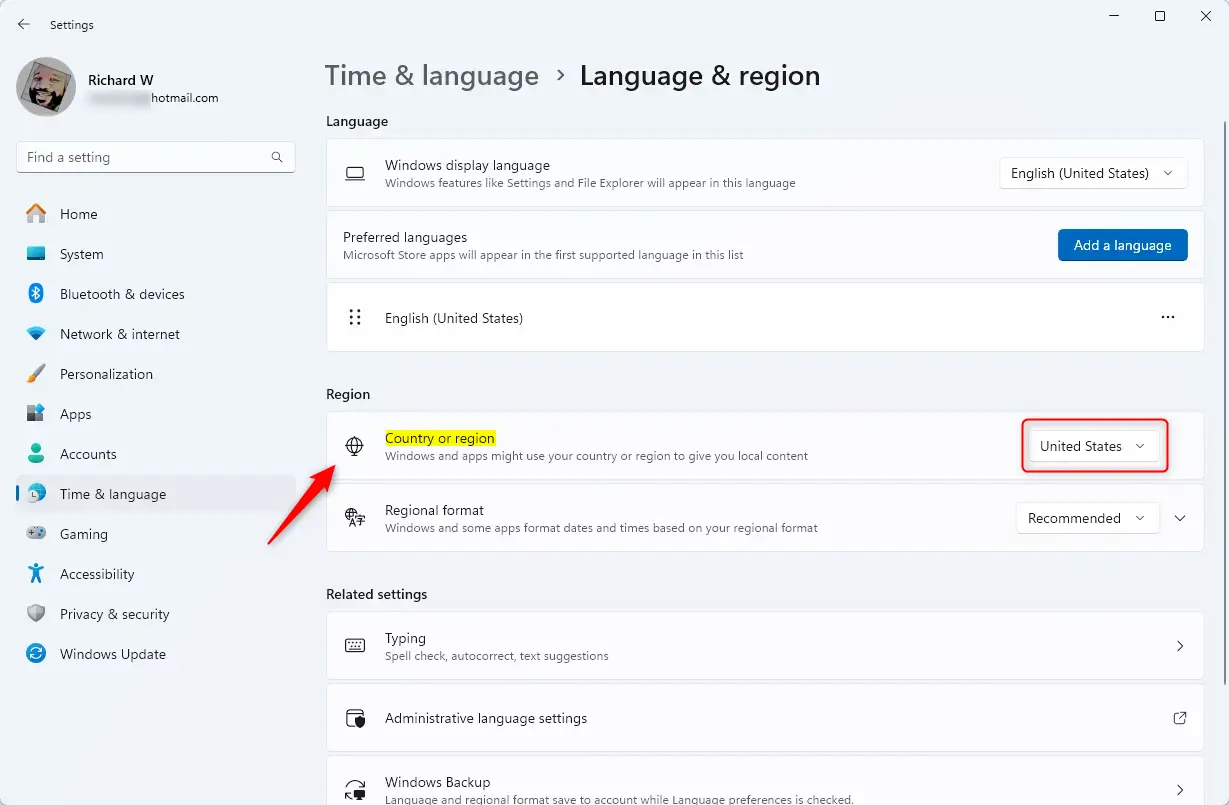
4. Look for the section labeled Region. Click the dropdown menu next to Country or region and select your current location from the list.
Windows 11 automatically suggests a regional format based on your selected country. You can change this suggested format from the provided dropdown menu. This menu lists available formats for the chosen country, offering customization beyond the default.
Advanced Administrative Language Settings
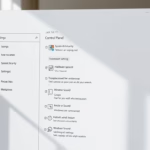
You can copy your current regional settings to the Windows 11 login screen and any new user accounts you create by using the older Control Panel menu. Open Control Panel, go to Clock and Region, click Region, select the Administrative tab, and click the Copy settings button to apply your preferences globally.
- Open Control Panel and go to Clock and Region.
- Click Region and then select the Administrative tab.
- Click Copy settings... to apply your current regional format to the Welcome screen and new user accounts.
To change the system locale in Windows 11, click "Change system locale..." and select your preferred language. The system locale controls how older programs display characters that are not part of the standard Unicode set. This action may require restarting your computer for the changes to take effect. This process is often completed within 60 seconds.
Troubleshooting Setup Errors
If you encounter errors when changing regions, check your internet connection. Windows may need to download a language pack. Ensure your firewall is not blocking access to Microsoft servers. If the options are grayed out, your IT department may manage them through Group Policy.
Enterprise and IT Management
For IT administrators, managing regional settings across many computers is done via PowerShell. The LanguagePackManagement module can be used to deploy settings. Registry paths, such as HKEY_LOCAL_MACHINE\SYSTEM\CurrentControlSet\Control\Nls\Language, can be modified via scripts to enforce standards across multiple devices.
Summary
Updating your region in Windows 11 is a way to ensure your computer's date, time, and currency formats are correct for your location.
Was this guide helpful?

About the Author
Richard
Tech Writer, IT Professional
Richard is a writer at Geek Rewind who turns complex IT tasks into clear, step-by-step guides. He draws on years of hands-on experience in system administration and enterprise IT operations, focusing on Windows, Linux and WordPress: the problems people actually run into, and the fixes that work. His server and WordPress guides come from systems he runs himself. Richard builds and maintains the platform behind Geek Rewind, from its Ubuntu servers and Nginx configuration to its custom WordPress plugins. Many new tutorials start with readers' questions, and he's always glad to answer them in the comments.
No comments yet — be the first to share your thoughts!