
This tutorial shows you how to add or remove the Power button on the Start menu in Windows 10 and Windows 11.
What Does the Power Button Do?
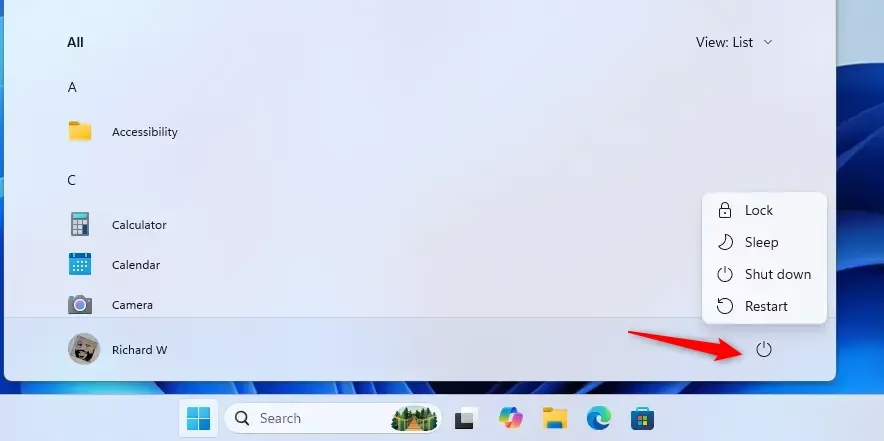
The Power button on the Start menu gives you quick access to important options. You can use it to:
- Sign in to your account
- Lock your computer
- Put your computer to sleep
- Hibernate your computer
- Shut down your computer
- Restart your computer
If you don’t want the Power button on your Start menu, you can remove it completely.
What You Need to Know
⚠️ Admin required: You must be signed in as an administrator to make these changes.
Removing the Power button from the Start menu does not stop users from using other ways to turn off or restart the computer.
Reference: Start Policy CSP Learn more about the Start Area in Policy CSP. docs.microsoft.com
Example
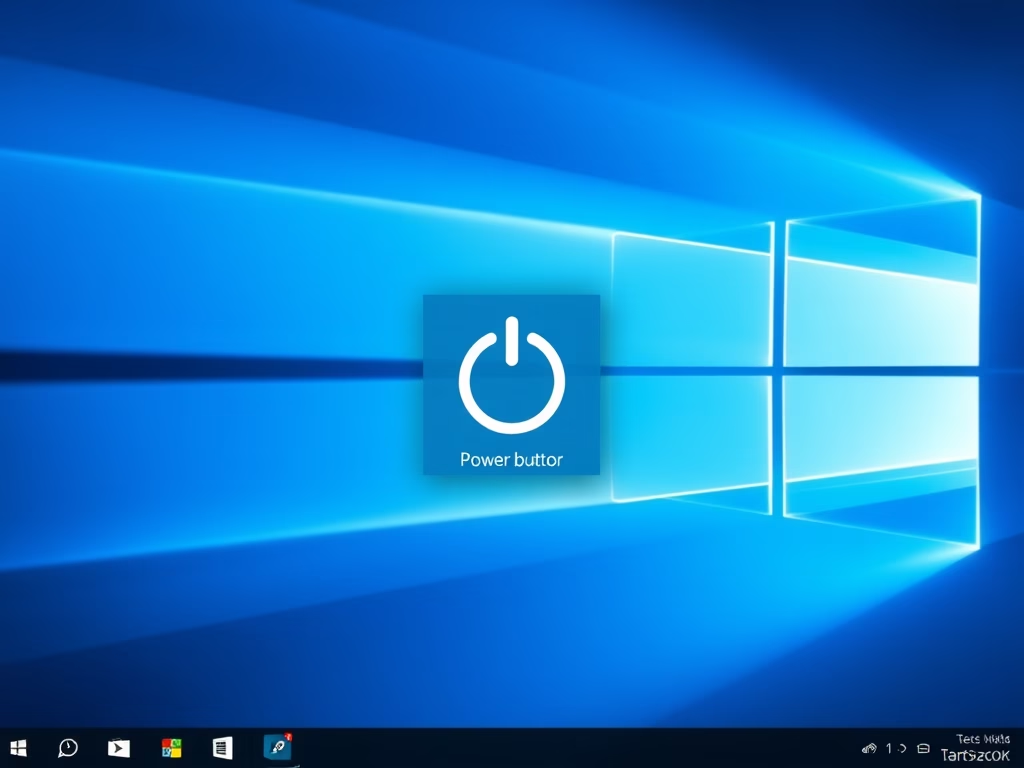
Here’s what the Power button looks like on the Start menu:
How to Add or Remove the Power Button
Add Power Button to Start Menu
This is the default setting:
reg add "HKEY_LOCAL_MACHINE\SOFTWARE\Microsoft\PolicyManager\default\Start\HidePowerButton" /v value /t REG_DWORD /d 0 /f
Remove Power Button from Start Menu
reg add "HKEY_LOCAL_MACHINE\SOFTWARE\Microsoft\PolicyManager\default\Start\HidePowerButton" /v value /t REG_DWORD /d 1 /f
Summary
The Power button on the Start menu lets you quickly access power options like shutdown and restart. You can easily add or remove this button based on your preference. Just remember that you need admin rights to make these changes, and removing the button doesn’t prevent other ways of shutting down your computer.

Leave a Reply Cancel reply