This article explains adding or removing network locations when using Windows 11.
A network location is simply a shortcut to network services such as websites or FTP sites. Adding a network location or place allows you to access FTP, sFTP, Windows file shares, and some HTTP servers directly from File Explorer without using an FTP client.
Unlike a mapped network drive, a network location has no drive or label attached, can point to either external or internal resources, and is easy to set up.
Network location is handy for people connecting to sFTP or FTP servers. It allows them to communicate from Windows File Explorer without needing an FTP client.
Although Windows 11 is new, the network location isn’t. It was first introduced in Windows XP.
How to add a network location in Windows 11
As mentioned above, network location is simply a shortcut to networked resources such as FTP, sFTP, and others.
To create a network location in Windows 11, simply open File Explorer. There, right-click, click on This PC, and select Show more option.
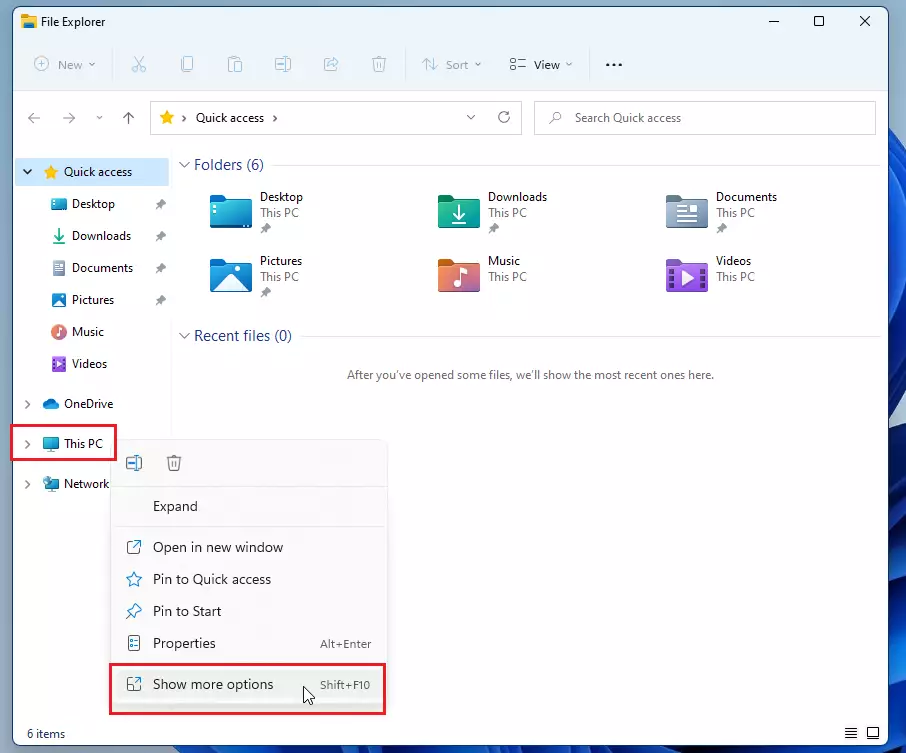
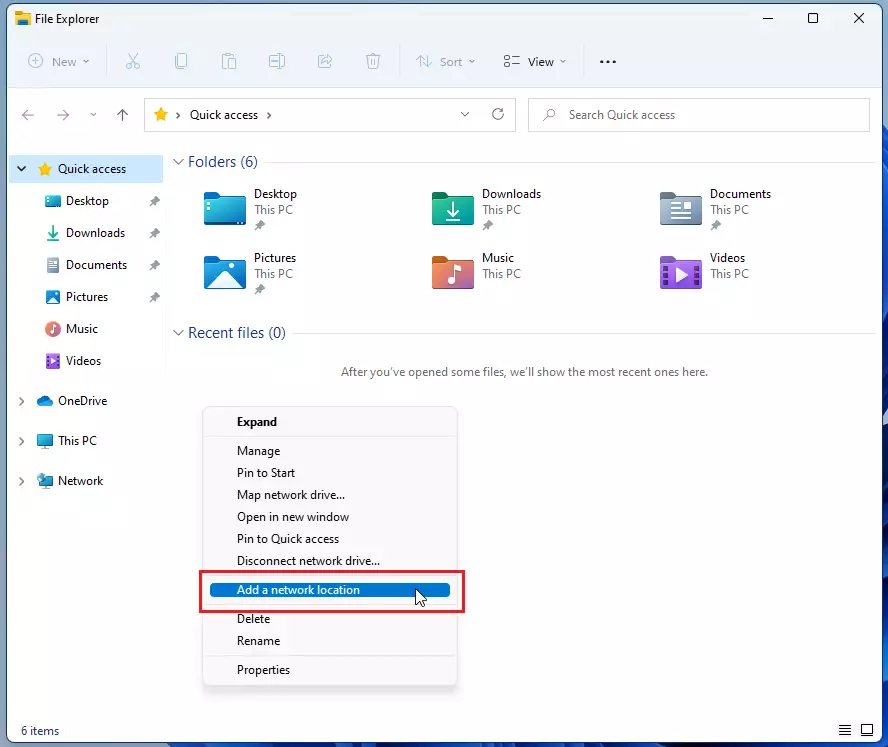
Select Add a network location on the context menu highlighted below.
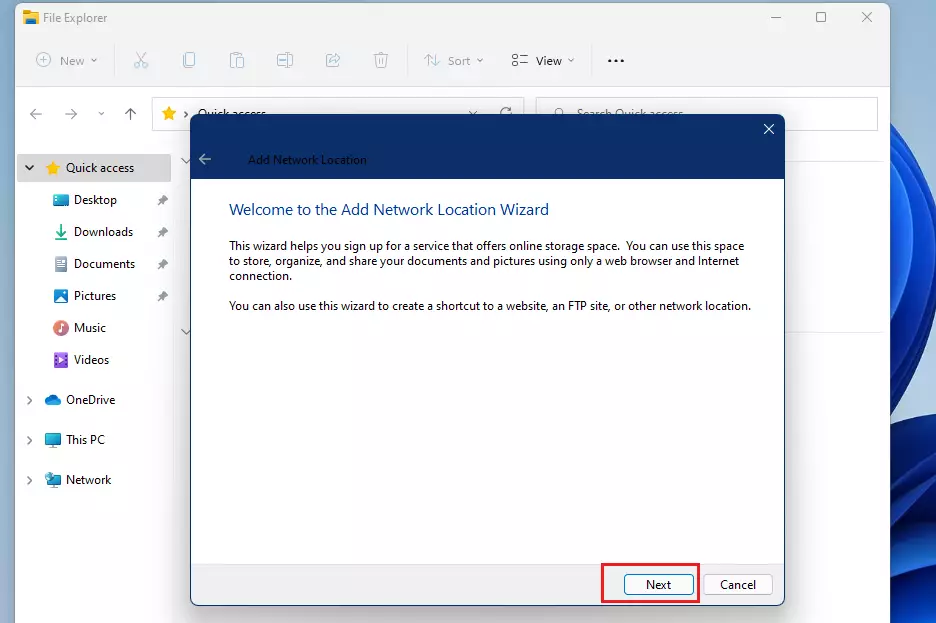
A welcome page should appear. There, click Next to begin adding a network location.
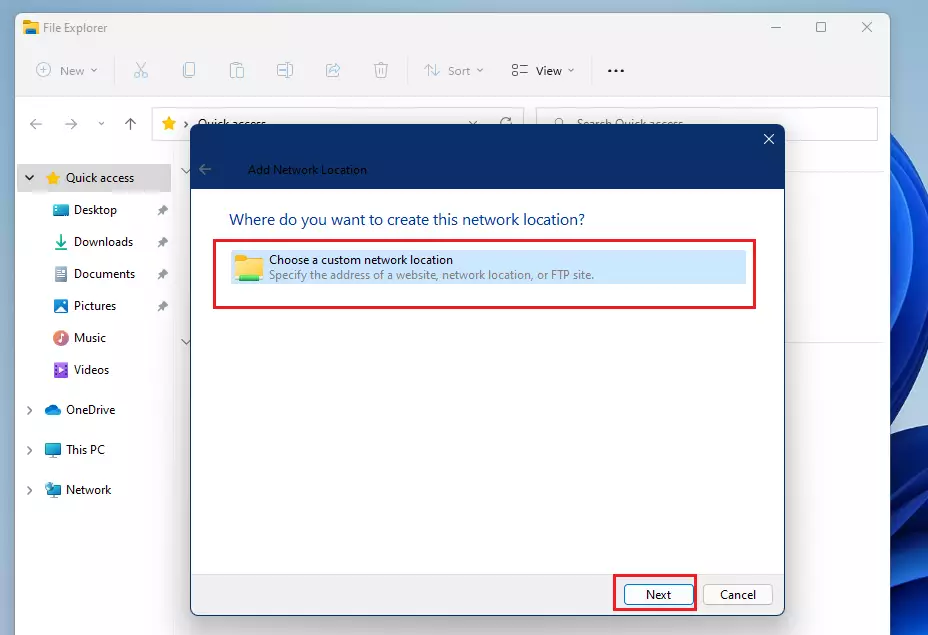
Then, click on the folder that says Choose a custom network location. Then click Next to continue.
We will add an sFTP host as our network location for this post.
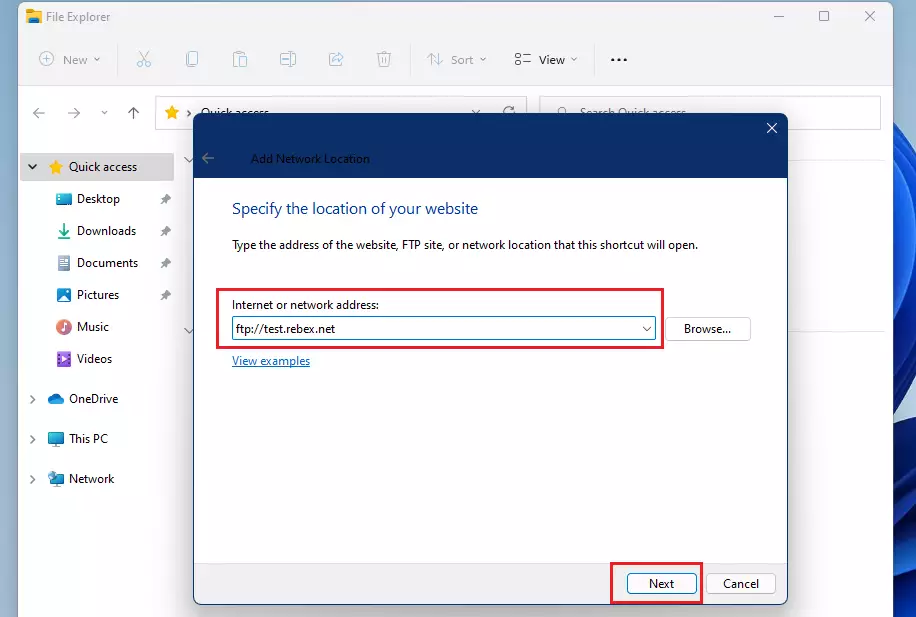
Next, type in the network resource you want to add.
- For FTP: ftp://example.com
- For shares: \\sharedserver\resource
- For websites: http://example.com
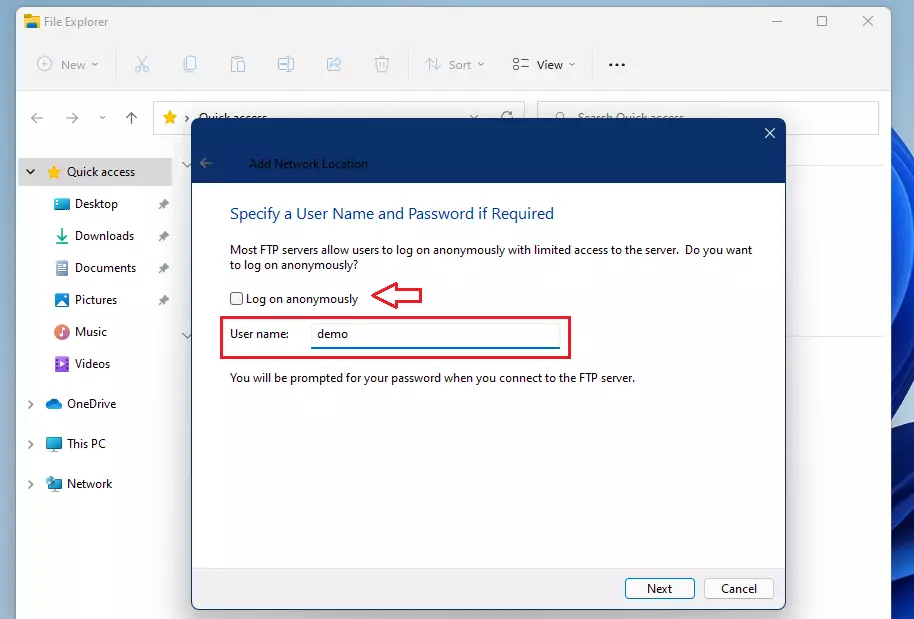
On the next screen, choose Log on anonymously if the host allows anonymous access. If not, type in the username provided to log in.
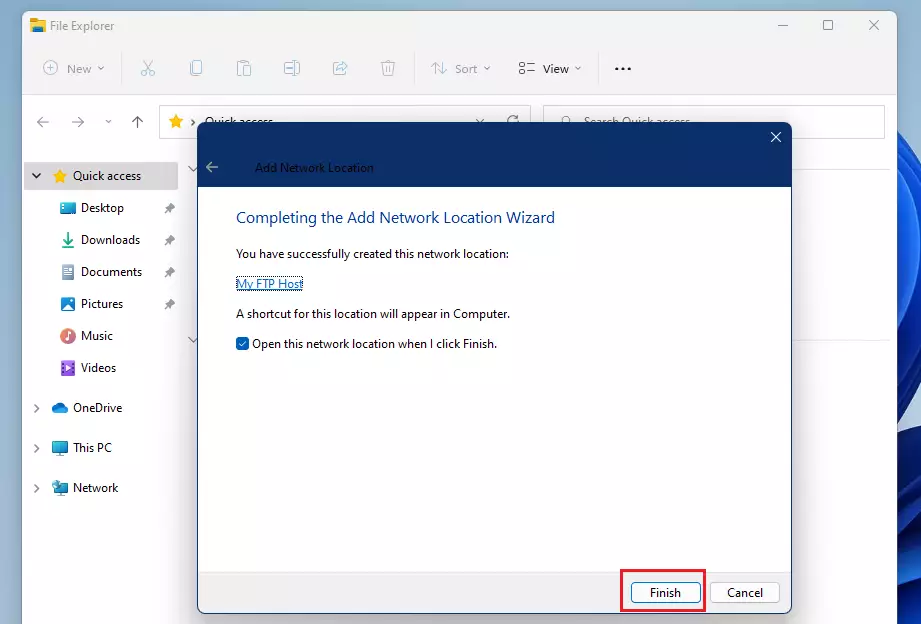
Next, type in a name for the network location you’re adding.
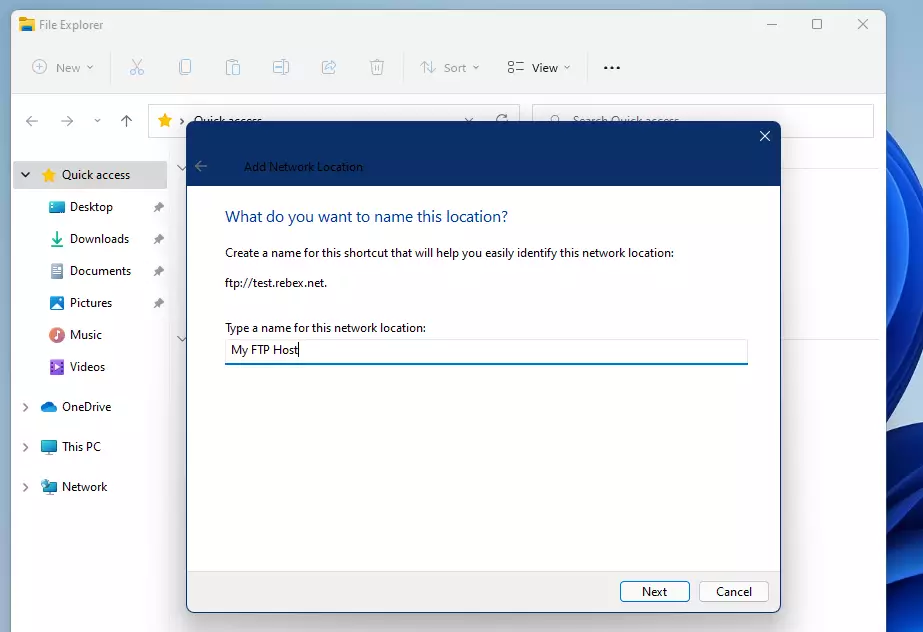
Finally, click Finish to complete the network location wizard.
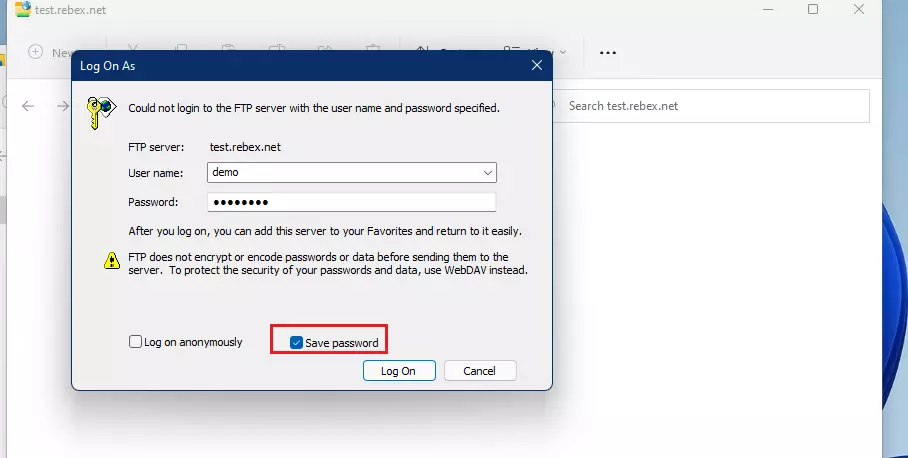
After setting up the location, you’ll get a pop-up to log in to the server. You may also be able to save the password. Type in the username and password and click the Log On button.
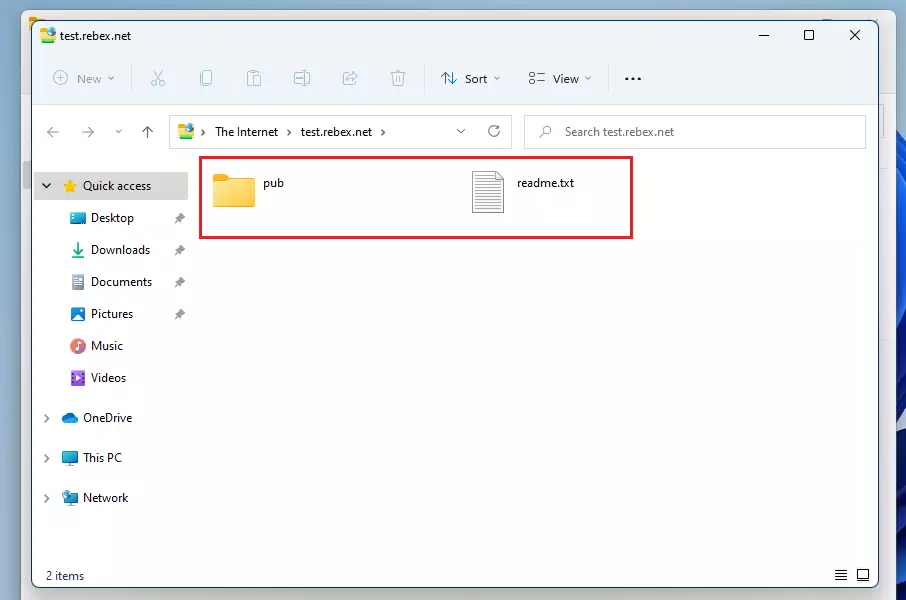
After a successful log-on, you should see the content of the sFTP host.
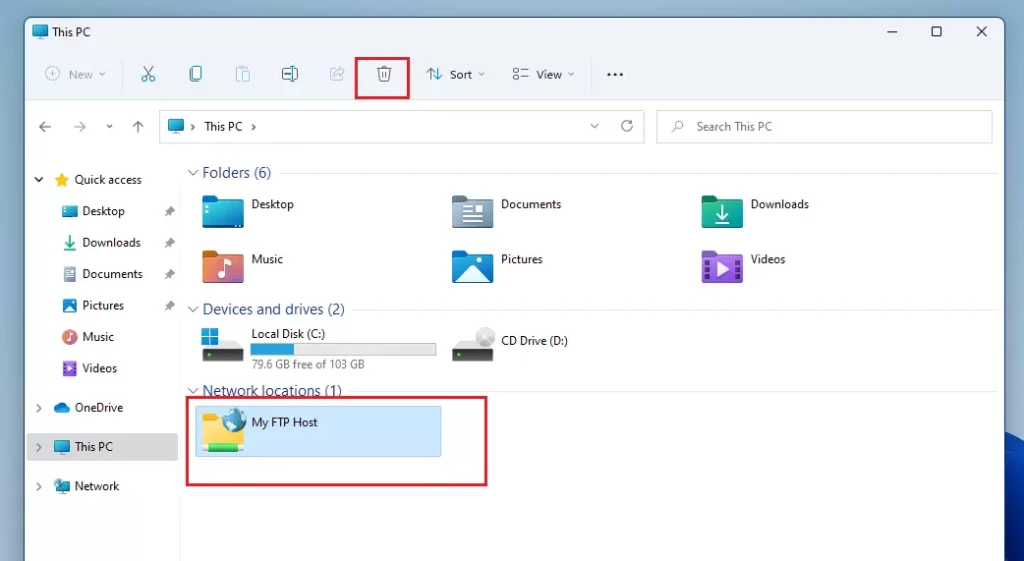
A new folder under Network Location should appear in File Explorer with the hostname you just added.
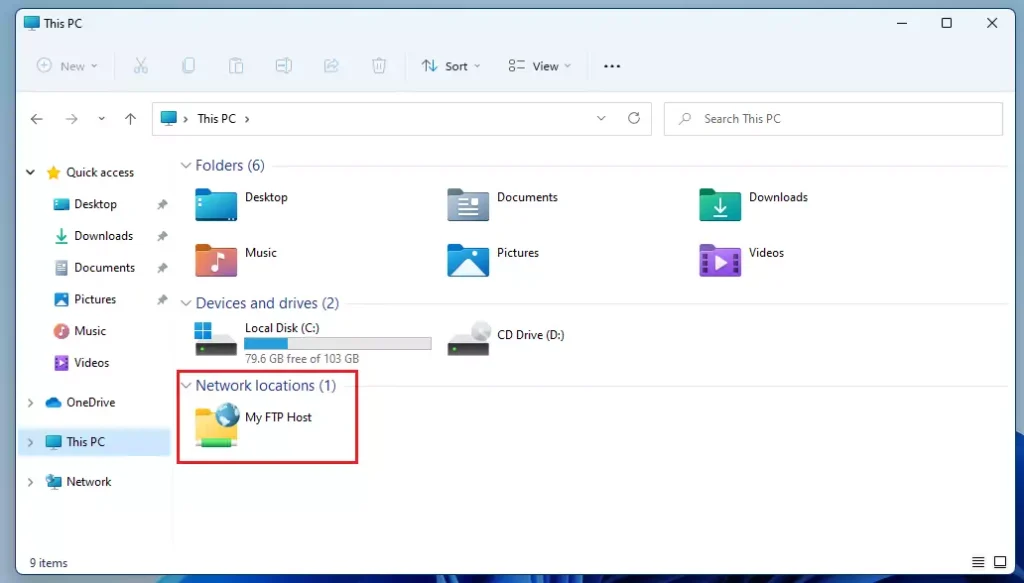
The next time you wish to connect, open the folder and log in. You can use File Explorer to copy and move stuff from and to the sFTP host.
How to remove network location on Windows 11
If you change your mind about the network location created above, delete the location. Select the network location folder and click Delete from the toolbar menu. Or right-click on the location folder, select Show more options, then choose Delete.
That should do it!
Conclusion:
In summary, adding or removing network locations in Windows 11 is a straightforward process that enhances your ability to access network resources. Here are the key points to remember:
- Quick Access: Network locations provide convenient shortcuts to access FTP, sFTP, Windows file shares, and HTTP servers directly from File Explorer.
- Easy Setup: The setup process is user-friendly, allowing you to create a network location in just a few clicks.
- No Drive Mapping Required: Unlike mapped drives, network locations do not require drive letters, making them flexible for various resources.
- Anonymous Access: You can log on anonymously if the host allows, simplifying access to shared resources.
- Effortless Management: Removing a network location is as easy as creating one, providing complete control over your shortcuts.
With these points in mind, you can efficiently manage your network connections on Windows 11.


Leave a Reply Cancel reply