
This post shows students and new users how to add a Wi-Fi printer on Windows 11. If your printer supports wireless communication, add it to Windows and start printing immediately.
Many new printers come with Windows 11 support, so you may not need to install the additional printer software to get it working. If the printer doesn’t work when you connect it to Windows, you may need to install the printer software to get it working.
A wireless printer usually will already be connected to your home wireless network. If you have a new Wi-Fi printer that hasn’t been added to your home network, refer to the printer help guide to learn how to connect it to your home Wi-Fi. Once the printer is connected and is on, Windows 11 should find it easily.
One requirement to connect your Wi-Fi printer is that the Wi-Fi printer and the computer you want to print from are connected to the same Wi-Fi SSID or name.
How to add a Wi-Fi printer on Windows 11
Today, adding a printer to a Windows computer is very easy. In most cases, all you have to do to set up a wireless printer is join it to the Wi-Fi. Once connected to the Wi-Fi, Windows should automatically find it.
If Windows can’t find the Wi-Fi printer, then use the steps below to add it.
Windows 11 has a centralized location for the majority of its settings. Everything can be done, from system configurations to creating new users and updating Windows from its System Settings pane.
To get to System Settings, you can use the Windows key + I shortcut or click on Start ==> Settings, as shown in the image below:
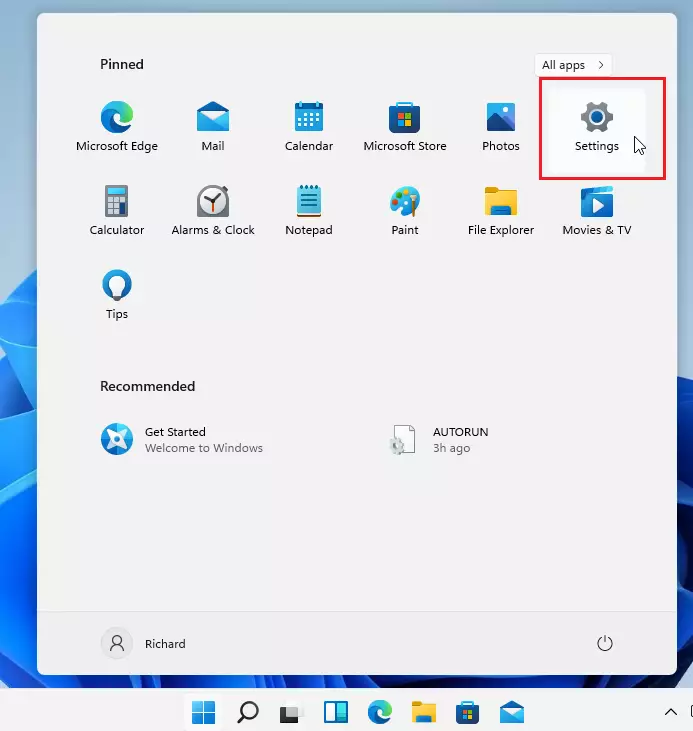
Alternatively, you can use the search box on the taskbar to search for Settings. Then select to open it.
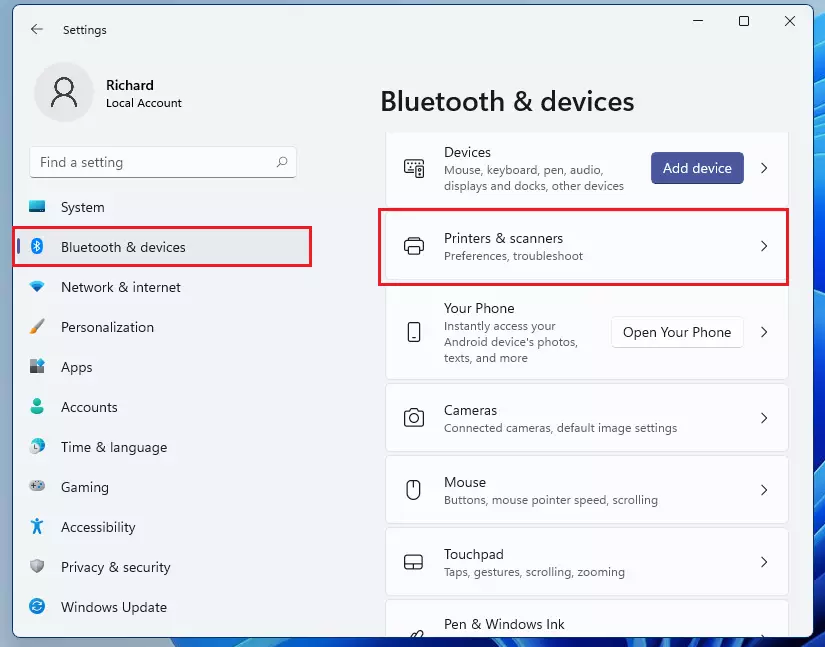
In Windows Settings, click Bluetooth & devices, then select Printers & scanners on the right pane of your screen, as shown in the image below.
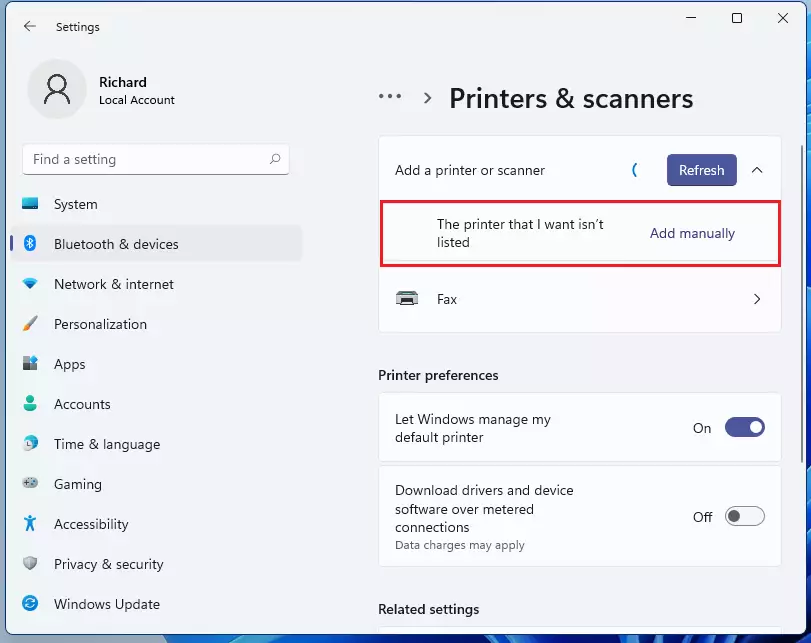
Click the Add a printer or scanner button on the Printer & scanner settings page.

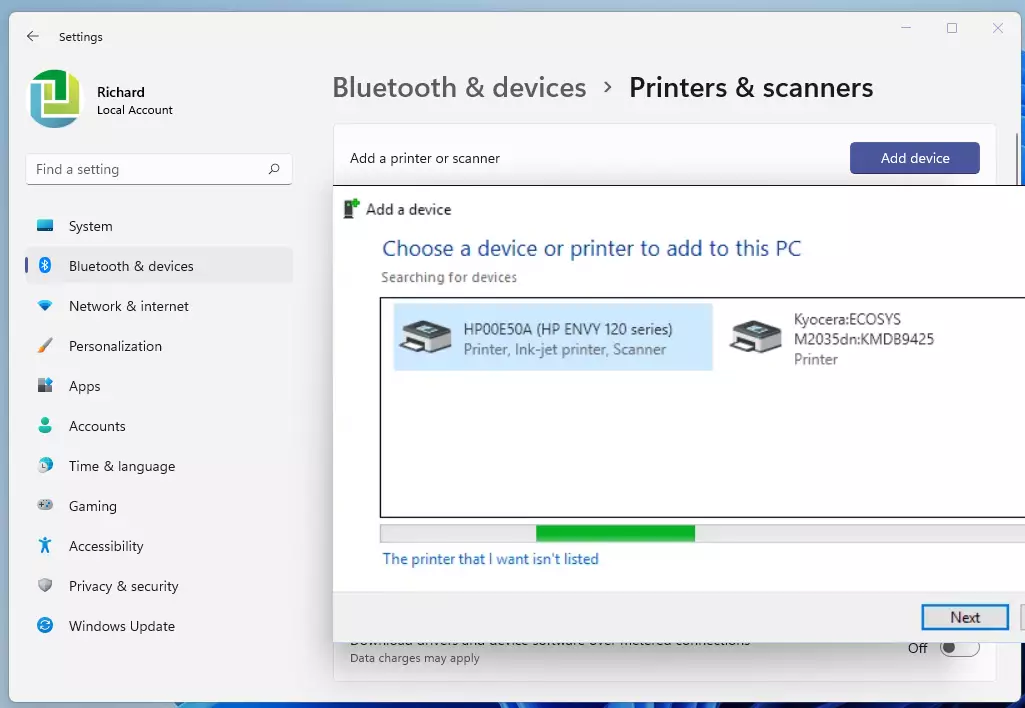
Wait for Windows 11 to find nearby printers, choose the one you want to use from the list, and select Add device.
If you get a message, “The printer that I want isn’t listed” click Add manually, as highlighted in the section below.
Ensure the Wi-Fi printer is connected to the network and turned on. If so, then Windows 11 should also find it automatically.
Windows can find all available printers on a network, such as Bluetooth and wireless printers, plugged into another device and shared on the network. If your printer isn’t on the list, select The printer that I want isn’t listed, and then follow the instructions to add it manually.
On the next screen, as shown in the image below, select the highlighted option: Add a Bluetooth, wireless, or network discoverable printer.
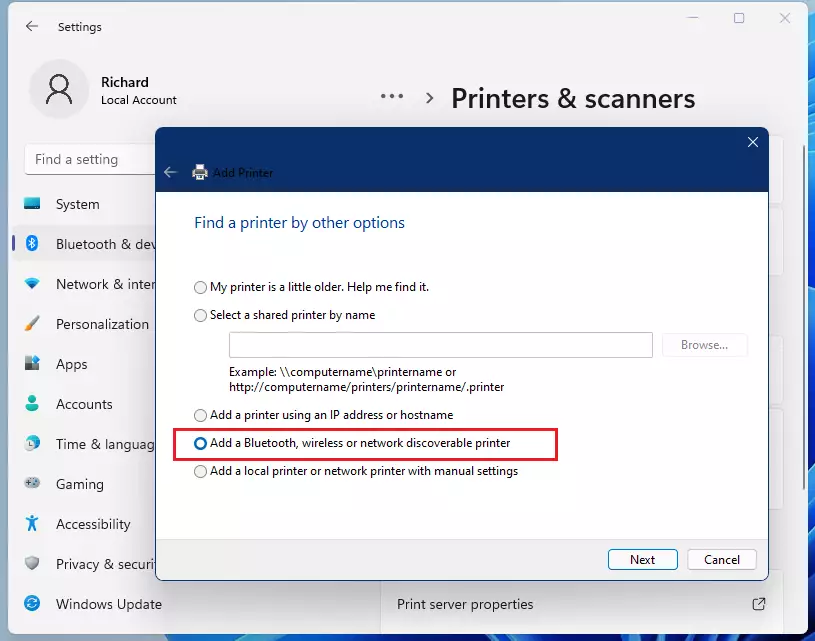
Windows should begin searching for any Wi-Fi printer connected to your home network. Once the printer is found, Windows will display the printer on the list to add.
If Windows cannot find the Wi-Fi printer, you may need to download the printer software online. The printer software will have the means to locate the printer on the network and install it on Windows 11.
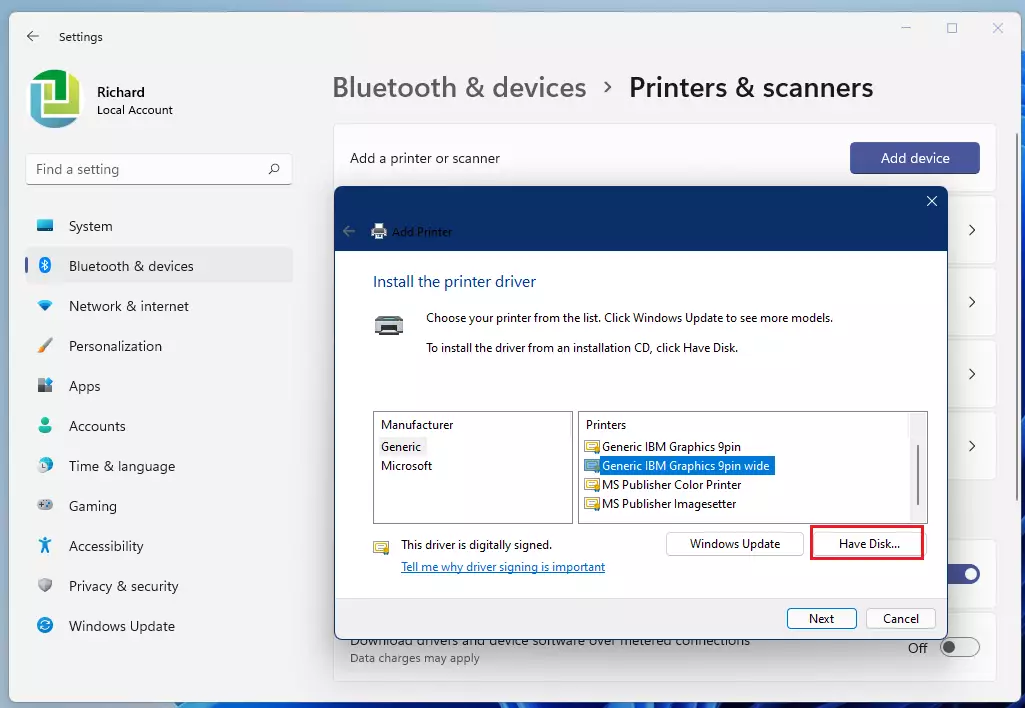
If Windows 11 can locate the printer via its IP address but not the correct driver, click the Have Disk… button to install the printer software on Windows 11 manually.
Once the correct drivers are installed, your printer should be installed and ready to use.
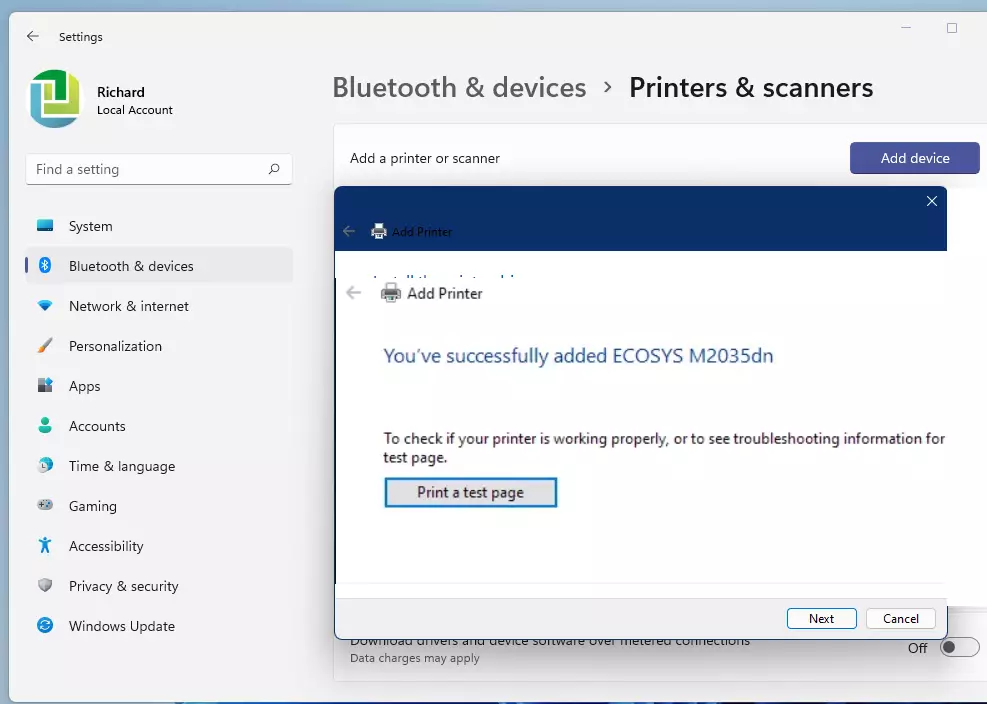
That should do it!
Conclusion:
- Adding a Wi-Fi printer on Windows 11 is a straightforward process that requires minimal configuration.
- Ensure your printer is connected to the same Wi-Fi network as your computer for seamless setup.
- Utilize the Windows Settings to easily add your printer, following prompts to either automatically or manually locate it.
- Downloading the necessary printer software may be required if your printer is not initially found.
- After installation, your printer should be fully functional and ready for use.
By following these steps, you can enjoy the convenience of wireless printing at home or in the office.

Leave a Reply