
MAC addresses are the unique numbers assigned to every network card installed on computers and other devices. It should be unique across vendors and systems.
If you’re reading this post, you probably know something about systems’ MAC addresses.
This brief tutorial will show students and new users an easy way to change the Ubuntu system’s MAC addresses. There are many reasons one might want to change a system MAC address. A common one is to give a system a new identity on a given network.
I resolved a bizarre issue a few years back by changing the system MAC address. I was troubleshooting a system that kept coming up on a network with duplicate IPs from the DHCP server. I researched but couldn’t see anything that was causing the issues.
I went through the usual sysadmin tricks to get the system up with a different IP but to no avail. So, I resolved the issue by changing its MAC address, and the DHCP server assigned a different IP, which then fixed the problems.
To change a Ubuntu system MAC address, follow the steps below:
Install the MAC address change package
First, you must install the MAC address changer package on the system for which you’re changing its MAC address. You can install the package by running the commands below.
sudo apt-get install macchanger-gtk
Change the systems’ MAC address.
To change the machine’s MAC address, run the commands below
sudo macchanger-gtk
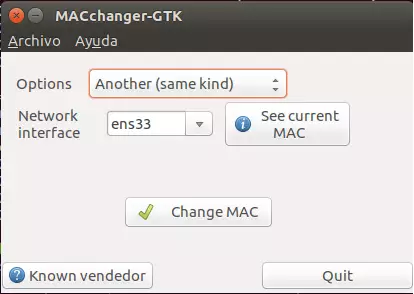
That will open the MAC changer tool. The package is a front-end MAC address changer. It also lets you view your current MAC address. To change the current one, select the Option and the network interface you wish to change.
Then click Change MAC.
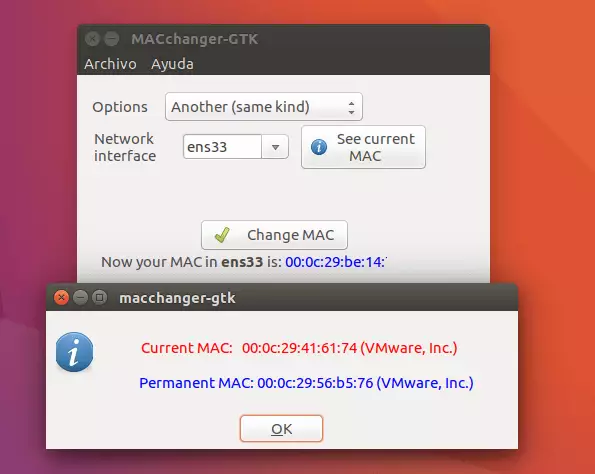
Doing that will change the system’s MAC address and show you the new one.
That’s it! Enjoy, and I hope you come back soon.
You may also like the post below:
Leave a Reply Cancel reply