This brief tutorial shows students and new users how to install RavenDB on Ubuntu 20.04 | 18.04.
RavenDB is a powerful NoSQL database designed to provide high performance, scalability, and reliability to businesses and organizations. Installing RavenDB on Ubuntu Linux can be a great choice for many users. Ubuntu is a popular and widely used Linux distribution known for its ease of use, stability, and security features.
Installing RavenDB on Ubuntu Linux can provide users with a powerful and flexible database system that can store, manage, and retrieve large amounts of data quickly and efficiently.
Additionally, RavenDB is open-source and free to use, making it an accessible option for businesses and developers on a budget. Following the steps outlined in the tutorial above, users can easily install RavenDB on their Ubuntu Linux system and use this powerful database system for their projects and applications.
To get started with installing RavenDB, follow the steps below:
Install required packages
Before installing RavenDB, you’ll want to install the required dependencies, including NET Core runtime.
Run the commands below to download and install the .NET core repository on Ubuntu.
wget https://packages.microsoft.com/config/ubuntu/20.04/packages-microsoft-prod.deb -O packages-microsoft-prod.deb
sudo dpkg -i packages-microsoft-prod.deb
Next, update and install the .NET core.
sudo apt update
sudo apt-get install apt-transport-https
sudo apt-get install aspnetcore-runtime-3.1
That should get the .NET core installed.
Install RavenDB
Now that .NET is installed and ready, continue below to install RavenDB.
Download the RavenDB package by running the commands below:
cd ~/
wget -O ravendb.tar.bz2 https://hibernatingrhinos.com/downloads/RavenDB%20for%20Linux%20x64/latest
Next, extract the downloaded file.
tar xvjf ravendb.tar.bz2
After that, make the file executable and install it.
sudo chmod -R 755 RavenDB
cd ~/RavenDB
./run.sh
That should install RavenDB and start listening on the IP and port number below:
http://127.0.0.1:41105
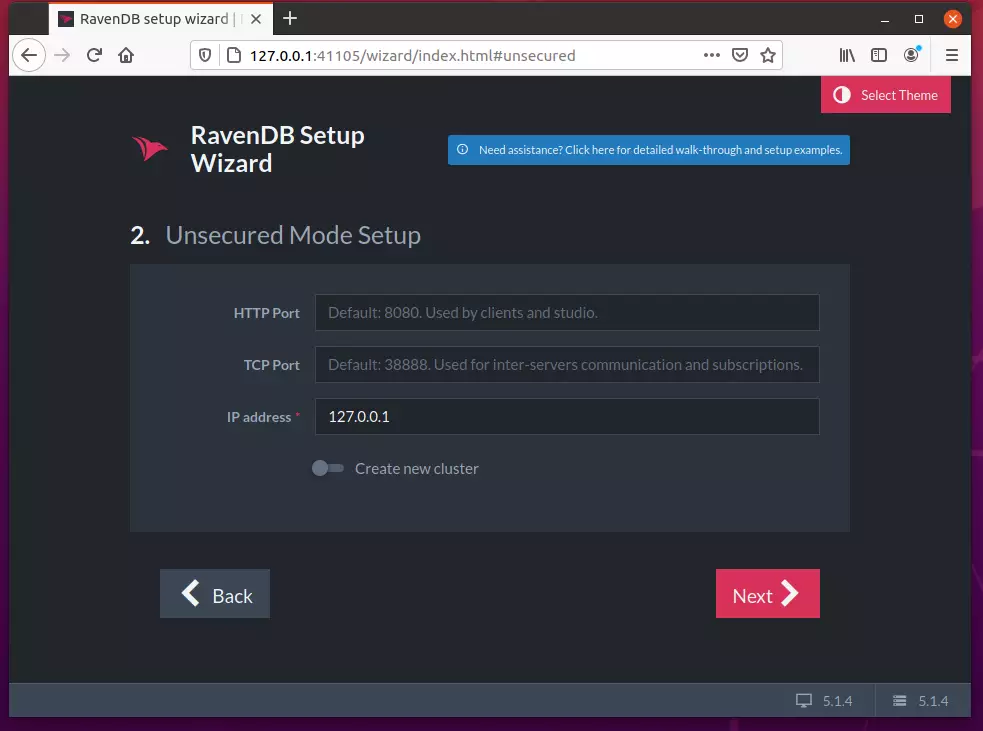
The wizard will assist you with setting up your RavenDB server.
Let’s start with choosing your desired level of security. Select the security option that best addresses your needs.
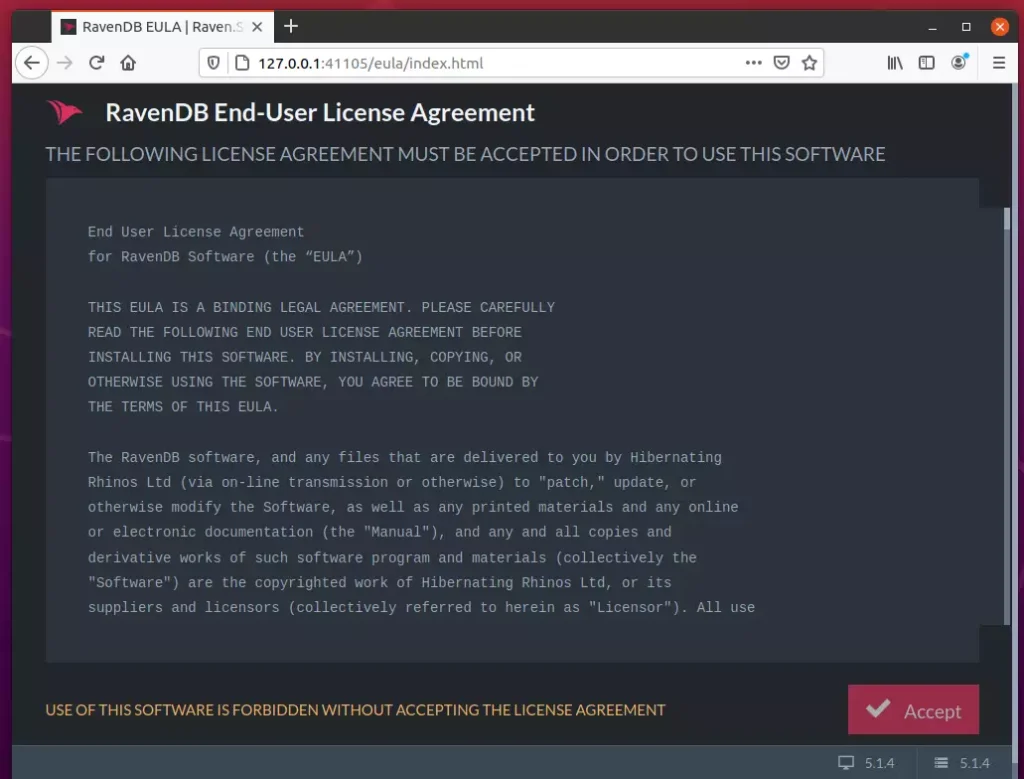
For this tutorial, we will use the insecure method to connect.
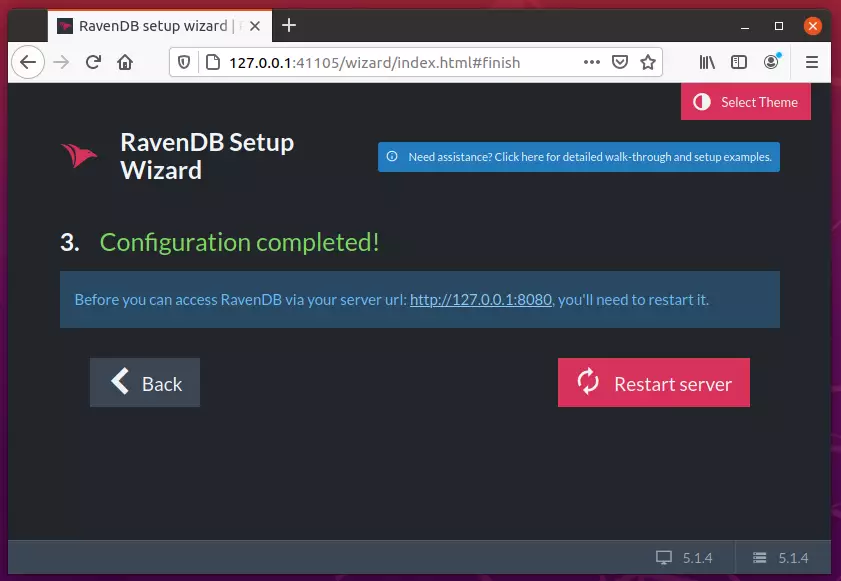
Finish the setup and restart the server. It should now start listening on port 8080.
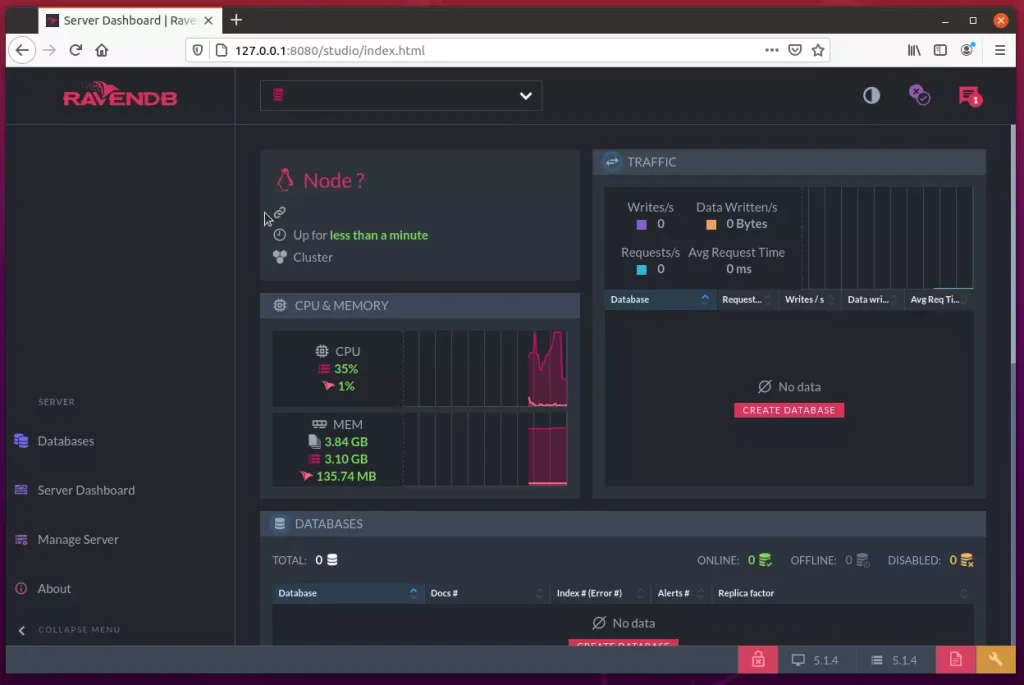
Access the dashboard.
By default, the RavenDB is accessible only from the local host. If you need to configure the server’s public IP address, open its config file and add the IP address.
sudo nano ~/RavenDB/Server/settings.json
Then add and replace the host or IP with the public one.
{
  "DataDir": "RavenData",
  "License.Eula.Accepted": true,
  "Setup.Mode": "Unsecured",
  "Security.UnsecuredAccessAllowed": "PublicNetwork",
  "ServerUrl": "http://127.0.0.1:8080",
  "ServerUrl.Tcp": "tcp://127.0.0.1:38888"
}
Systemd service
If you want to control RavenDB startup and shutdown, you’ll want to create a systemd service file to control the service.
To do that, run the commands below to create the file.
sudo nano /etc/systemd/system/ravendb.service
Copy and paste the content below into the file and save.
[Unit]
Description=RavenDB v4.0
After=network.target

[Service]
LimitCORE=infinity
LimitNOFILE=65536
LimitRSS=infinity
LimitAS=infinity
User=richard
Restart=on-failure
Type=simple
ExecStart=/home/richard/RavenDB/run.sh

[Install]
WantedBy=multi-user.target
Save the file.
Next, reload systemd and begin controlling the services.
sudo systemctl daemon-reload
sudo systemctl start ravendb
sudo systemctl enable ravendb
That should do it. To check the status of the service, run the commands below:
sudo systemctl status ravendb
That should display similar lines as shown below:
● ravendb.service - RavenDB v4.0
     Loaded: loaded (/etc/systemd/system/ravendb.service; enabled; vendor preset: enabled)
     Active: active (running) since Tue 2021-02-09 20:14:01 CST; 3s ago
   Main PID: 4364 (run.sh)
      Tasks: 13 (limit: 4654)
     Memory: 24.2M
     CGroup: /system.slice/ravendb.service
             ├─4364 /bin/bash /tmp/RavenDB/run.sh
             └─4380 ./Raven.Server --browser

Feb 09 20:14:05 ubuntu2004 run.sh[4380]:    at System.Net.Sockets.Socket.UpdateStatusAfterSocketErrorAndThrowExcep>
Feb 09 20:14:05 ubuntu2004 run.sh[4380]:    at System.Net.Sockets.Socket.DoBind(EndPoint endPointSnapshot, SocketA>
Feb 09 20:14:05 ubuntu2004 run.sh[4380]:    at System.Net.Sockets.Socket.Bind(EndPoint localEP)
That’s it!
Conclusion:
This post showed you how to install and configure RavenDB on Ubuntu. If you find any error above, please use the form below to report.


Leave a Reply