
This article explains how to install RabbitMQ with Erlang/OTP on Ubuntu Linux.
RabbitMQ is a lightweight and popular open-source message broker that supports multiple messaging protocols that many enterprises have widely deployed.
Installing RabbitMQ with Erlang/OTP on Ubuntu Linux allows you to use this lightweight and popular open-source message broker, which supports multiple messaging protocols, flexible routing, and delivery acknowledgment.
Many enterprises and businesses widely use it to manage their mail processes. Following the steps in the tutorial, you can easily install RabbitMQ with Erlang/OTP support on Ubuntu 16.04 / 17.10 and 18.04.
The tutorial also shows you how to enable the RabbitMQ web management console for easy server management.
RabbitMQ supports Advanced Message Queuing Protocol, multiple messaging protocols delivery acknowledgment, flexible routing, and many more. As a result, many enterprises and businesses use this advanced open-source application to manage mail processes.
The steps below are a great place to start if you haven’t installed it.
Install Erlang/OTP
RabbitMQ needs Erlang/OTP to run. However, Erlang/OTP packages in standard Debian and Ubuntu also can be pretty outdated. Consider installing a newer version, such as 20.1.7.1. To install the latest version of Erlang, add the repository below.
sudo sh -c 'echo "deb https://packages.erlang-solutions.com/ubuntu $(lsb_release -sc) contrib" >> /etc/apt/sources.list.d/erlang.list'
After adding the repository above, run the commands below to add the repository key.
wget https://packages.erlang-solutions.com/ubuntu/erlang_solutions.asc
sudo apt-key add erlang_solutions.asc
After that, run the commands below to install Erland/OTP
sudo apt update
sudo apt install erlang
Add RabbitMQ Repository to Ubuntu
To install RabbitMQ on Ubuntu 16.04 and 17.10 easily, add its repository. To do that, run the commands below. Unfortunately, at the time of this writing, the repository below didn’t support Ubuntu 18.04. However, after 18.04 is released, the commands below should work on it.
sudo sh -c 'echo "deb https://dl.bintray.com/rabbitmq/debian $(lsb_release -sc) main" >> /etc/apt/sources.list.d/rabbitmq.list'
After running the commands above, run the commands below to add the repository key to Ubuntu.
wget -O- https://dl.bintray.com/rabbitmq/Keys/rabbitmq-release-signing-key.asc | sudo apt-key add -
wget -O- https://www.rabbitmq.com/rabbitmq-release-signing-key.asc | sudo apt-key add -
After adding the RabbitMQ repository and key, run the commands below to install the RabbitMQ package.
sudo apt update
sudo apt install rabbitmq-server
After installing, the commands below can stop and enable RabbitMQ to start when the server boots.
sudo systemctl enable rabbitmq-server
sudo systemctl start rabbitmq-server
sudo systemctl stop rabbitmq-server
Enable RabbitMQ Web Console
RabbitMQ also provides a web management console for easy management. To enable it, run the commands below.
sudo rabbitmq-plugins enable rabbitmq_management
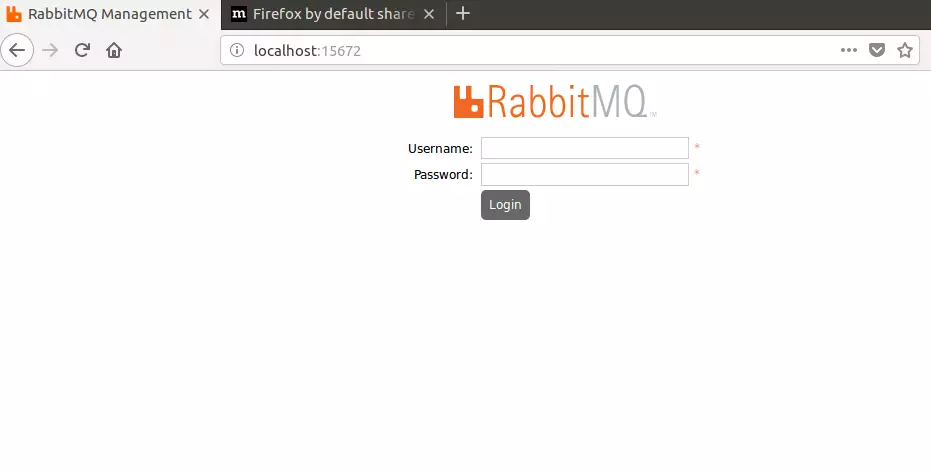
After that, open your browser and browse to the server name or IP address followed by port # 15672
Example: http://example.com:15672
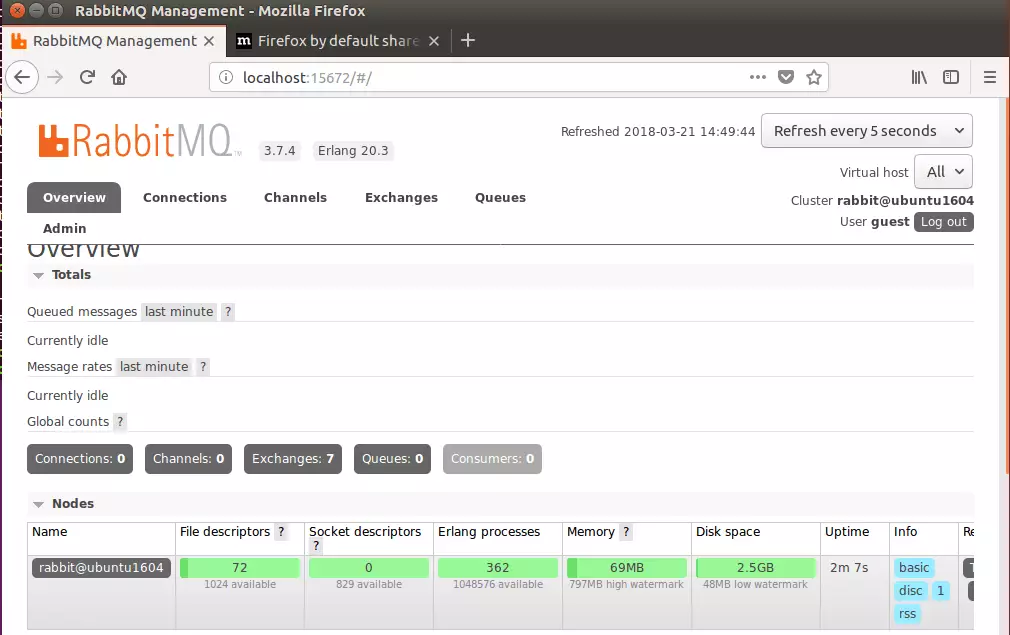
You should see the RabbitMQ web management console to log on. The default username and password are guests.
Username: guest
Password: guest
Log in and begin configuring your server
On Ubuntu 18.04, you’ll have to install the Erlang/OTP package from the link below manually:
https://packages.erlang-solutions.com/erlang/
and
RabbitMQ Deb packages from the link below:
https://www.rabbitmq.com/install-debian.html
After 18.04 is fully released, the repositories above should work and allow you to install them easily.
Enjoy~
You may also like the post below:


Leave a Reply