This article explains installing the Cisco AnyConnect VPN client on Ubuntu Linux.
Cisco AnyConnect VPN software allows remote users and employees to securely connect to a Cisco VPN gateway in an enterprise environment.
Employees use the Cisco AnyConnect Secure Mobility Client to establish connectivity to a Cisco SSL VPN server. The connected users or employees are granted access to internal resources if authentication is approved.
This is a widely used and popular VPN server within enterprises. If you’re a Linux user who needs help installing and using AnyConnect, this brief tutorial will show you how to do it.
It shows you how to download and install AnyConnect using Ubuntu 18.04 or 16.04 desktop computers.
When you’re ready to install AnyConnect, follow the steps below:
First, you must know that not everyone can download the Cisco AnyConnect VPN client. The software is available to customers with active AnyConnect Apex, Plus, or VPN Only terms/contracts.
Your system/network administrator(s) may have to get a login to Cisco’s portal and download the software for you. or provide you log in to get into the portal.
AnyConnect download location is at the link below:
https://software.cisco.com/download/home/283000185
Install Prerequisites
Some packages will need to be installed before AnyConnect is installed. To do that, run the commands below:
sudo apt-get update
sudo apt-get install lib32z1 lib32ncurses5
Install AnyConnect VPN Client
After installing the packages above, download the AnyConnect file from its Download location.
Once you have downloaded the AnyConnect VPN tarball, double-click to extract the folder downloaded folder or use the below commands; the current file should be named anyconnect-linux64-4.7.03052-predeploy-k9.tar.gz.
By default, the file will be downloaded to your home folder ( /home/user/Downloads ), but typically, the last directory used by the browser is where automatic downloads are placed.
Run the commands below to extract the downloaded file if you cannot double-click to extract it.
tar xvf anyconnect-linux64-4.7.03052-predeploy-k9.tar.gz
After extracting, open the newly extracted folder to find the VPN folder. Change into the VPN folder.
cd vpn
Right-click the vpn_install.sh file.
Select Run.
Use the GUI App to install the Cisco AnyConnect VPN client at the root level.
If you can’t install it via the GUI app, run the commands below to install it.
sudo ./vpn_install.sh
That will install the Cisco AnyConnect VPN client for you.
Install DART
To install Dart, follow the steps below:
First, open the Dart. Folder inside the newly-extract and connect folder.
Right-click the dart_install.sh file.
Then select Run.
Use the GUI App to install the Cisco AnyConnect Diagnostic and Reporting Tool.
If the GUI installation doesn’t work, run the commands below to install it.
sudo .⁄dart_install.sh
That should install AnyConnect for you, including DART. After that, the Cisco AnyConnect Secure Mobility Client should be ready to use.
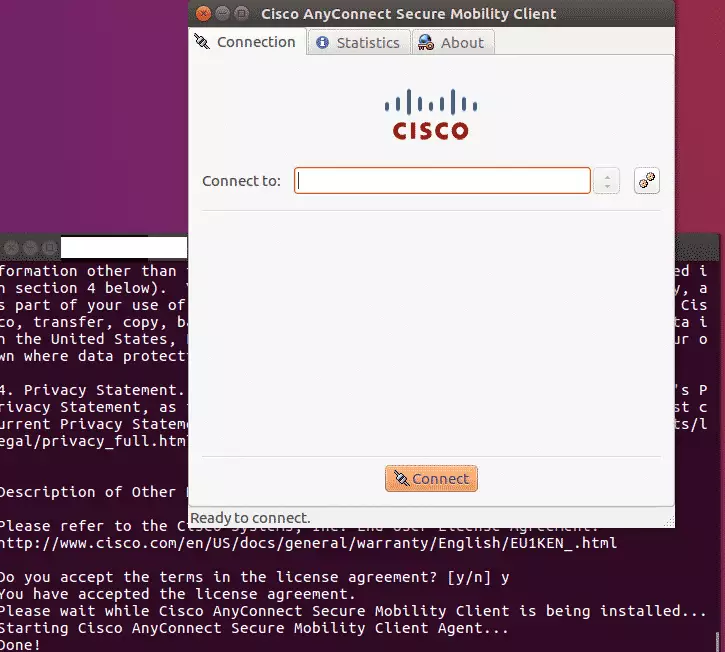
Now, you have to launch it and connect to the VPN gateway.
That’s!
You may also like the post below:


Leave a Reply Cancel reply