
This article explains how to install Subsonic media streamer on Ubuntu Linux.
Subsonic Media Streamer is a powerful and feature-rich media streaming server that allows you to stream your media from your Ubuntu Linux computer or server.
Installing Subsonic on Ubuntu Linux will allow you to access your music and movies from anywhere over the Internet. With Subsonic, you can enjoy your media on various devices, including Android, iPhone, Windows Phone, Chrome, and many more.
Additionally, Subsonic is optimized for MP3 streaming and can handle extensive music collections. Following the installation steps outlined in the article, you can set up Subsonic on your Ubuntu Linux system and stream your media today!
For more about Subsonic, please check out its homepage.
When you’re ready, follow the steps below:
Install Java 8
For Subsonic to work, you should have Java installed. To do that, run the commands below.
You can either install Oracle Java 8 standard or get the open-source version of Java. For this post, we will install the open-source version of Java.
sudo apt update
sudo apt-get install openjdk-8-jre
To validate whether OpenJDK is installed, run the commands below
java -version
You should see the similar text below:
openjdk version "1.8.0_191"
OpenJDK Runtime Environment (build 1.8.0_191-8u191-b12-2ubuntu0.18.04.1-b12)
OpenJDK 64-Bit Server VM (build 25.191-b12, mixed mode)
After installing OpenJDK 8 above, continue below to install and set up Subsonic.
Download and Configure Subsonic
Now that Java is installed, run the commands below to download the Subsonic .deb file. At the time of this writing, the current version is 6.1.5
Visit the Subsonic download page and see if there are newer versions available. If you see the newer version, replace the version number in the download link below.
cd /tmp
wget https://s3-eu-west-1.amazonaws.com/subsonic-public/download/subsonic-6.1.5.deb
sudo dpkg -i subsonic-6.1.5.deb
Once Subsonic is installed, you can run the commands below to start and enable Subsonic service to always start up when the server boots up.
sudo systemctl start subsonic
sudo systemctl enable subsonic
To check the service status, run the commands below
systemctl status subsonic
You should see similar lines below:
subsonic.service - LSB: Subsonic daemon
   Loaded: loaded (/etc/init.d/subsonic; generated)
   Active: active (running) since Fri 2019-03-15 10:55:27 CDT; 24s ago
     Docs: man:systemd-sysv-generator(8)
    Tasks: 34 (limit: 4683)
   CGroup: /system.slice/subsonic.service
           └─5176 java -Xmx150m -Dsubsonic.home=/var/subsonic -Dsubsonic.host=0.0.0.0 -Dsubs

Mar 15 10:55:26 ubuntu1804 systemd[1]: Starting LSB: Subsonic daemon.
Mar 15 10:55:27 ubuntu1804 subsonic[5161]: Started Subsonic [PID 5176, /var/subsonic/subsoni
Mar 15 10:55:27 ubuntu1804 systemd[1]: Started LSB: Subsonic daemon.
Finally, open your browser and browse to the server name or IP address followed by port 4040
http://localhost:4040/
You should see the Subsonic login page.
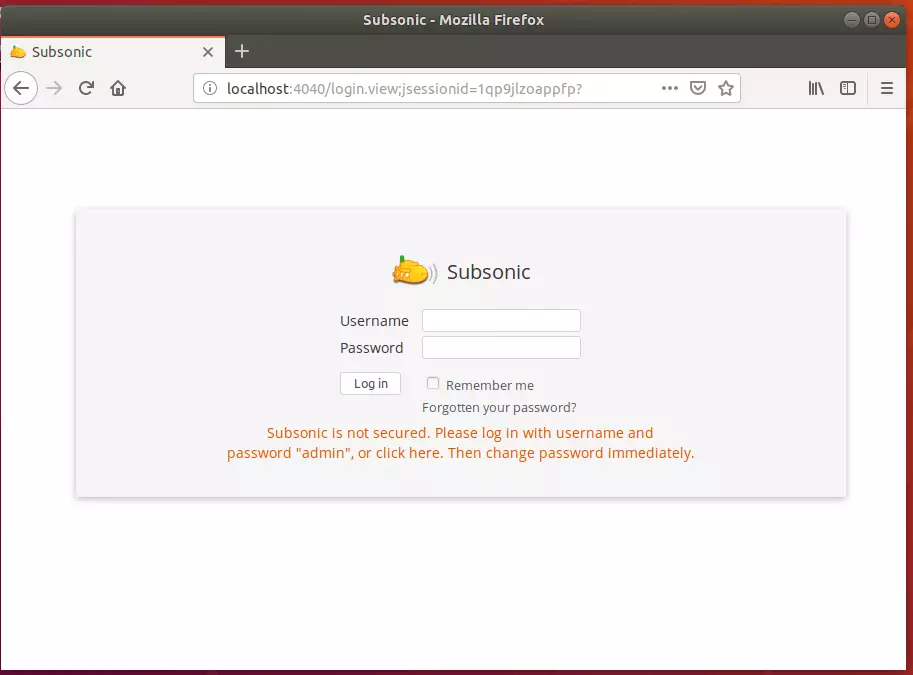
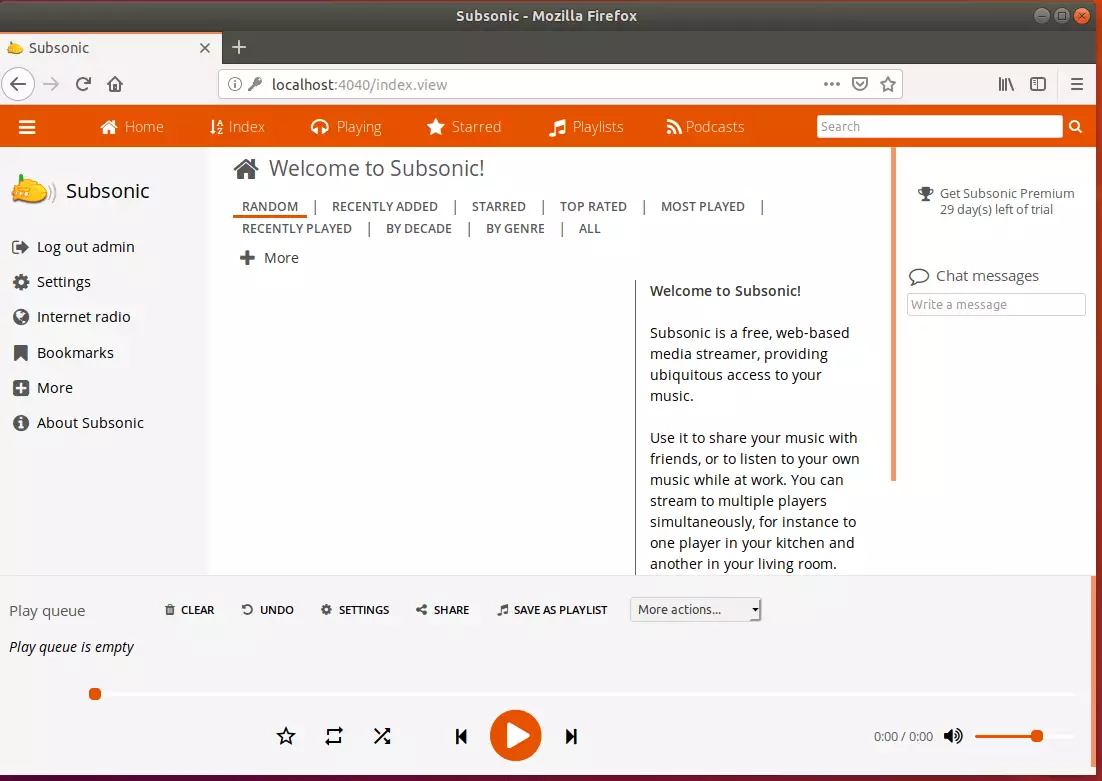
The default username and password are admin. After logging in, you should go to Settings > Users to change the admin password.
Change user
By default, the Subsonic process is run as the root user. You are strongly advised to run security as a dedicated user with less powerful privileges to improve security. You can specify this user by setting the SUBSONIC_USER variable in /etc/default/subsonic.
Note that non-root users cannot use ports below 1024 by default. Also, grant the user write permissions in the music directories; otherwise, changing album art and tags will fail.
Enjoy!
You may also like the post below:
Leave a Reply