How to Install OpenProject on Ubuntu Linux
OpenProject is a tool that helps teams manage projects and work together easily. It includes features like text editing, smart workflows, and a modern design.
Why use OpenProject? It gives your team a single place to track tasks and collaborate from any device with an internet connection.
What happens when done? You will have a fully functional project management platform running on your own server.
Install Apache2 HTTP Server
OpenProject needs a web server to run. We will use Apache2. Note: All steps below require admin privileges.
sudo apt update
sudo apt install apache2
Use these commands to stop, start, or make sure Apache2 starts automatically when your computer turns on:
sudo systemctl stop apache2.service
sudo systemctl start apache2.service
sudo systemctl enable apache2.service
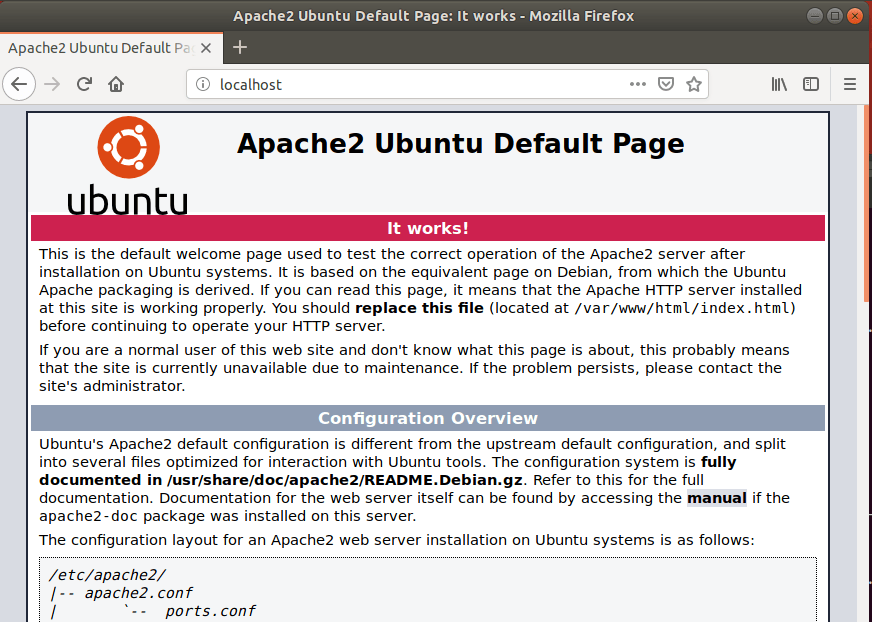
Open your web browser and go to this address to verify it is working:
http://localhost
Install MySQL Database Server
OpenProject needs a database to save your data. We will use MariaDB (a popular version of MySQL).
sudo apt install mysql-server mysql-client libmysqlclient-dev
Use these commands to manage the service:
sudo systemctl stop mysql.service
sudo systemctl start mysql.service
sudo systemctl enable mysql.service
Run the following to secure your database with a password:
sudo mysql_secure_installation
Follow the prompts to set a password and remove insecure default settings. Once finished, test the installation:
sudo mysql -u root -p

Create OpenProject Database
Now, prepare the database for OpenProject. Log in to your database server:
sudo mysql -u root -p
Create the database:
CREATE DATABASE openproject CHARACTER SET utf8mb4 COLLATE utf8mb4_unicode_ci;
Create a user for the database:
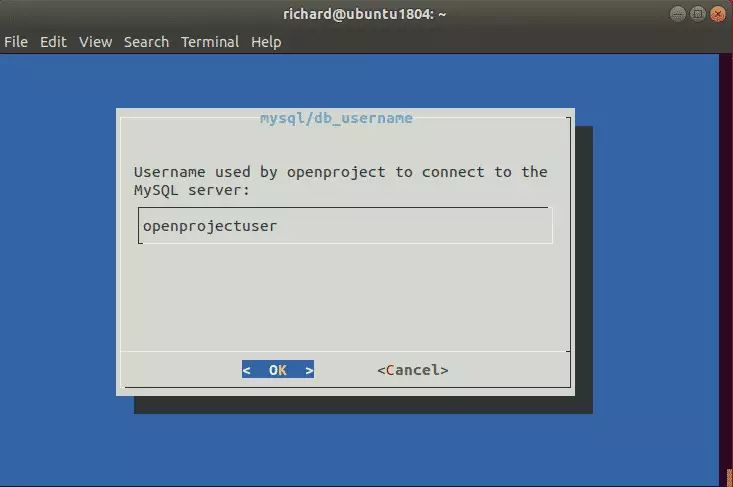
CREATE USER 'openprojectuser'@'localhost' IDENTIFIED BY 'new_password_here';
Give that user permission to use the database:
GRANT ALL ON openproject.* TO 'openprojectuser'@'localhost' IDENTIFIED BY 'user_password_here' WITH GRANT OPTION;
Save your changes and exit:
FLUSH PRIVILEGES;
EXIT;
Install OpenProject
Add the OpenProject software source to your system:
sudo apt update
sudo apt install apt-transport-https
Add the key to verify the software:
wget -qO- https://dl.packager.io/srv/opf/openproject-ce/key | sudo apt-key add -
sudo wget -O /etc/apt/sources.list.d/openproject-ce.list https://dl.packager.io/srv/opf/openproject-ce/stable/8/installer/ubuntu/18.04.repo
Now, install the OpenProject software:
sudo apt update
sudo apt install openproject memcached
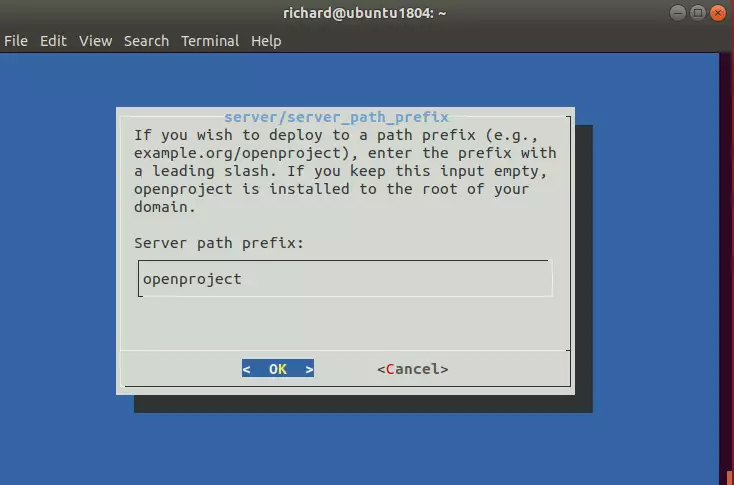
When the installation finishes, you will see a message to configure the platform:
The openproject package provides an installer. Please run the following command to finish the installation:
sudo openproject configure
Start the setup process:
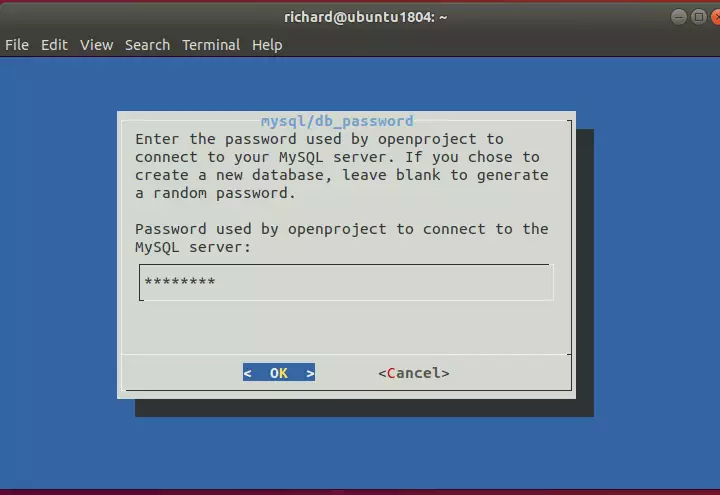
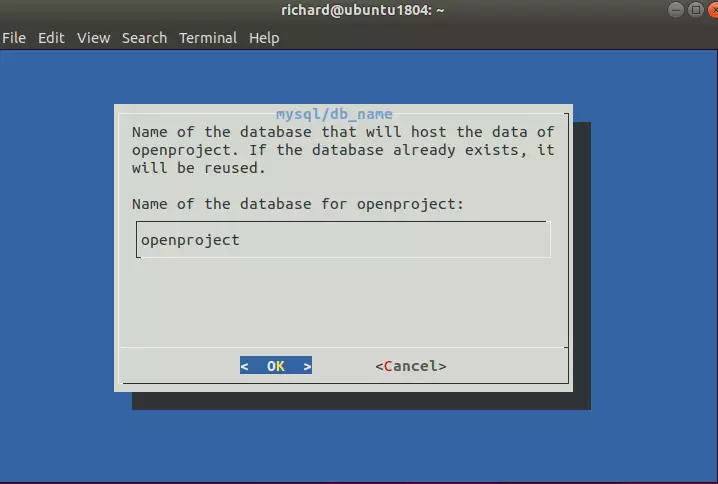
sudo openproject configure
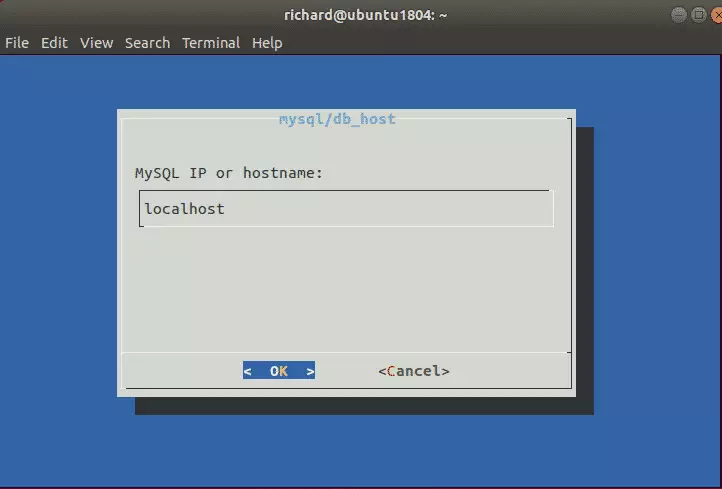
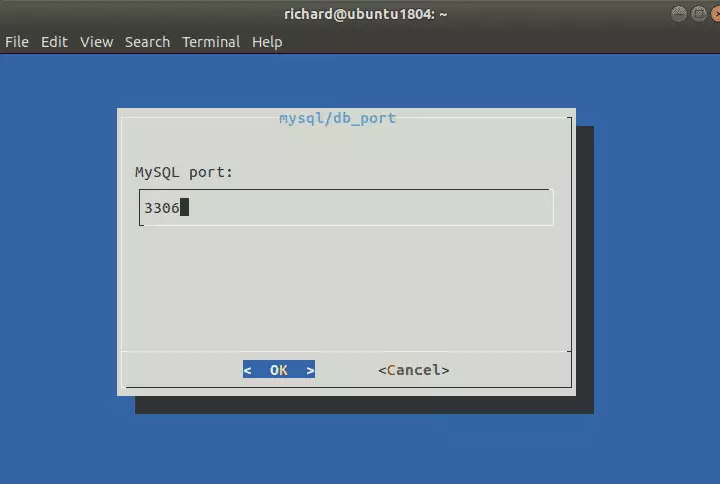
Follow the on-screen steps. Select the option to use an existing database. Use “localhost” for the server, and enter the database name, username, and password you created earlier.

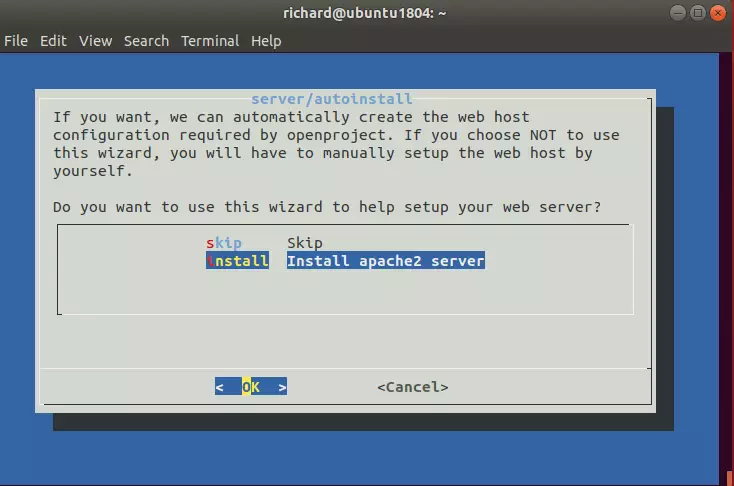
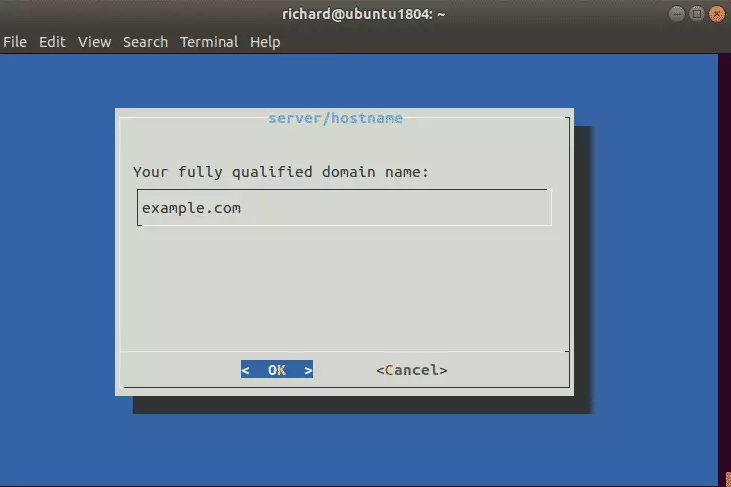
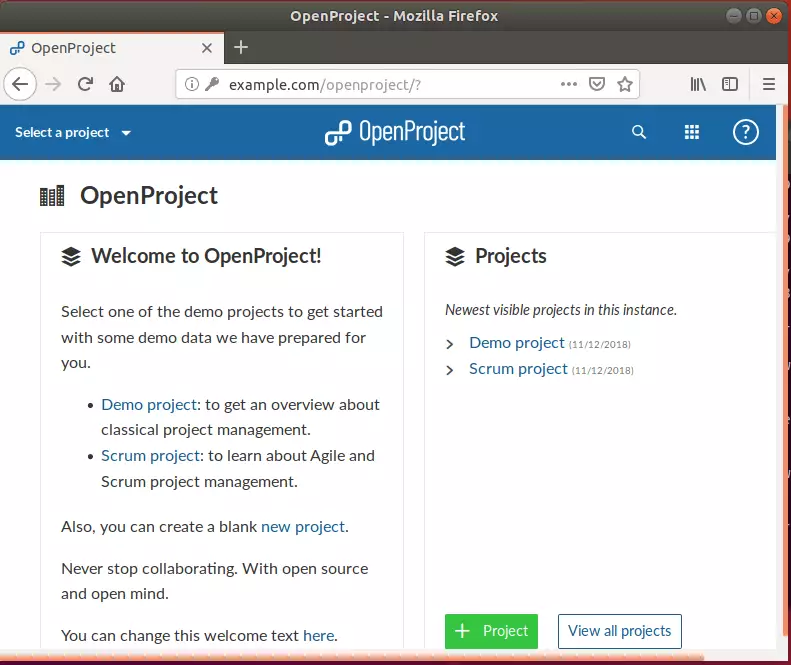
Finish the remaining prompts, such as installing Memcached. Once complete, open your browser and go to:
http://example.com/openproject/login
Log in with the username admin and the password admin.

If you need to change your settings later, run this command:
sudo openproject reconfigure
You may also like the post below: %%LNK0%%
Summary
In this guide, you installed the Apache2 web server and MariaDB database. You then configured a dedicated database for OpenProject and finished the setup through the web interface. You now have a private, web-based project management tool ready for your team.
[Y/n]
[Y/n]
[Y/n]
[Y/n]
[Y/n]
What is OpenProject and why should I install it on Ubuntu?
How do I install Apache2 on Ubuntu for OpenProject?
What are the steps to secure MySQL after installation?
Can I access OpenProject from mobile devices?
How can I test if Apache2 is successfully installed on my Ubuntu server?
Was this guide helpful?

I have instaled the nextcloud using: “https://geekrewind.com/setup-nextcloud-on-ubuntu-18-04-lts-beta-with-apache2-mariadb-and-php-7-1-support/” and it works fine. But when i try to install the OpenProject using this tuturial he can’t connect to DB openproject that i create for him and the nextcloud stop to work.
When i instal the openproject i start in the step: “Step 3: Create OpenProject Database” because i already have the Apache and the Mysql.
Everyting work’s fine durin the “Step 4: Install OpenProject” but when i execute “sudo openproject configure” he can’t connect to db and the nextcloud stop working. Because is a virtual machine i can roll back.
Can you help me?