This article explains how to install the NoMachine Remote Desktop client on Ubuntu Linux.
NoMachine is a cross-platform, open-source remote desktop connection tool similar to TeamViewer. It can connect remotely to Mac, Linux, and Windows machines.
NoMachine is a powerful and reliable cross-platform remote desktop connection tool that allows users to access their desktops and applications remotely from anywhere in the world.
Installing NoMachine on Ubuntu Linux allows users to connect remotely to other Mac, Linux, and Windows machines safely and securely. It is an excellent tool for tech support specialists and users who want to provide remote assistance.
NoMachine provides a fast, secure, high-quality experience while connecting to remote desktops. It is a must-have tool for Ubuntu Linux users who require remote access to their machines.
To get started with installing NoMachine, follow the steps below:
Download NoMachine Package
Ubuntu doesn’t have NoMachine in its default repositories, so instead of running apt-get to install it, you’ll have to download the package to install it manually.
To get the package, go to the NoMachine download page and get the version for Linux, the DEB package for either 64-bit or 32-bit Ubuntu systems.
https://www.nomachine.com/download/linux&id=1
After downloading, continue below to install.
Install NoMachine
When you select the DEB package, Ubuntu should automatically open its software installer to help you install NoMachine. It’s easier to install using the Ubuntu DEB installer.
If your desktop prompts you to open the package with the installer, choose to do as shown in the screen below:
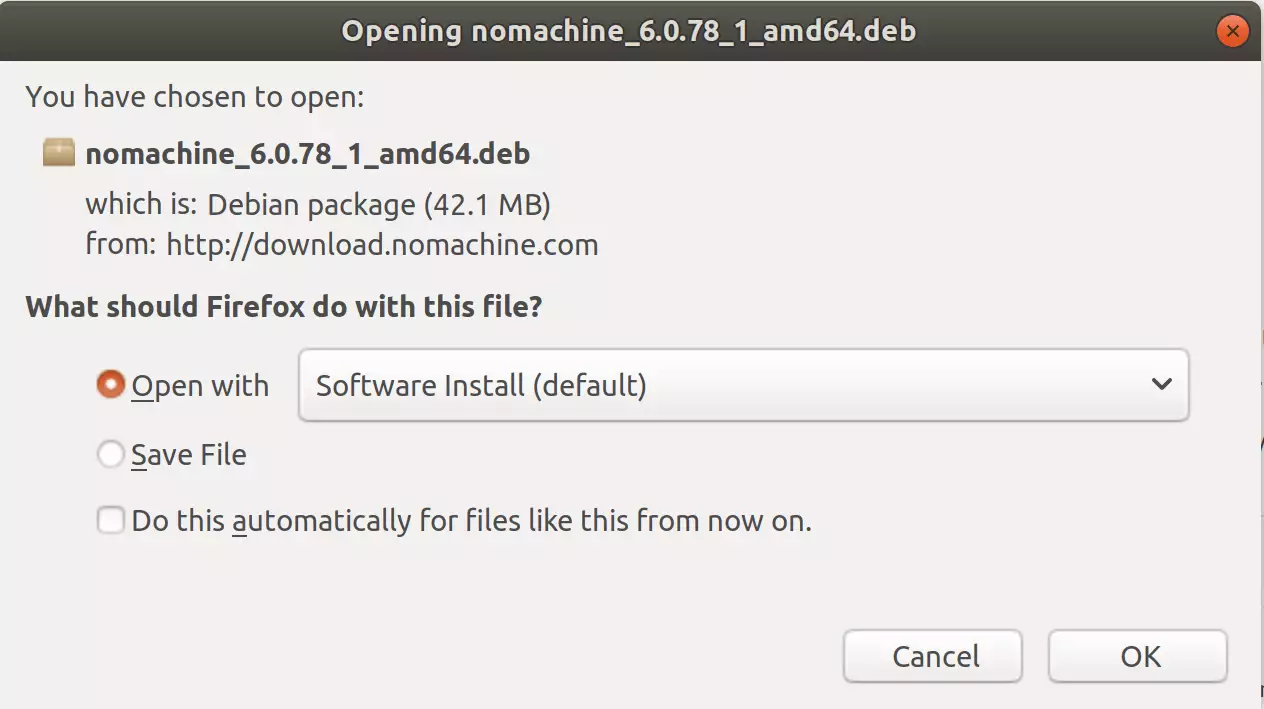
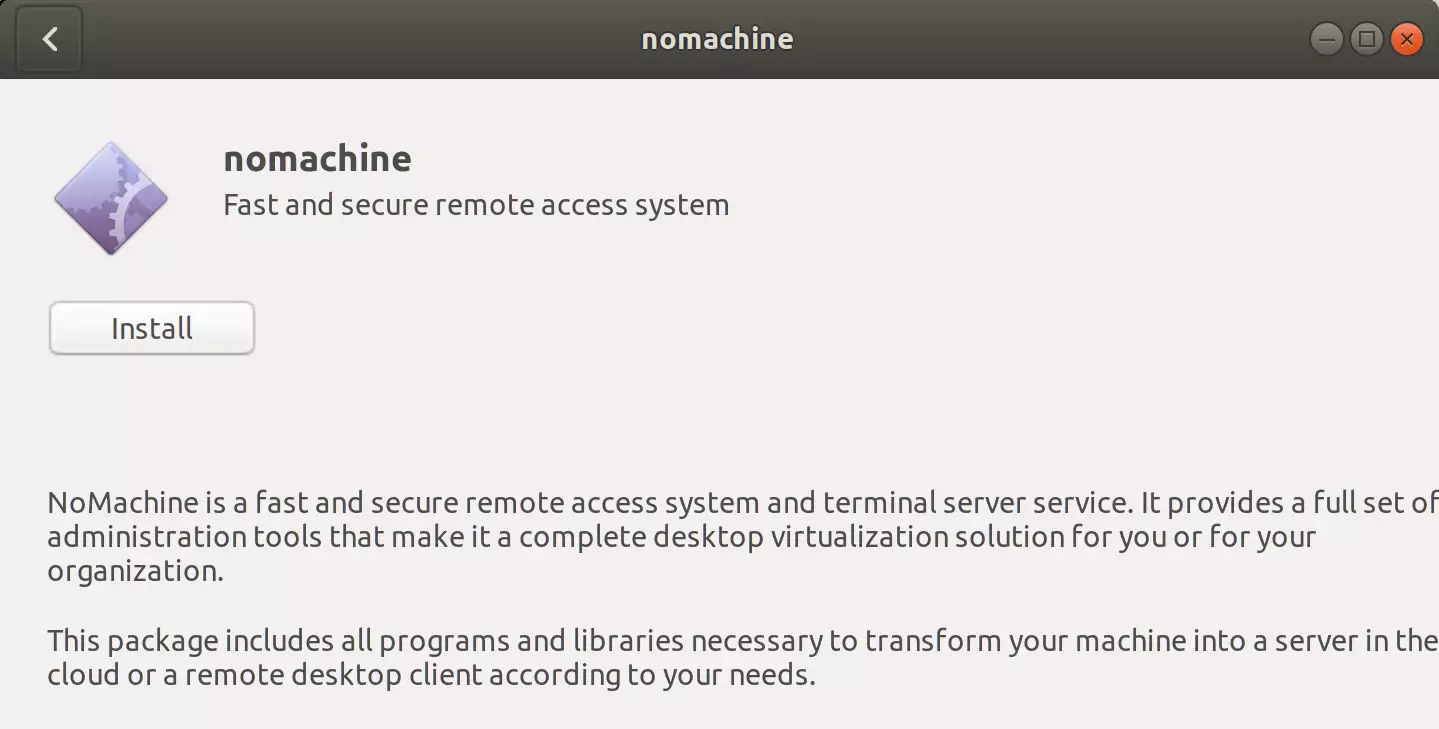
When you click OK, it should open the installer windows with an Install button. to begin the installation, click Install
After installing, go to Ubuntu Dash or Activities Overview to search for NoMachine. Then select NoMachine preferences.
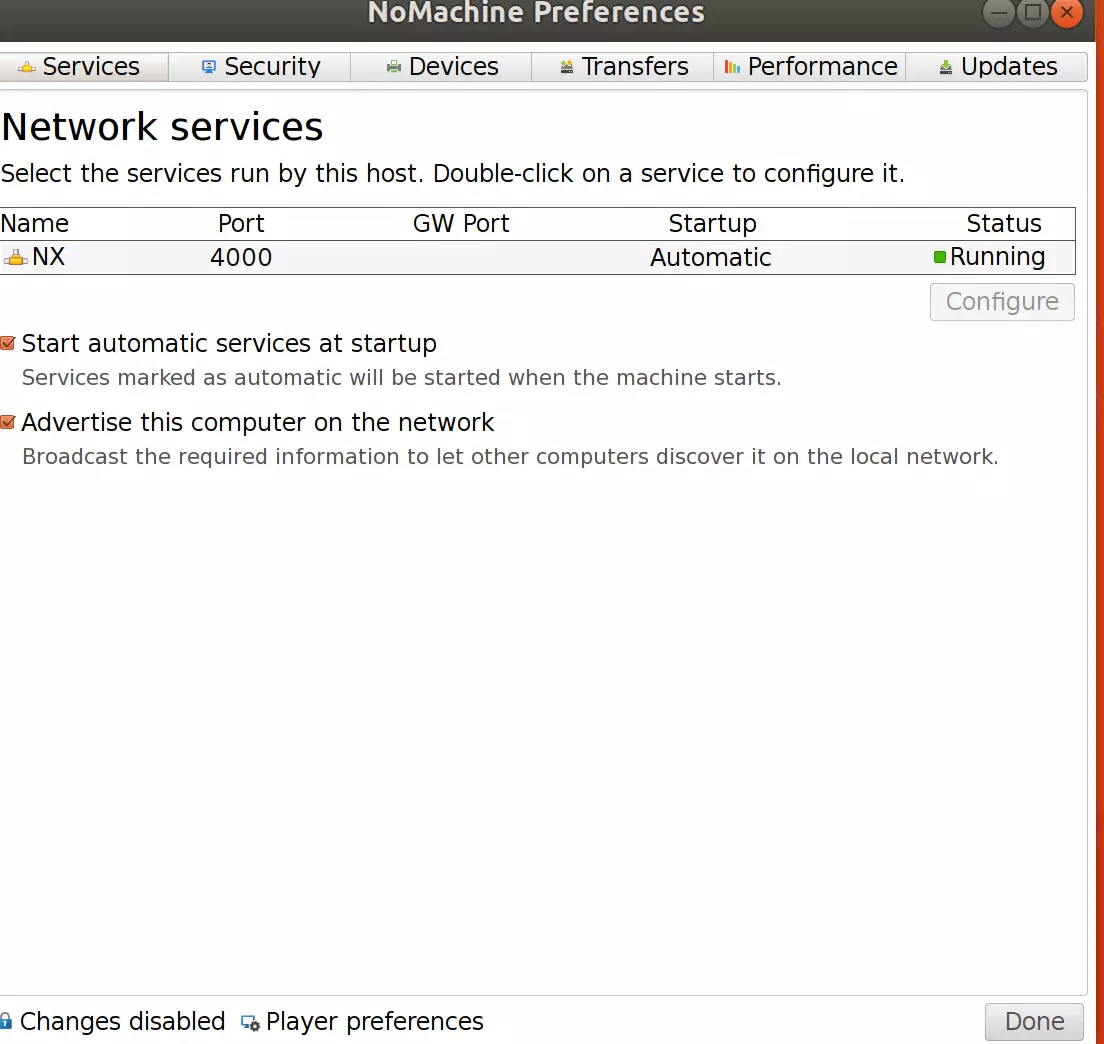
You can start NoMachine services automatically from the preferences page and advertise the computer across the network. When you advertise the machine, other machines with NoMachine installed should automatically see it on their screen and can be used to connect to it easily.
You can also require passwords for all connections, change the port number, and more. You can also choose the devices to make available to connected computers. All in all, the default settings should be great for everyday usage.
Manual Installation
If your system doesn’t open Ubuntu Software Installer to help you install the package, you must manually install it using the dpkg command.
Now that the package is downloaded go to the folder the package was downloaded into and run the installation commands. On an Ubuntu machine, the default download location is at ~/Downloads.
Open the commands terminal and run the commands below to install NoMachine from the ~/Downloads folder.
sudo dpkg -i ~/Downloads/nomachine_*.deb
Doing that should install the package via the command line.
When everything is done, open the NoMachine connection application. You use this to connect to remote computers.
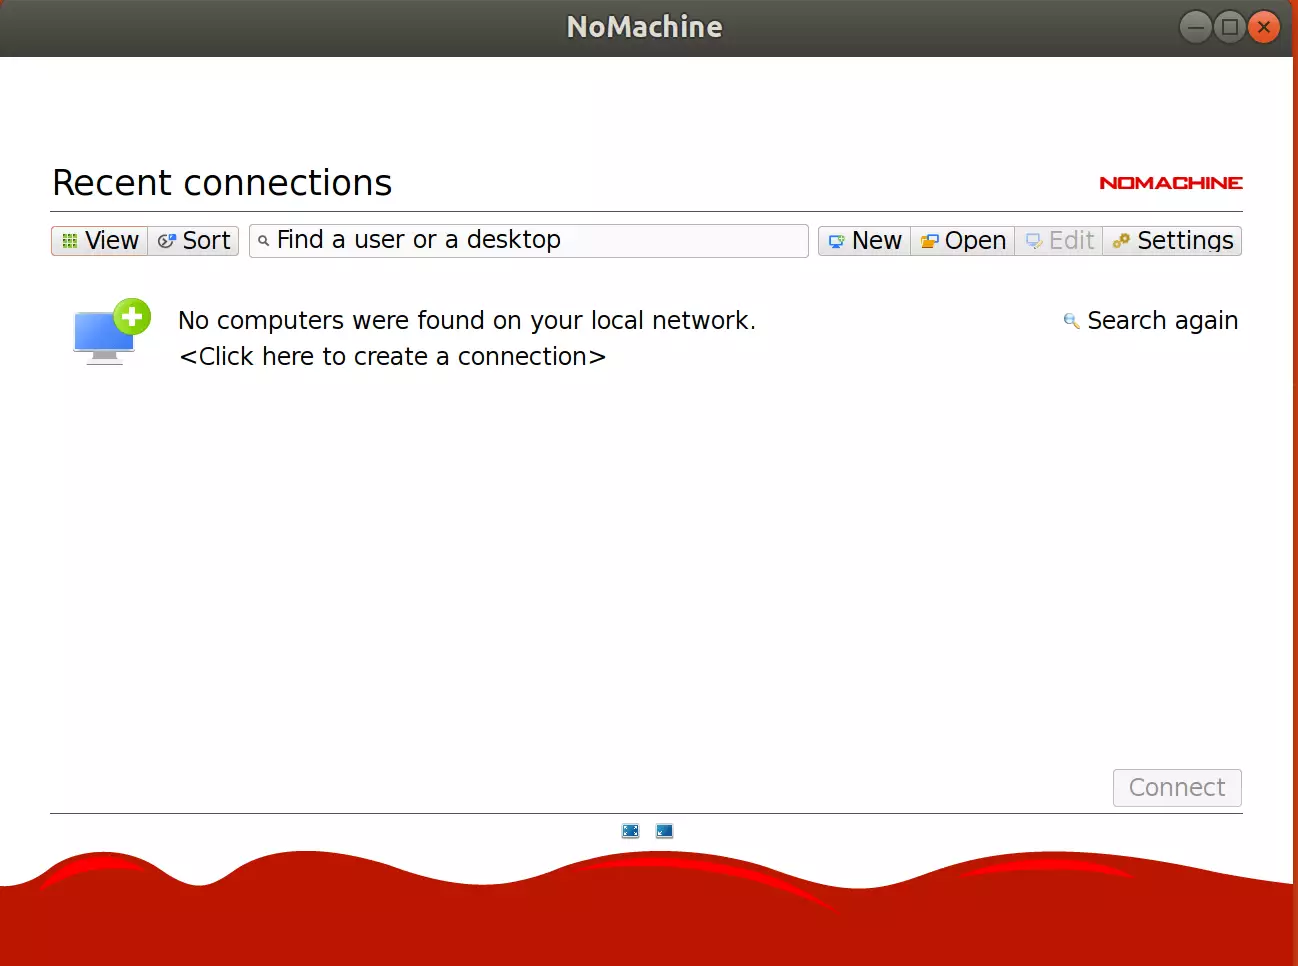
Enjoy!
You may also like the post below:

Leave a Reply to saki a Cancel reply