Like phpMyAdmin, MyWebSQL allows users to manage MySQL or MariaDB databases in the web browser. However, MyWebSQL lets you use your favorite web browser to connect and manage your databases instead of managing your databases from a desktop client or the command line terminal.
This can be an easy way for new users and students to manage MariaDB databases without installing client applications or using the terminal. The reason it’s easy is that all database management is done in the browser: no complicated database queries and commands to run from the terminal.
So, if you’re new and need help managing MariaDB databases using MyWebSQL, the steps below are a good starting point.
Those uncomfortable managing MariaDB databases via the Linux command line may want to try the MyWebSQL web interface instead.
For more about MyWebSQL, please visit its homepage.
Install Apache2 HTTP Server on Ubuntu
Apache2 HTTP Server is the most popular web server. To install Apache2 HTTP on the Ubuntu server, run the commands below.
sudo apt update
sudo apt install apache2
After installing Apache2, the commands below can stop, start, and enable the Apache2 service to always start up with the server boots.
sudo systemctl stop apache2.service
sudo systemctl start apache2.service
sudo systemctl enable apache2.service
Install MariaDB Database Server
Run the commands below to install the MariaDB database server
sudo apt update
sudo apt install mariadb-server mariadb-client
After installing MariaDB, the commands below can stop, start, and enable the service to start when the server boots.
Run these on Ubuntu 16.04 LTS
sudo systemctl stop mysql.service
sudo systemctl start mysql.service
sudo systemctl enable mysql.service
Run these on Ubuntu 17.10 and 18.04 LTS
sudo systemctl stop mariadb.service
sudo systemctl start mariadb.service
sudo systemctl enable mariadb.service
After that, run the commands below to secure the MariaDB server by creating a root password and disallowing remote root access.
sudo mysql_secure_installation
When prompted, answer the questions below by following the guide.
- Enter current password for root (enter for none): Press the Enter
- Set root password? [Y/n]: Y
- New password: Enter password
- Re-enter new password: Repeat password
- Remove anonymous users? [Y/n]: Y
- Disallow root login remotely? [Y/n]: Y
- Remove test database and access to it? [Y/n]: Y
- Reload privilege tables now? [Y/n]: Y
Restart MariaDB server
Install PHP 7.2 and Related Modules
PHP 7.2 isn’t available on Ubuntu default repositories… to install it, you will have to get it from third-party repositories.
Run the commands below to add the below third party repository to upgrade to PHP 7.2
sudo apt-get install software-properties-common
sudo add-apt-repository ppa:ondrej/php
Then update and upgrade to PHP 7.2
sudo apt update
Run the commands below to install PHP 7.1 and related modules.
sudo apt-get install php7.2 libapache2-mod-php7.2 libapache2-mod-php7.2 php7.2-mysql php7.2-cgi php7.2-gmp php7.2-pgsql php7.2-common php7.2-mbstring php7.2-bcmath php7.2-curl php7.2-sqlite3
Install MyWebSQL
To download and configure MyWebSQL, run the commands below.
cd /tmp && wget https://phoenixnap.dl.sourceforge.net/project/mywebsql/stable/mywebsql-3.7.zip
Then, run the commands below to extract the downloaded files to the Apache2 root directory.
sudo unzip mywebsql-3.7.zip -d /var/www/html
This should create a new folder called MySQL. Next, run the commands below to configure the correct permissions.
Next, run the commands below to change the root folder permissions.
sudo chown -R www-data:www-data /var/www/html/mywebsql/
sudo chmod -R 755 /var/www/html/mywebsql/
Restart Apache2.
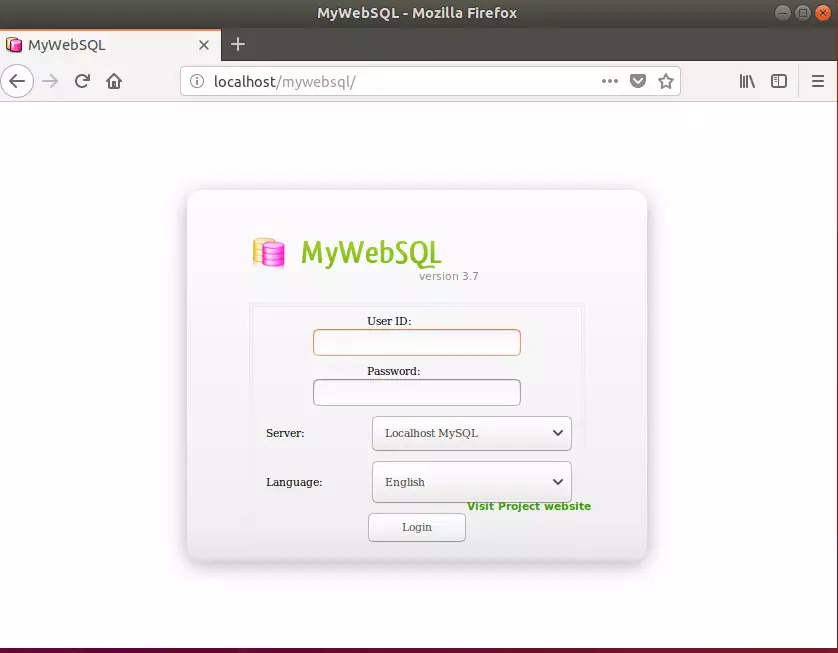
After that, open your browser and browse to the server hostname or IP address followed by MySQL.
http://localhost/mywebsql
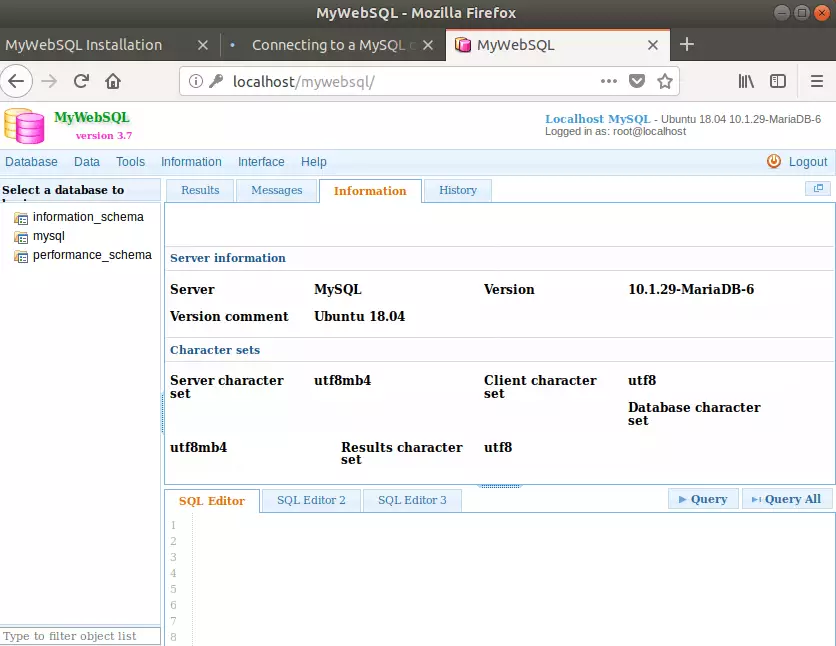
You should then see the login page for MyWebSQL. First, log in with your MariaDB root account.
That’s it!
If you cannot log on and get errors connecting to the database, run the commands below to fix MySQL root user login issues.
Login to the MariaDB server by running the commands below
sudo mysql -u root
type the password you created above.
That should get you into the database server. After that, run the commands below to turn off plugin authentication for the root user.
use mysql;
update user set plugin='' where User='root';
flush privileges;
exit
Restart and run the commands below to set a new password.
sudo systemctl restart mariadb.service
You may also like the post below:


Leave a Reply Cancel reply