This article explains how to install LogicalDOC on Ubuntu Linux.
LogicalDOC is a proprietary document management and collaboration system developed using JAVA to handle and share documents within an organization.
Installing LogicalDOC on Ubuntu Linux allows organizations to manage and share their documents securely and organized. LogicalDOC provides a document management and collaboration system that helps to streamline workflows and automate import procedures.
By installing LogicalDOC on Ubuntu, organizations can create a central repository for their documents, which can be accessed by authorized personnel anywhere and at any time.
Additionally, Ubuntu is a widely used and reliable operating system that provides a stable platform for LogicalDOC.
Install and configure JAVA.
Since LogicalDOC requires JAVA, use the steps below to install it.
The easiest way to install Oracle Java JDK 8 on Ubuntu is via a third-party PPA… To add that PPA, run the commands below.
sudo add-apt-repository ppa:webupd8team/java
After running the commands above, you should see a prompt to accept the PPA key onto Ubuntu… accept and continue.
Now that the PPA repository has been added to Ubuntu, run the commands below to download the Oracle Java 8 installer…. the installer should install the latest Java JDK 8 on your Ubuntu machines.
sudo apt update
sudo apt install oracle-java8-installer
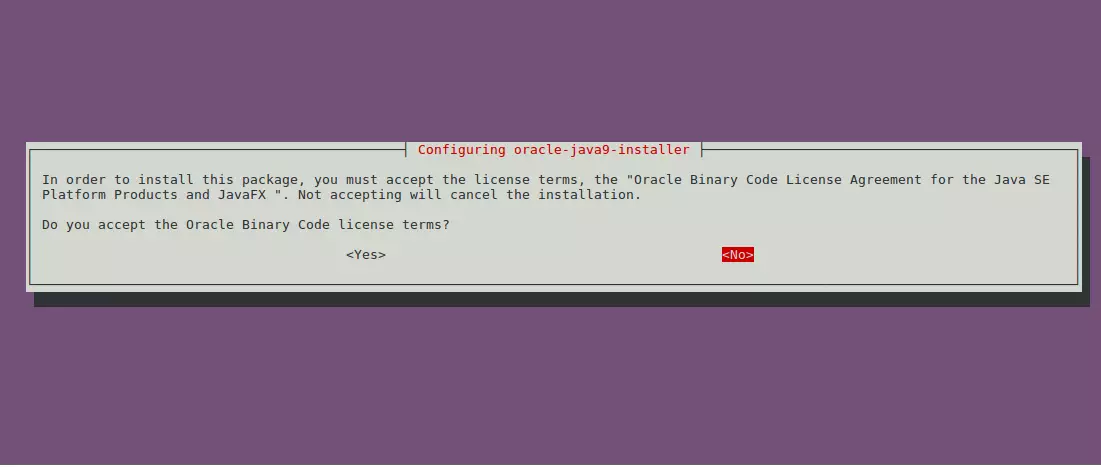
When you run the commands above, you’ll be prompted to access the license terms of the software… accept and continue.
Set Oracle JDK8 as default; install the oracle-java8-set-default package to do that. This will automatically set the JAVA env variable.
sudo apt install oracle-java8-set-default
Now that JAVA is installed run the commands below to set its home directory.
sudo nano /etc/environment
Then copy and paste the highlighted line below and save the file.
PATH="/usr/local/sbin:/usr/local/bin:/usr/sbin:/usr/bin:/sbin:/bin:/usr/games:/usr/local/games"
JAVA_HOME=/usr/lib/jvm/java-8-oracle
export JAVA_HOME
After that, run the commands below.
source /etc/environment
When you run echo $JAVA_HOME, you should see the Java home directory.
Install MariaDB
Now that Java is installed run the commands below to install MariaDB.
sudo apt-get install mariadb-server mariadb-client
After installing MariaDB, the commands below can stop, start, and enable the service to start when the server boots.
Run these on Ubuntu 16.04 LTS
sudo systemctl stop mysql.service
sudo systemctl start mysql.service
sudo systemctl enable mysql.service
Run these on Ubuntu 18.04 and 18.10 LTS
sudo systemctl stop mariadb.service
sudo systemctl start mariadb.service
sudo systemctl enable mariadb.service
After that, run the commands below to secure the MariaDB server by creating a root password and disallowing remote root access.
sudo mysql_secure_installation
When prompted, answer the questions below by following the guide.
- Enter current password for root (enter for none): Just press the Enter
- Set root password? [Y/n]: Y
- New password: Enter password
- Re-enter new password: Repeat password
- Remove anonymous users? [Y/n]: Y
- Disallow root login remotely? [Y/n]: Y
- Remove test database and access to it? [Y/n]: Y
- Reload privilege tables now? [Y/n]: Y
Restart MariaDB server
Create LogicalDOC Database
After installing MariaDB, use the guide below to create a database and user for LogicalDOC.
To log on to the MariaDB database server, run the commands below.
sudo mysql -u root -p
Then, create a database called logicaldoc
CREATE DATABASE logicaldoc;
Create a database user called logicaldocuser with a new password
CREATE USER 'logicaldocuser'@'localhost' IDENTIFIED BY 'new_password_here';
Then, grant the user full access to the database.
GRANT ALL ON logicaldoc.* TO 'logicaldocuser'@'localhost' IDENTIFIED BY 'user_password_here' WITH GRANT OPTION;
Finally, save your changes and exit.
FLUSH PRIVILEGES;
EXIT;
Next, run the commands below to open the MariaDB configuration file.
sudo nano /etc/mysql/mariadb.conf.d/50-server.cnf
Then, make the highlighted changes and save the file.
#
# * Basic Settings
#
user            = mysql
pid-file        = /var/run/mysqld/mysqld.pid
socket          = /var/run/mysqld/mysqld.sock
port            = 3306
basedir         = /usr
datadir         = /var/lib/mysql
tmpdir          = /tmp
lc-messages-dir = /usr/share/mysql
skip-external-locking
character-set-server = utf8
collation-server = utf8_bin
default-storage-engine = INNODB
Restart MariaDB by running the commands below:
sudo systemctl restart mariadb.service
Download LogicalDOC Package
Before installing LogicalDOC, please install these required packages.
sudo apt-get install libreoffice imagemagick ghostscript tesseract-ocr xpdf
After preparing your systems, run the commands below to download the LogicalDOC package.
cd /tmp
wget wget https://s3.amazonaws.com/logicaldoc-dist/logicaldoc/installers/logicaldoc-installer-8.1.zip
unzip logicaldoc-installer-8.1.zip
Finally, run the commands below to install
sudo java -jar logicaldoc-installer.jar
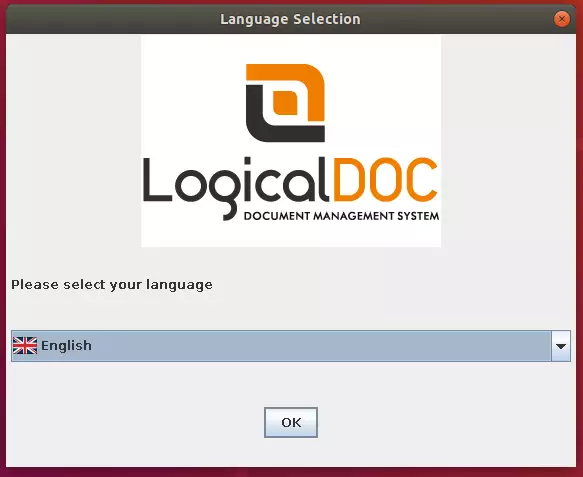
Follow the wizard to answer the prompts when using the command line. For the desktop user, you should see a GUI wizard.
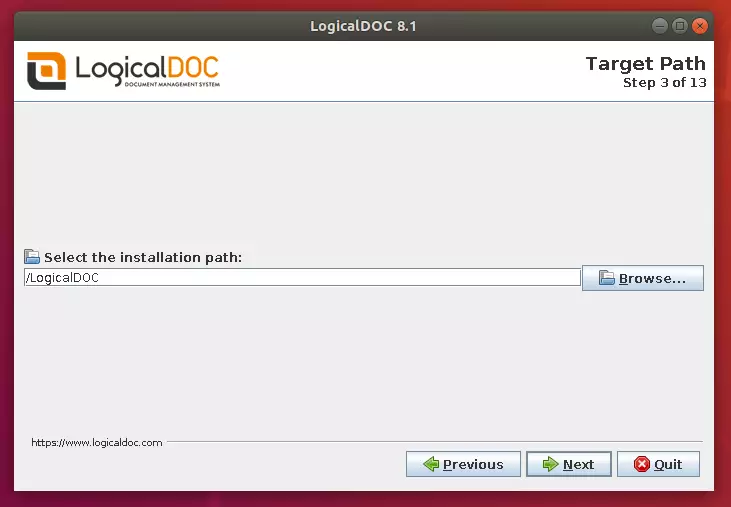
Select a location to install LogicalDOC
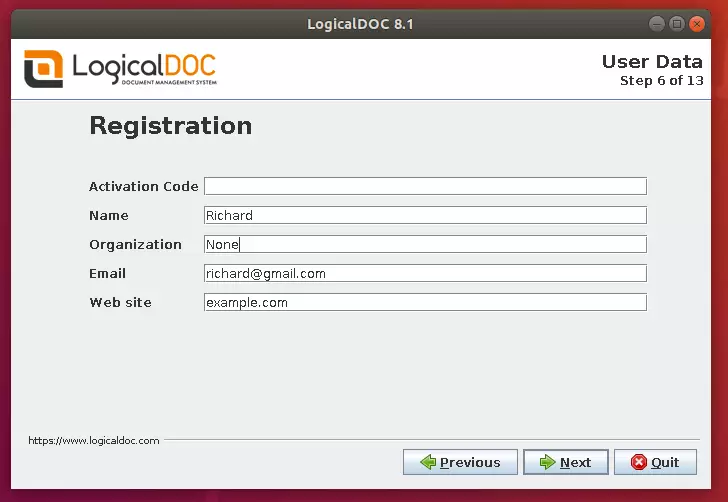
Then, type info about your company
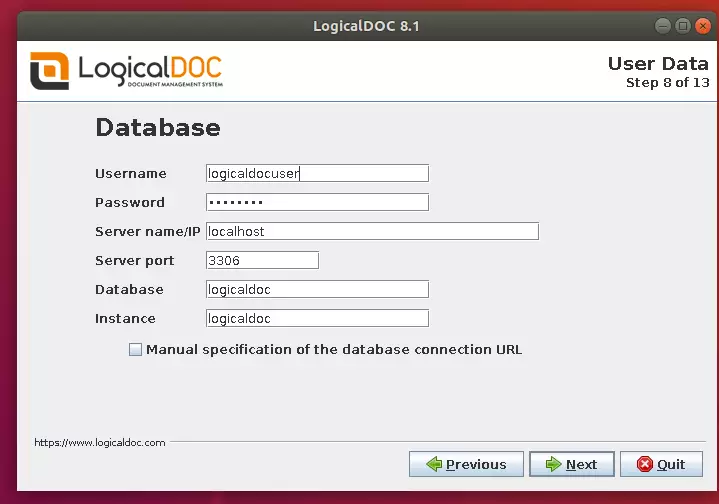
Next, select MySQL connection and enter the database info you created above.
When you’re done, LogicalDOC should be installed and ready to use.
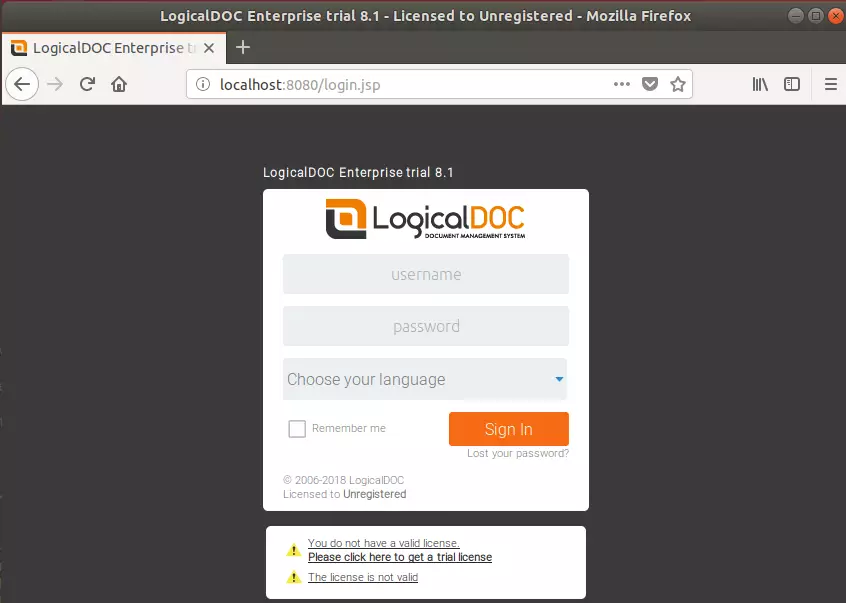
Open your browser and browse to the server hostname or IP address.
http://localhost:8080
Login with:
Username: admin
Password: admin
Enjoy!
You can use the commands below to create a service account.
sudo cp /LogicalDOC/bin/logicaldoc-all.service /etc/systemd/system
sudo systemctl daemon-reload
Then, use these commands to stop, start, and enable the service.
sudo systemctl stop logicaldoc-all
sudo systemctl start logicaldoc-all
sudo systemctl enable logicaldoc-all
You may also like the post below:


Leave a Reply to Datsys Cancel reply