We recently created a tutorial on installing Invoice Ninja on Ubuntu with Apache2 HTTP and PHP 7.2 support. The steps below should be a great place to start; however, for those who want to run it with Nginx and PHP 7.2-FPM.
This post shows you how to install Invoice Ninja with Nginx HTTP support and PHP 7.2-FPM.
Invoice Ninja is an open-source web invoicing application that allows users and businesses to manage their invoices, track expenses and payments, and many more. This free, open-source platform is built on the LAMP or LEMP stack and can be a great alternative to your current implementation.
You may find this helpful app for small or medium-sized businesses. It’s designed from the ground up for ease of use and allows business owners to create and manage their business invoices and expenses.
If you’re looking for a robust, secure, and easy-to-use invoicing and time-tracking system that’s 100% free, you may want to try Invoice.
To get started with installing InvoiceNinja, follow the steps below:
Install Nginx HTTP Server on Ubuntu
Nginx HTTP Server is the most popular web server. Install it since Invoice Ninja needs it.
To install Nginx HTTP on the Ubuntu server, run the commands below.
sudo apt update
sudo apt install nginx
After installing Nginx, the commands below can be used to stop, start, and enable the Nginx service to always start up with the server boots.
sudo systemctl stop nginx.service
sudo systemctl start nginx.service
sudo systemctl enable nginx.service
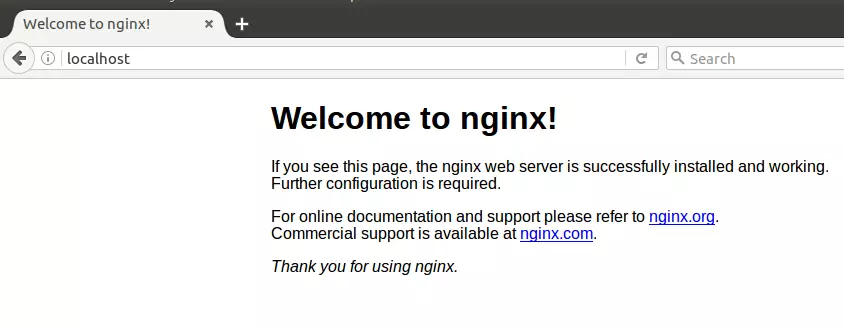
To test the Nginx setup, open your browser and browse to the server hostname or IP address, and you should see the Nginx default test page as shown below. When you see that, then Nginx is working as expected.
http://localhost

Install MariaDB Database Server
MariaDB database server is a great place to start when looking at open-source database servers for Magento. To install MariaDB run the commands below.
sudo apt-get install mariadb-server mariadb-client
After installing MariaDB, the commands below can stop, start, and enable the MariaDB service to start up when the server boots.
Run these on Ubuntu 16.04 LTS
sudo systemctl stop mysql.service
sudo systemctl start mysql.service
sudo systemctl enable mysql.service
Run these on Ubuntu 18.04 and 18.10 LTS
sudo systemctl stop mariadb.service
sudo systemctl start mariadb.service
sudo systemctl enable mariadb.service
After that, run the commands below to secure the MariaDB server by creating a root password and disallowing remote root access.
sudo mysql_secure_installation
When prompted, answer the questions below by following the guide.
- Enter current password for root (enter for none): Press the Enter
- Set root password? [Y/n]: Y
- New password: Enter the password
- Re-enter new password: Repeat password
- Remove anonymous users? [Y/n]: Y
- Disallow root login remotely? [Y/n]: Y
- Remove the test database and access to it? [Y/n]: Y
- Reload privilege tables now? [Y/n]: Y
Restart MariaDB server
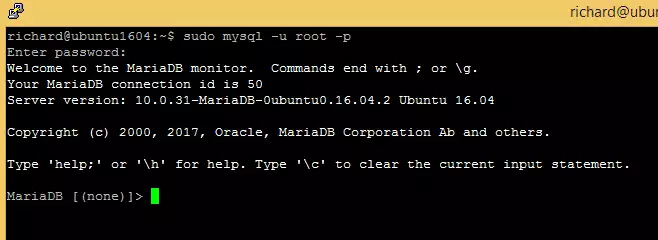
Type the commands below to log on to the MariaDB server to test if MariaDB is installed.
sudo mysql -u root -p
Then type the password you created above to sign on. If successful, you should see MariaDB welcome message.

Install PHP 7.2-FPM and Related Modules.
PHP 7.2-FPM may not be available in Ubuntu default repositories. To install it, you must get it from third-party repositories.
Run the commands below to add the below third party repository to upgrade to PHP 7.2-FPM
sudo apt-get install software-properties-common
sudo add-apt-repository ppa:ondrej/php
Then update and upgrade to PHP 7.2-FPM
sudo apt update
Next, run the commands below to install PHP 7.2-FPM and related modules.
sudo apt install php7.2-fpm php7.2-common php7.2-gmp php7.2-curl php7.2-intl php7.2-mbstring php7.2-xmlrpc php7.2-mysql php7.2-gd php7.2-xml php7.2-cli php7.2-zip
After installing PHP 7.2, run the commands below to open Nginx’s PHP default config file.
sudo nano /etc/php/7.2/fpm/php.ini
Then save the changes on the following lines below in the file. The value below is an ideal setting to apply in your environment.
file_uploads = On
allow_url_fopen = On
short_open_tag = On
memory_limit = 256M
cgi.fix_pathinfo = 0
upload_max_filesize = 100M
max_execution_time = 360
date.timezone = America/Chicago
After making the change above, please save the file and close it.
After installing PHP and related modules, you must restart Nginx to reload PHP configurations.
Create Invoice Ninja Database
Once you’ve installed all the packages required for Invoice Ninja to function, continue below to start configuring the servers. First, run the commands below to create a blank Magento database.
To log on to the MariaDB database server, run the commands below.
sudo mysql -u root -p
Then create a database called invoiceninja
CREATE DATABASE invoiceninja;
Create a database user called invoiceninjauser with a new password
CREATE USER 'invoiceninjauser'@'localhost' IDENTIFIED BY 'new_password_here';
Then grant the user full access to the database.
GRANT ALL ON invoiceninja.* TO 'invoiceninjauser'@'localhost' IDENTIFIED BY 'user_password_here' WITH GRANT OPTION;
Finally, save your changes and exit.
FLUSH PRIVILEGES;
EXIT;
Download Invoice Ninja Latest Release
You may want to use the GitHub repository to get Invoice Ninja’s latest release. Install Composer, Curl, and other dependencies to get started.
sudo apt install curl git
curl -sS https://getcomposer.org/installer | sudo php -- --install-dir=/usr/local/bin --filename=composer
After installing curl and Composer above, change into the Nginx root directory and download Invoice Ninja packages from Github.
cd /var/www/html
sudo git clone https://github.com/invoiceninja/invoiceninja.git
cd /var/www/html/invoiceninja
sudo composer install
Then run the commands below to set the correct permissions for InvoiceNinja to function.
sudo chown -R www-data:www-data /var/www/html/invoiceninja/
sudo chmod -R 755 /var/www/html/invoiceninja/
Configure Nginx
Finally, configure the Apahce2 site configuration file for InvoiceNinja. This file will control how users access InvoiceNinja content. Run the commands below to create a new configuration file called invoiceninja
sudo nano /etc/nginx/sites-available/invoiceninja
Then copy and paste the content below into the file and save it. Replace the highlighted line with your domain name and directory root location.
server {
    listen 80;
    listen [::]:80;
    root /var/www/html/invoiceninja/public;
    index  index.php index.html index.htm;
    server_name  example.com www.example.com;

     client_max_body_size 100M;

    location / {
        try_files $uri $uri/ /index.php?$query_string;
    }

    location ~ \.php$ {
               include snippets/fastcgi-php.conf;
               fastcgi_pass unix:/var/run/php/php7.2-fpm.sock;
               fastcgi_param SCRIPT_FILENAME $document_root$fastcgi_script_name;
               include fastcgi_params;
    }
}
Save the file and exit.
Enable the InvoiceNinja and Rewrite Module
After configuring the VirtualHost above, please enable it by running the commands below.
sudo ln -s /etc/nginx/sites-available/invoiceninja /etc/nginx/sites-enabled/
sudo systemctl restart nginx.service
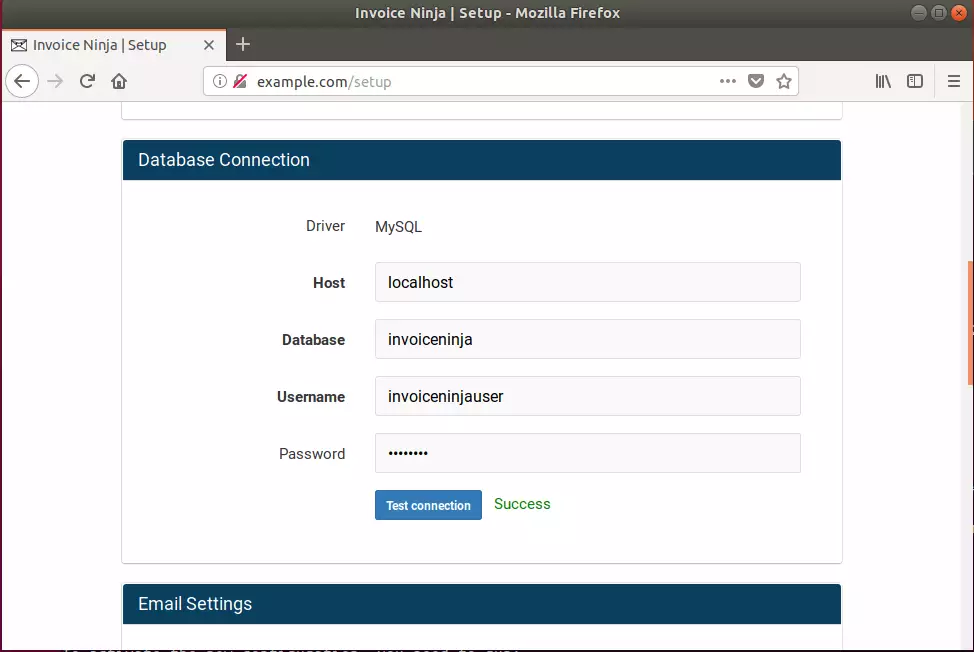
Then open your browser and browse to the server domain name. You should see the InvoiceNinja setup wizard complete. Please follow the wizard carefully.
http://example.com/
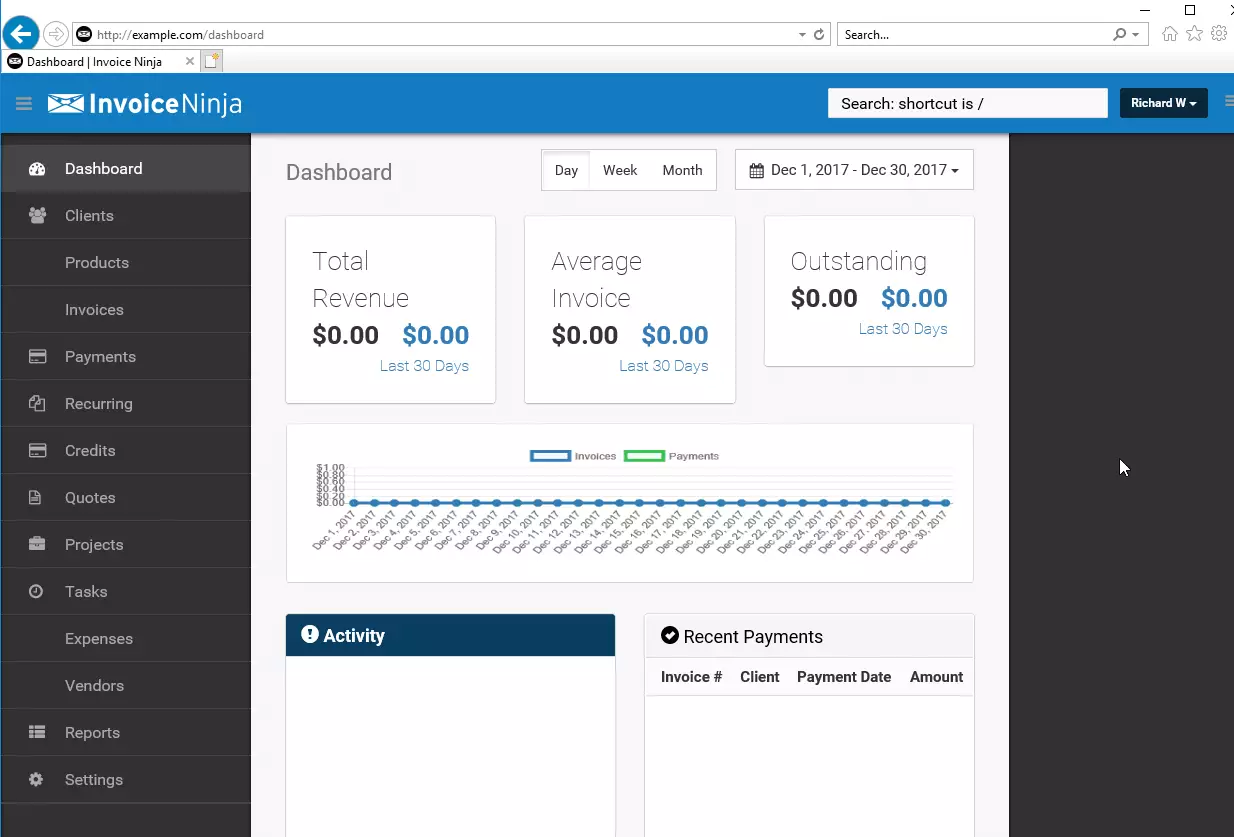
Then follow the on-screen instructions. You will be asked to input your database configuration, administrative details, and other configuration settings. When complete, you may sign in and start using InvoiceNinja. Return to http://example.com/login/ anytime after that to sign in.

Enjoy!

Congratulation! You have successfully installed InvoiceNinja on Ubuntu 16.04 | 18.04, and may work on 18.10.
You may also like the post below:

Leave a Reply