This article explains how to install the Mailtrain newsletter app on Ubuntu Linux.
Mailtrain is a self-hosted newsletter application built with Node.js and a database server (MySQL / MariaDB). If you have an extensive subscriber list and want an easy way to manage it on a self-hosted platform in your environment, Mailtrain should be an excellent place to start.
Some of the features provided by Mailtrain include list management, custom fields, encryption, template editor, and automation.
This app has everything you’d find in a paid list service and is free.
For more about Mailtrain, please check its homepage.
To get started with installing Mailtrain on Ubuntu, follow the steps below:
Install Node.js
Mailtrain is built on top of Node.js, and Node.js is easy to install in Ubuntu.
Before installing the latest version of Node.js, you must add its PPA to Ubuntu. The official package maintainer provides this repository. To add the repository, run the commands below.
sudo apt update
sudo apt install curl git
You can install two repositories. One repository contains the latest Node.js packages, and the other has the LTS or (Long Term Support) packages. If you need the latest and greatest, then install the first repository.
On the other hand, if you need a more stable and tested Node.js package, install the LTS repository.
Then, for the Latest release, add this PPA.
curl -sL https://deb.nodesource.com/setup_10.x | sudo bash -
To install the LTS release, use this PPA.
curl -sL https://deb.nodesource.com/setup_8.x | sudo bash -
After that, you can now install the latest version of Node.js from the particular repository you choose. If you add both repositories, the latest version of Node.js and not the LTS will be installed.
To install, run the commands below.
sudo apt install nodejs
After installing, both Node.js and NPM modules should be installed and ready to use.
You can use the commands below to view the version number installed.
node -v
npm -v
To test whether the web server is installed correctly, run the commands below to create a test file called http_server.js in your home folder.
cd ~/
nano http_server.js
Then copy and paste the content below into the file and save it.
const http = require('http');

const hostname = '127.0.0.1';
const port = 3000;

const server = http.createServer((req, res) => {
  res.statusCode = 200;
  res.setHeader('Content-Type', 'text/plain');
  res.end('Hello World\n');
});

server.listen(port, hostname, () => {
  console.log(`Server running at http://${hostname}:${port}/`);
});
After that, save the file and run the commands below to start the server.
node http_server.js
You should see an output that reads:
The server running at http://127.0.0.1:3000/
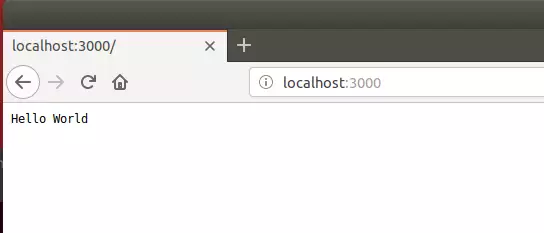
Now open your browser and browse to the server hostname or IP address followed by port 3000. and you should see a default page with Hello World
http://localhost:3000
Install MariaDB
Now that Node.js is installed continue below to install MariaDB.
To install MariaDB, run the commands below:
sudo apt-get install mariadb-server mariadb-client
After installing MariaDB, the commands below can stop, start, and enable the service to start when the server boots.
Run these on Ubuntu 16.04 LTS
sudo systemctl stop mysql.service
sudo systemctl start mysql.service
sudo systemctl enable mysql.service
Run these on Ubuntu 18.10 and 18.04 LTS
sudo systemctl stop mariadb.service
sudo systemctl start mariadb.service
sudo systemctl enable mariadb.service
Next, run the commands below to secure the database server with a root password if you were not prompted to do so during the installation.
sudo mysql_secure_installation
When prompted, answer the questions below by following the guide.
- Enter current password for root (enter for none): Just press the Enter
- Set root password? [Y/n]: Y
- New password: Enter password
- Re-enter new password: Repeat password
- Remove anonymous users? [Y/n]: Y
- Disallow root login remotely? [Y/n]: Y
- Remove test database and access to it? [Y/n]: Y
- Reload privilege tables now? [Y/n]: Y
Once MariaDB is installed, run the commands below to test whether the database server was installed.
sudo mysql -u root -p
Type the root password when prompted.

The server was successfully installed if you see a similar screen.
Next, log on to the MariaDB database server and run the commands below.
sudo mysql -u root -p
Then create a database called mailtrain
CREATE DATABASE mailtrain;
Create a database user called mailtrainuser with a new password
CREATE USER 'mailtrainuser'@'localhost' IDENTIFIED BY 'new_password_here';
Then, grant the user full access to the database.
GRANT ALL ON mailtrain.* TO 'mailtrainuser'@'localhost' IDENTIFIED BY 'user_password_here' WITH GRANT OPTION;
Finally, save your changes and exit.
FLUSH PRIVILEGES;
EXIT;
Download and Install Mailtrain
At this point, both Node.js and MariaDB should be installed and configured. For this tutorial, I will install Mailtrain in my home directory. Then, change into the current user home folder and download Mailtrain.
cd ~/
wget https://github.com/Mailtrain-org/mailtrain/archive/master.zip
unzip master.zip
mv mailtrain-master mailtrain
Copy ~/mail train/config/default.toml as ~/mailtrain/config/production. Tool and update MySQL and any other settings in it.
cp ~/mailtrain/config/default.toml ~/mailtrain/config/production.toml
nano ~/mailtrain/config/production.toml
Then, edit the highlighted lines and save the file.
[mysql]
host="localhost"
user="mailtrainuser"
password="password_here"
database="mailtrain"
# Some installations, eg. MAMP can use a different port (8889)
# MAMP users should also turn on "Allow network access to MySQL" otherwise MySQL might not be accessible
port=3306
charset="utf8mb4"
After that, run the commands below to install all dependencies.
cd ~/mailtrain
npm install --production
After that, run the commands below to start the server
cd ~/mailtrain
NODE_ENV=production npm start
You should see similar lines below:
> mailtrain@1.24.0 start /home/richrd/mailtrain
> node index.js

info Using local auth
Warning: connect.session() MemoryStore is not
designed for a production environment, as it will leak
memory, and will not scale past a single process.
info sql SQL not set up, initializing
info sql Loading tables from mailtrain.sql
info sql Update 25 applied
info sql Update 26 applied
info sql Update 27 applied
info sql Update 28 applied
info sql Update 29 applied
info sql Update 30 applied
info sql Update 31 applied
info sql Update 32 applied
info sql Update 33 applied
info sql Update 34 applied
info sql Database check completed
info Express WWW server listening on port 3000
verb UTC Updating timezone offsets
info Service All services started
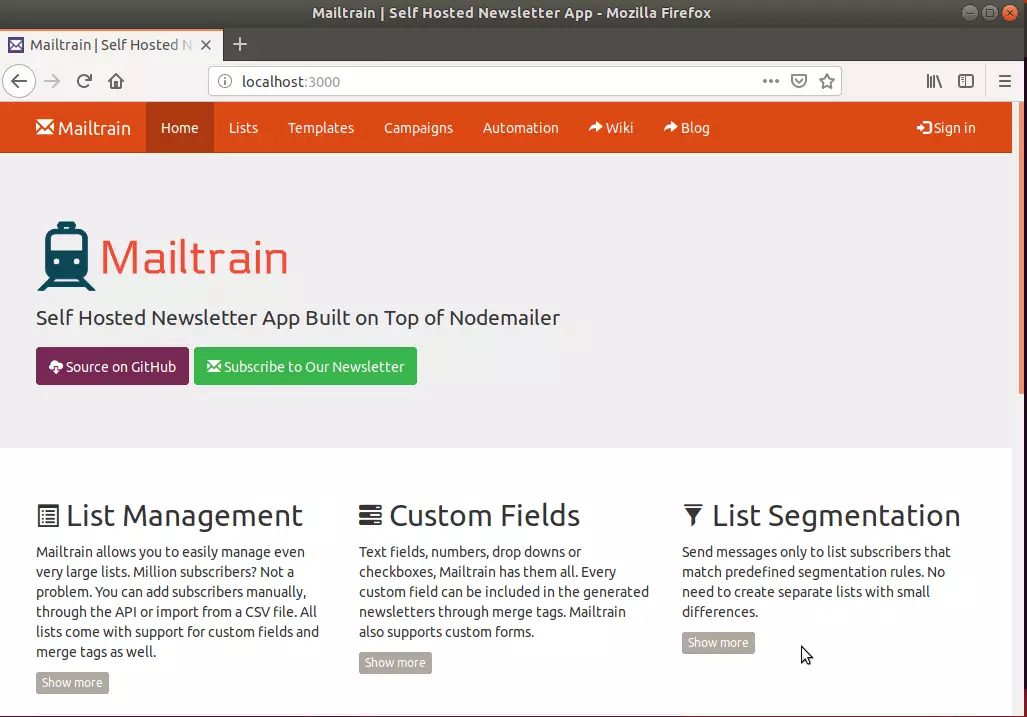
Open your browser and browse to the server hostname or IP address followed by port #3000
http://localhost:3000
You should see Mailtrain’s default homepage.
Installation should be complete. Log in with the username admin and the password test. Once logged in, update the user information and password via the Mailtrain web interface.
Default username and password:
Username: admin
Password: test
Congratulations! You have successfully installed and configured Mailtrain on Ubuntu 16.04 | 18.04.
You may also like the post below:


Leave a Reply Cancel reply