
Sometimes when you’re working with files on your computer, you might make a mistake like deleting or moving the wrong file. Luckily, Windows 11 lets you quickly fix these mistakes using the Undo and Redo commands in File Explorer.
File Explorer is the program you use to see and organize your files and folders on Windows 11. You can copy, move, delete, or rename files easily using it.
What Are Undo and Redo?
Undo lets you take back the last change you made. For example, if you accidentally deleted a file, Undo can bring it back.
Redo is the opposite — it puts back the change you just undid. So, if you pressed Undo by mistake, Redo will reverse that Undo and redo the action.
These commands help you fix mistakes quickly without having to search for files or start over.
How to Use Undo and Redo in File Explorer
Follow these simple steps:
- Open File Explorer and do something like delete, copy, or move a file or folder.
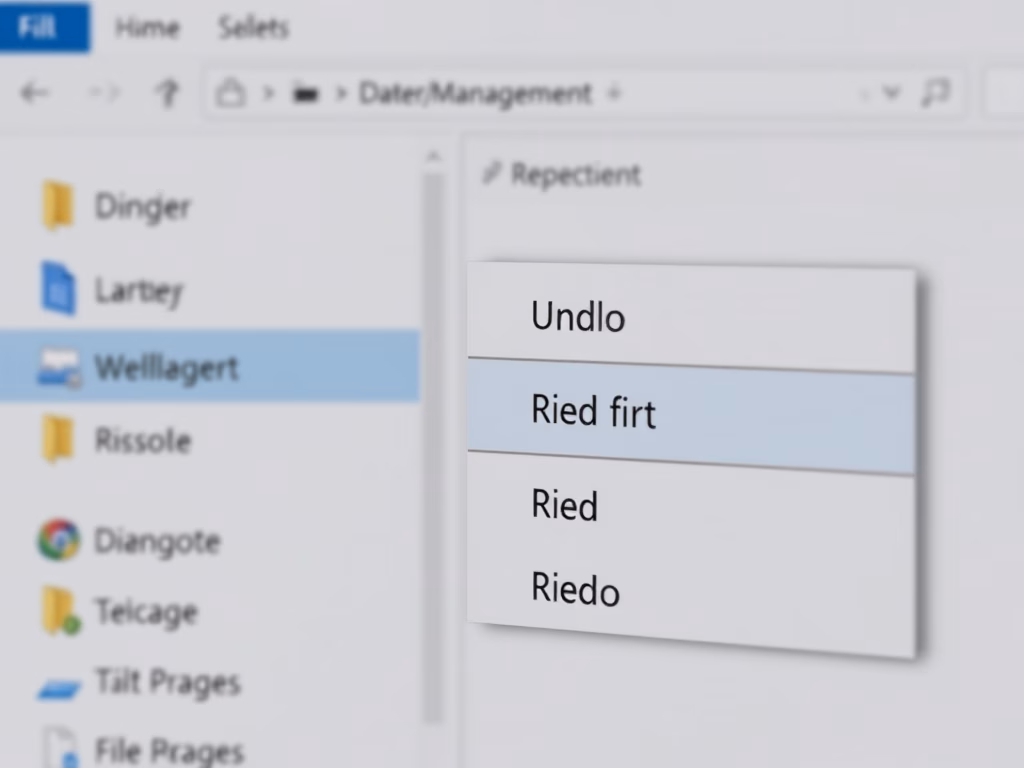
- To undo the last action, right-click anywhere in the File Explorer window and choose Undo from the menu. Or just press CTRL + Z on your keyboard.
- If you want to redo the action you just undid, right-click again and pick Redo or press CTRL + Y.
Here are pictures showing where the Undo and Redo options appear:


Quick Tips
- Use CTRL + Z to undo your last action fast.
- Use CTRL + Y to redo an action you just undid.
- These commands work for actions like deleting, moving, copying, or renaming files.
Summary
Undo and Redo make it easy to fix mistakes when managing files in Windows 11 File Explorer. They save you time and frustration by letting you reverse or repeat actions quickly. Try using them next time you accidentally delete or move a file!


Leave a Reply Cancel reply