This article explains how to enable or disable Adaptive Brightness in Windows 11.
In certain laptops with advanced graphics cards, Windows automatically adjusts the screen’s Brightness based on the surrounding lighting conditions.
With Adaptive Brightness turned on, Windows provides optimal brightness and contrast levels, saving power and providing longer battery life. There’s also a manual option to fine-tune the brightness level to provide an optimal display experience.
Windows Adaptive Brightness settings are useful in lighting conditions and ensure your screen is readable wherever you go. Adaptive Brightness will adjust the screen and display the content in readable settings, whether in a dark room or in direct sunlight.
How to disable Adaptive Brightness in Windows 11
As mentioned above, Adaptive Brightness in Windows makes the screen readable in any lighting condition. Adaptive Brightness will adjust your screen settings to help you read, whether in a dark room, in sunlight, or in an environment with bad lighting.
However, you can turn this feature off if it’s not helping you. The steps below show you how to do that.
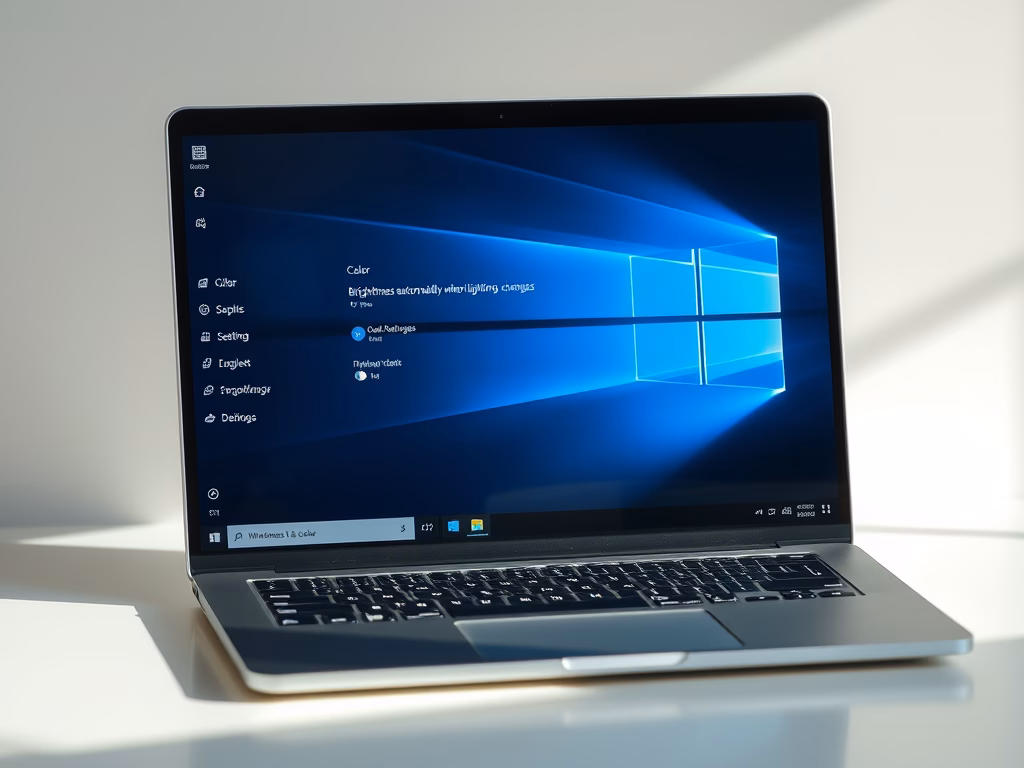
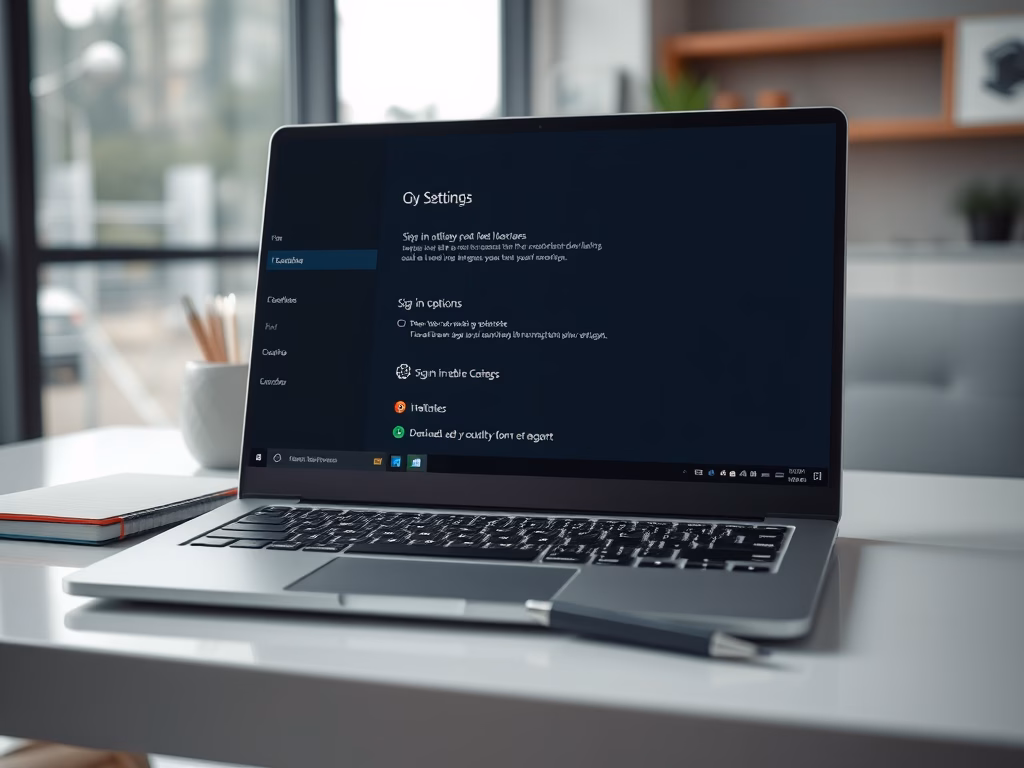
Windows 11 has a centralized location for the majority of its settings app. From system configurations to creating new users and updating Windows, all can be done from the System Settings pane.
To get to System Settings, you can use the Windows key + I shortcut or click on Start ==> Settings, as shown in the image below:

Alternatively, you can use the search box on the taskbar and search for Settings. Then select to open it.
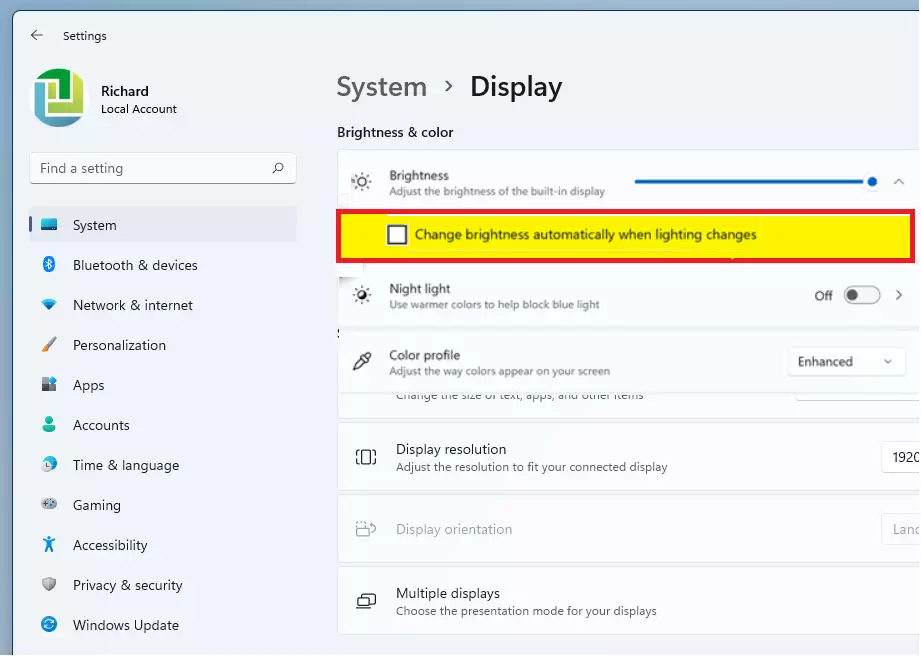
In Windows Settings, click System, and select Display on the right pane of your screen shown in the image below.

On the Display settings pane, under Brightness & color, clear the box next to Change brightness automatically when lighting changes to turn off this feature.
The changes are to happen immediately. Simply close the Settings pane, and you’re done.
That should do it!
Conclusion:
- Adaptive Brightness is a helpful feature in Windows 11 that optimizes screen brightness based on surrounding light conditions.
- It can enhance your visual experience while saving power and prolonging battery life.
- Users can turn Adaptive Brightness on or off based on personal preference.
- Adjusting these settings is straightforward through the System Settings menu.
- Whether you prefer automatic adjustments or manual tuning, Windows 11 provides a customizable brightness experience tailored to your needs.
Leave a Reply