
This post shows steps for students and new users to prevent Skype from starting up automatically when using Windows 11.
When you install the Skype app, it is added to the taskbar automatically and will start up every time you log in to Windows 11.
You can right-click the Skype app on the taskbar and close it. However, the next time you log back on, Skype will automatically start again. If you don’t want the Skype app to start up every time automatically, use the steps below to prevent the Skype app from starting up every time you log on.
Two types of Skype apps can be installed on Windows, and multiple ways to disable it from starting up when you log on. The disabling startup will differ from the transitional Skype app if you have the Microsoft Store version of Skype. We’re going to show you how to turn both off below.
To turn off Skype startup on Windows 11, follow the steps below.
How to disable the Skype app from the Windows store from starting up automatically
If Skype was installed from the Microsoft Store, the instructions below are on how to turn off the auto start when you sign in.
Click on the Start button and search for Skype. Under Best match, select the Skype app (Microsoft Store app). Then click App settings as highlighted below.
You may also right-click on the app icon and select App settings.

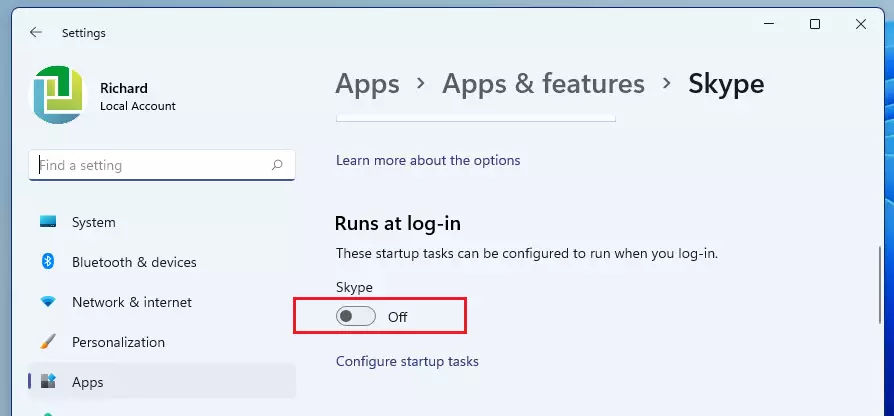
Once the Skype app settings open, under Runs at log-in, toggle the button to the Off position to disable Skye from automatically starting up when you sign in to Windows 11.
How to disable Skype auto start via the Task Manager
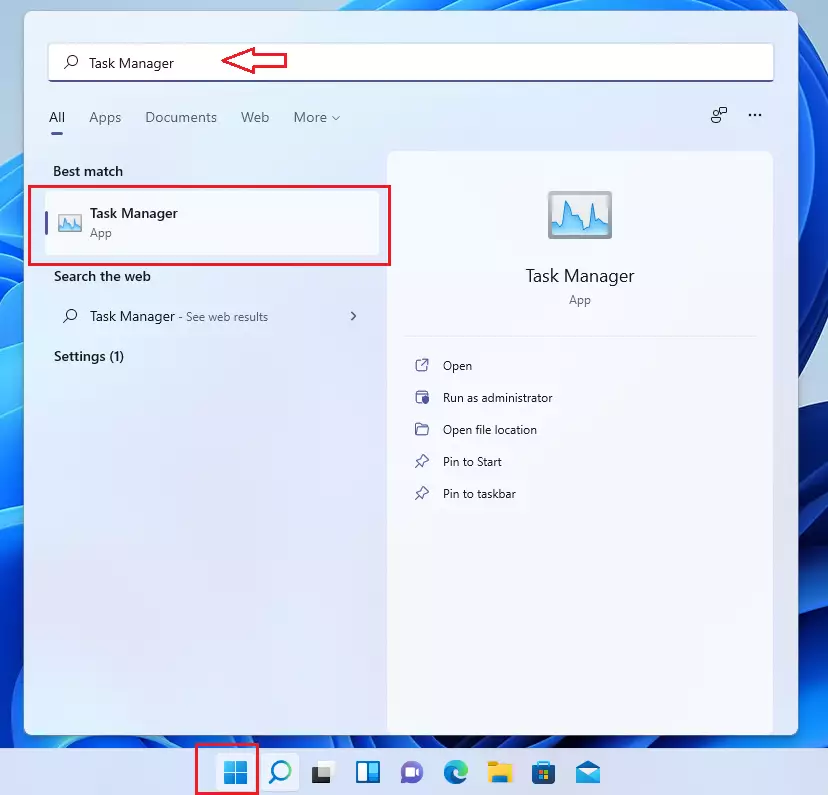
If the traditional Skype app is installed, you can turn off auto-start via the Task Manager. To do that, click the Start button and search for Task Manager. Under Best match, click the Task Manager app.
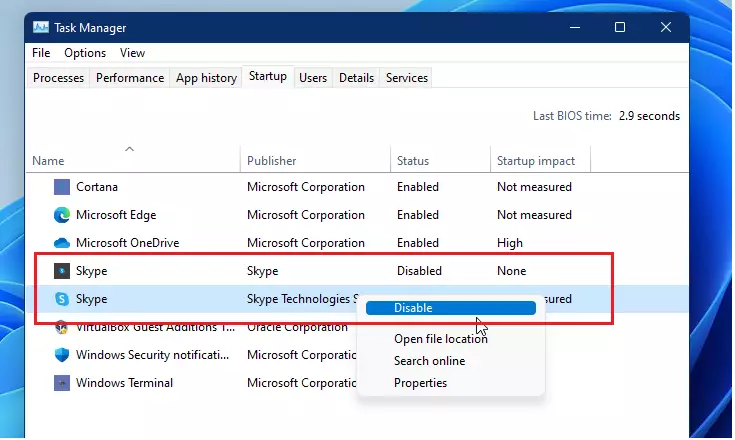
Click the Startup tab. If you don’t see any tabs, click More Details first.

Next, look for Skype in the list, right-click it, and select Disable. Windows won’t open Skype automatically when you sign in anymore.
How to disable Skype auto login from the app
You can also disable Skype from automatically starting and logging you on from the app. Open the Skype app, click the ellipse (three dots), and select Settings, as shown below.
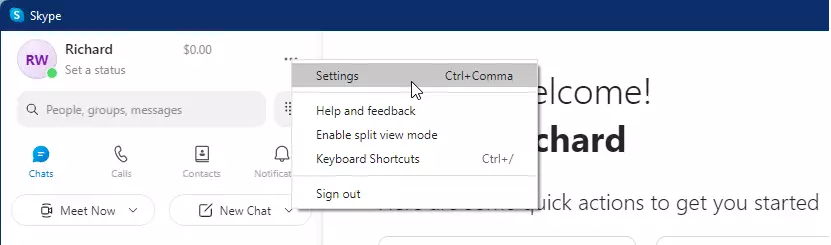
When the Settings pane opens, select General on the left menu, and toggle the button to disable “Automatically start Skype” and “On close, keep Skype running.”
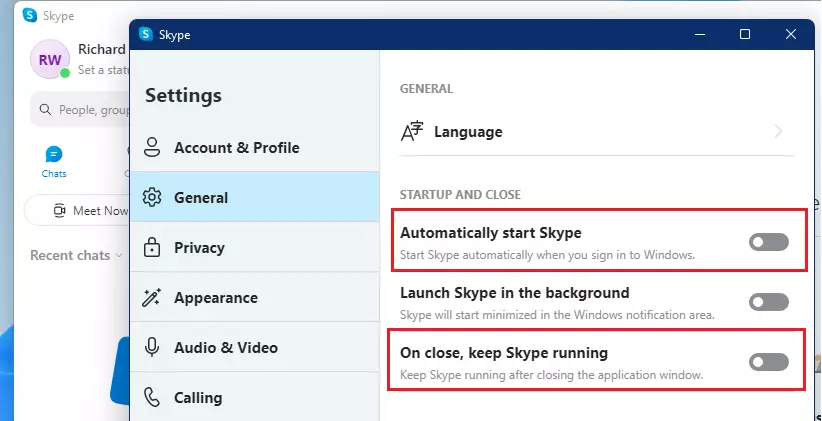
Closeout, and you’re done.
Conclusion:
- Disabling Skype from starting up automatically can help improve your device’s startup time and overall performance.
- There are multiple methods to prevent Skype from auto-launching, catering to both the Microsoft Store version and the traditional desktop app.
- Users can manage auto-start settings via Windows settings, Task Manager, or within the Skype app itself.
- Following these steps ensures a smoother login experience without unnecessary app interruptions.
- Customize your startup applications to suit your preferences and streamline your workflow on Windows 11.
Frequently Asked Questions
How do I stop Skype from starting automatically on Windows 11?
Can I disable Skype auto-start from the app itself?
What are the steps to disable Skype auto-start using Task Manager?
Is there a difference between the Microsoft Store version and the traditional Skype app regarding auto-start?
Why should I disable Skype from starting automatically?


Leave a Reply