
This article describes steps to show or hide extensions for known file types in Windows 11.
By default, File Explorer will hide extensions for known file types. However, multiple ways exist to show or hide them if they don’t want to see file extensions.
A file extension typically has three or four letters in a file name after the period, indicating the file type.
The file name extension is how Windows identifies files and recommends the correct program to open and view the files. It can also help users identify the type of files and programs to use with them.
Below is how to show or hide the extensions of files in Windows 11.
How to hide or unhide file extensions in Windows 11
As mentioned above, File Explorer will hide extensions for known file types. However, multiple ways exist to show or hide them if they don’t want to see file extensions.
Below is how to unhide or hide file extensions in Windows 11.
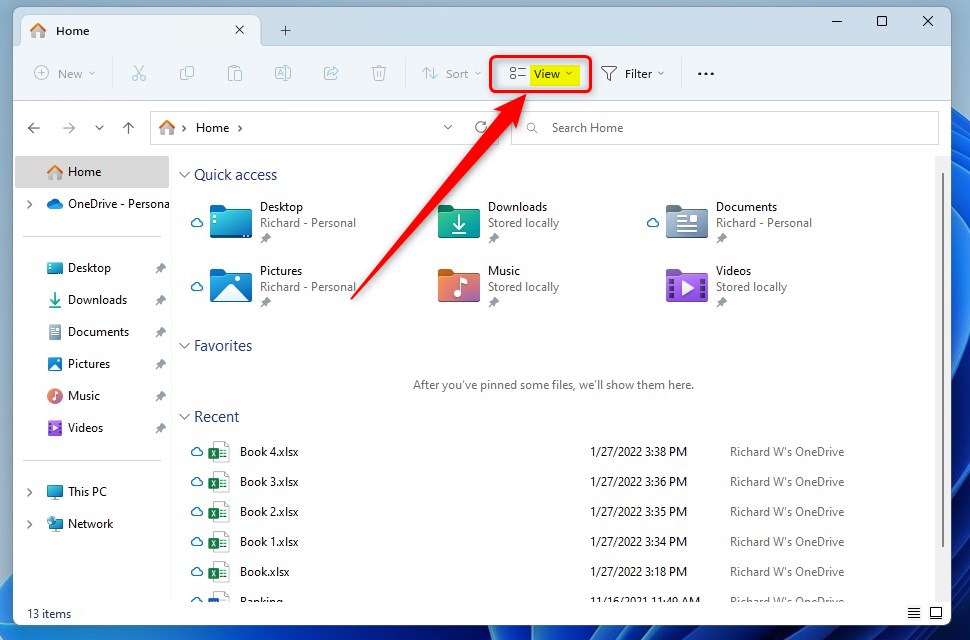
First, open File Explorer on Windows 11. You can use the Windows key + E shortcut to open File Explorer.
Once opened, click the View menu button in the command bar.
Next, Select the Show submenu and choose the “File name extensions” command on the context menu as highlighted below.
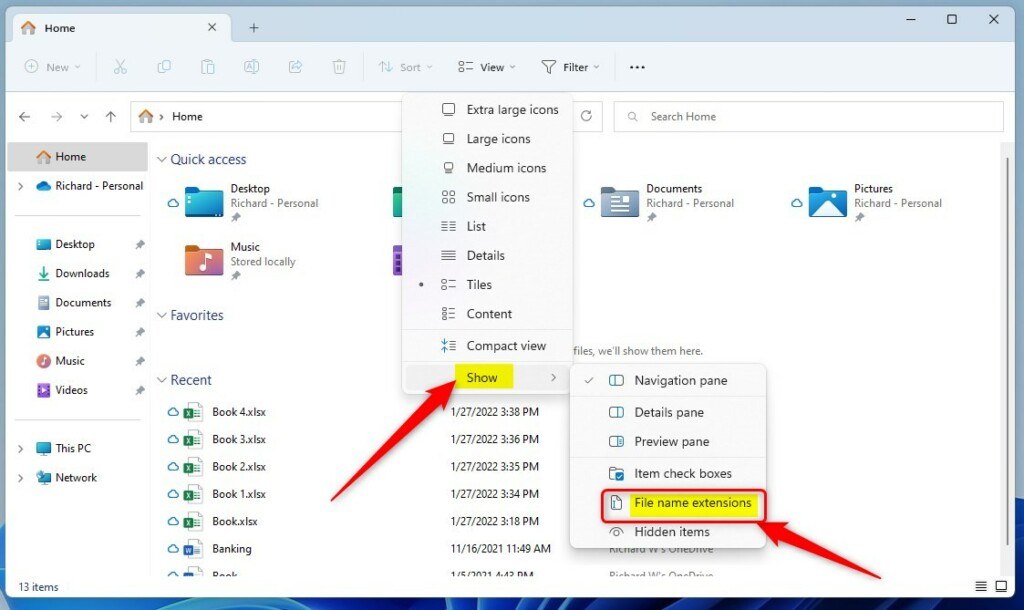
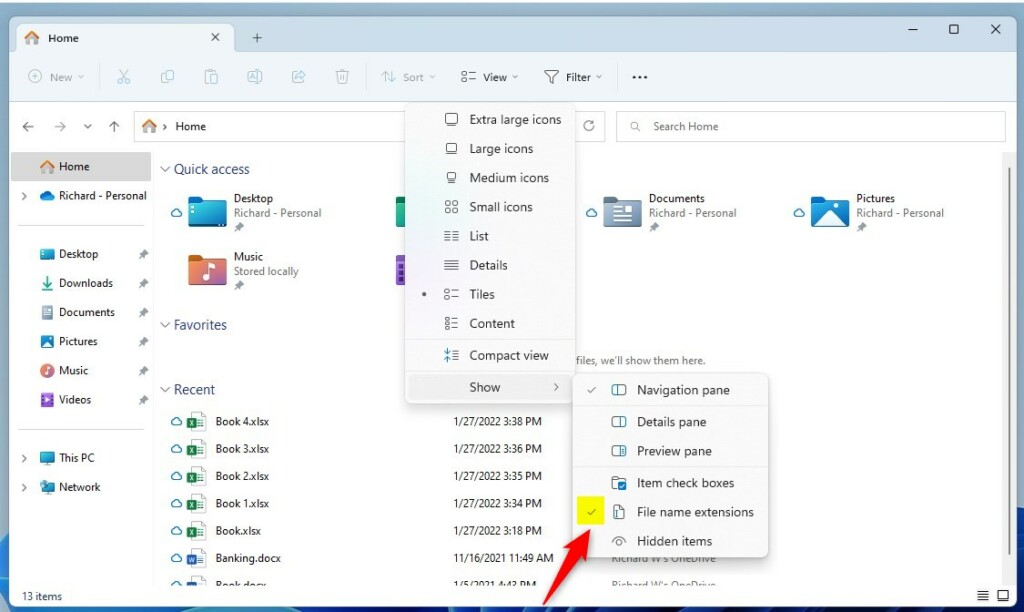
A check mark indicates file extensions are shown. No check mark indicates no file extensions are shown.
Alternatively, open File Explorer and select View (ellipses) on the menu to expand, then select Options.
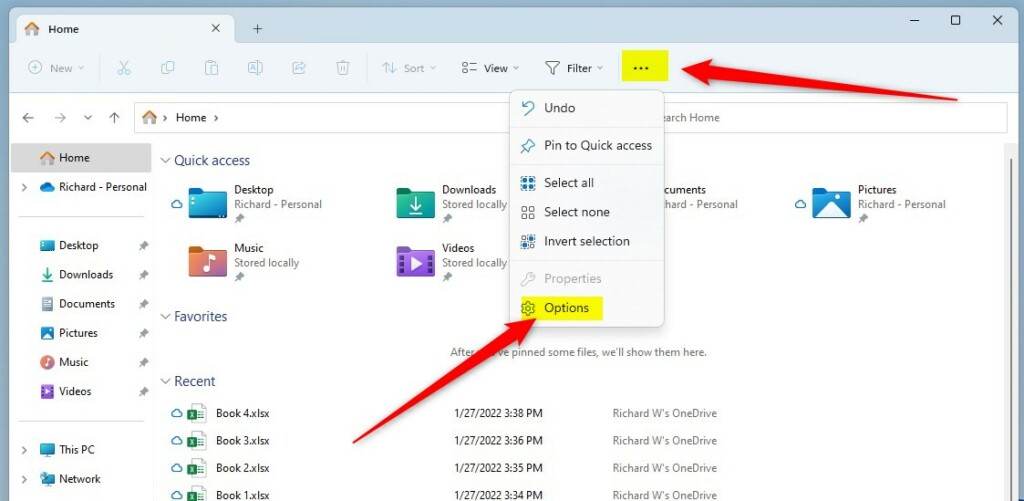
On the Folder Options window, under View -> Advanced settings, check the box next to “Hide extensions for known file types” to hide extensions.
To show an extension, uncheck the box.

That should do it!
Conclusion:
- Windows 11 allows users to easily show or hide file extensions for known file types through File Explorer.
- Understanding and manipulating file extensions can help users identify file types and select the appropriate programs for opening them.
- By following the steps outlined in this article, users can effectively manage the display of file extensions in Windows 11 File Explorer.


Leave a Reply Cancel reply